a field guide to needlework
  • Tapestry
    • 1994 - 1999
    • 2000 - 2003
    • 2004 - 2007
    • 2008 - 2009
    • 2009 - 2012
    • 2013 - 2015
    • 2016 part one
    • 2016 - 2017
    • 2018
    • 2019
    • 2020
    • 2021
    • 2022
  • Store
    • Guides
  • Newsletter
  • Blog 2014-2021
  • About

Summer Sarah-Dippity Skirt

3/26/2019

 
Picture
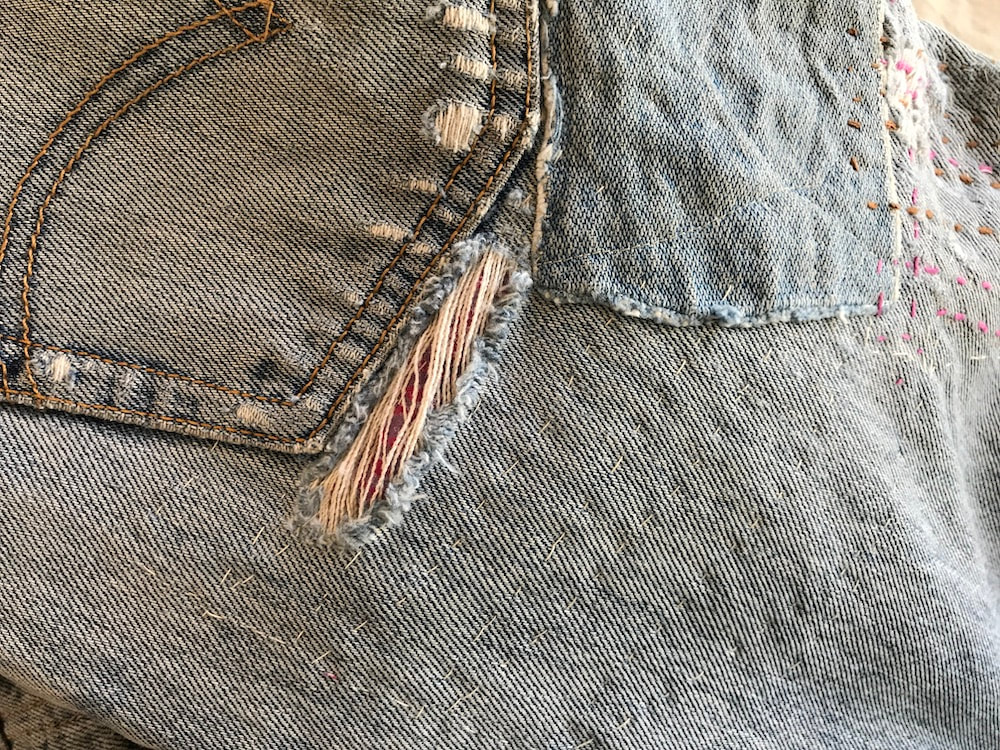
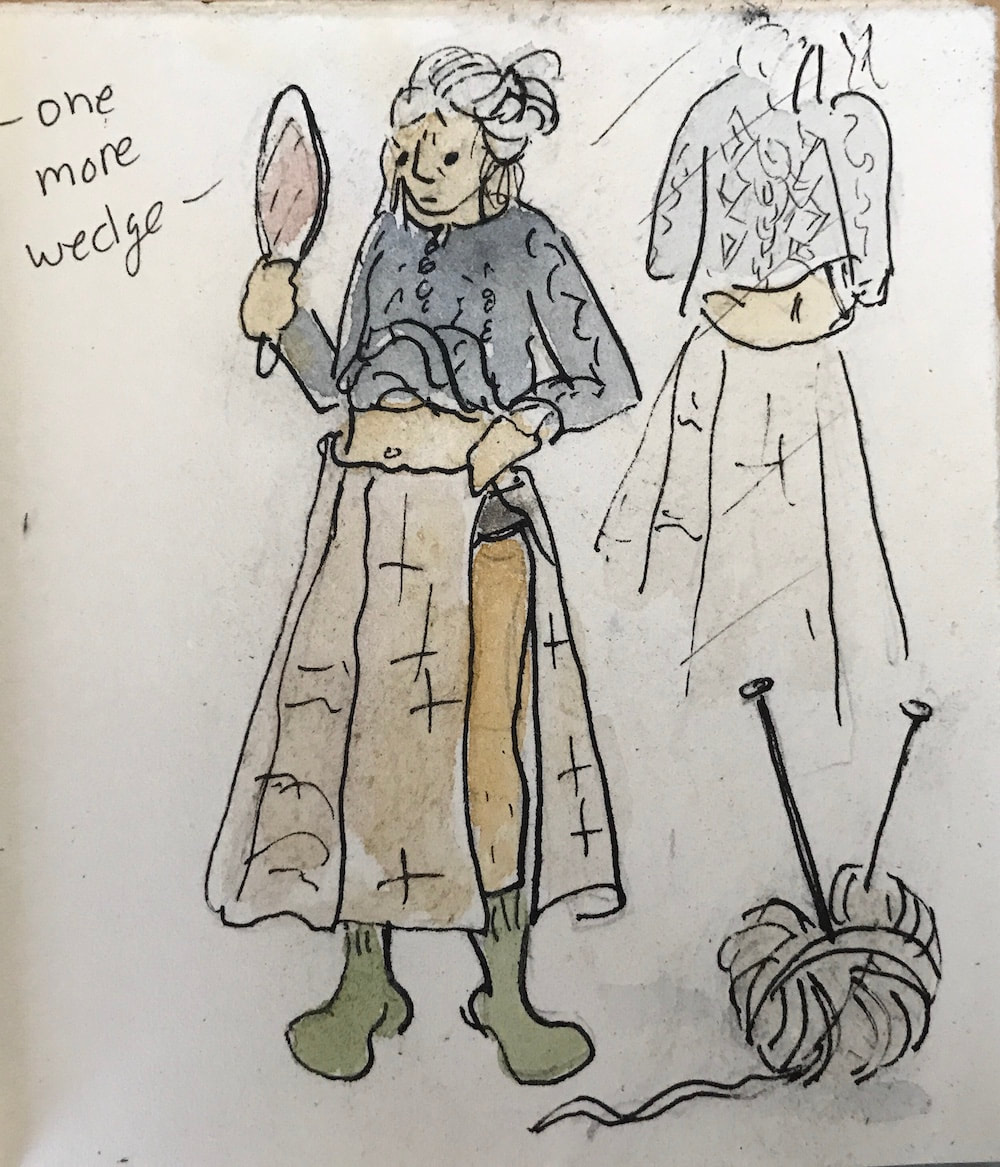
Please disregard the dubious expression on my face,
because I'm having a great time
with this garment.
Picture
Amidst the shoveling of February,
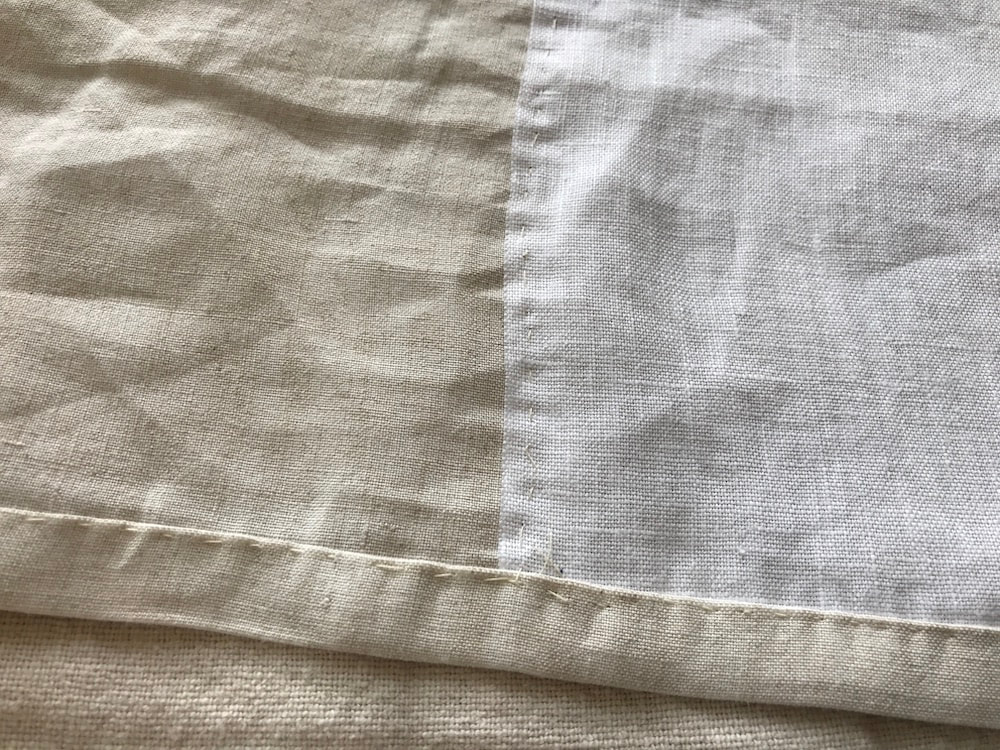
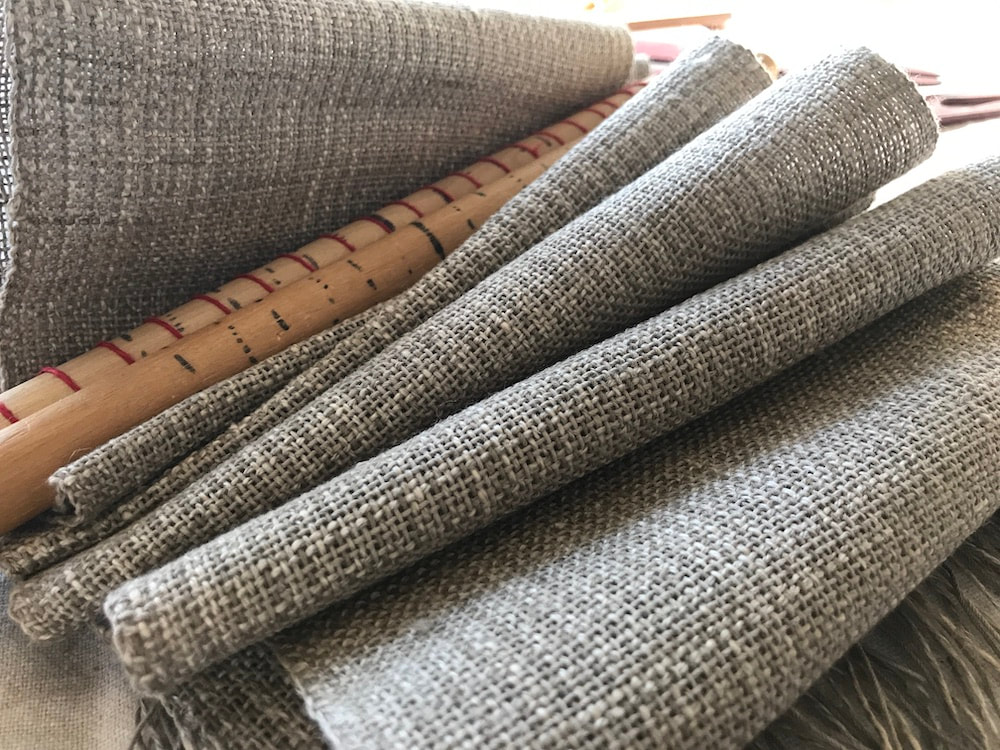
I got to make samples:
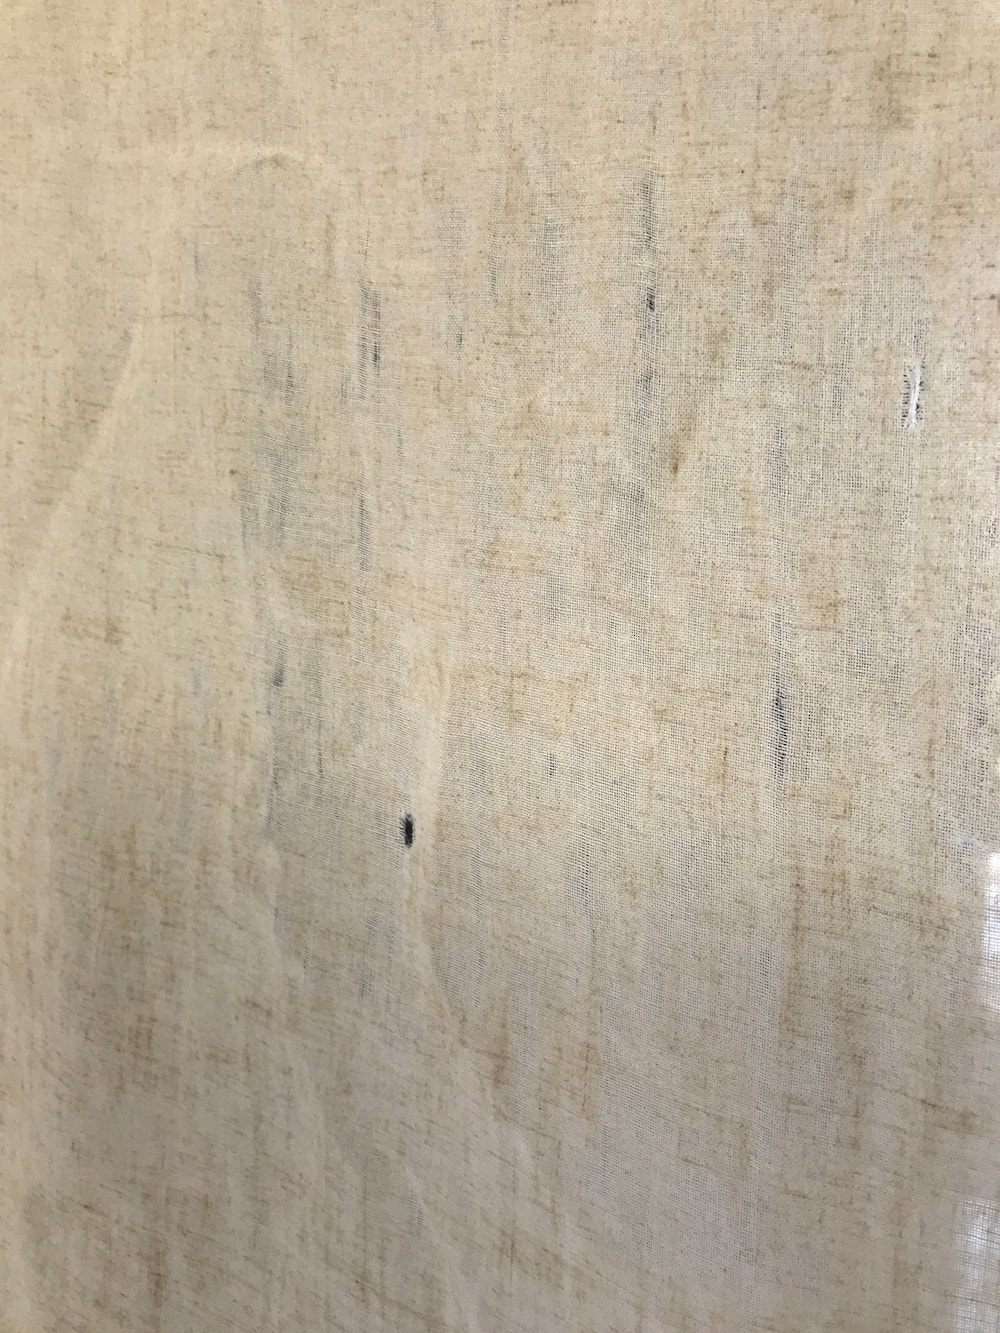
-hand spun linen,
-hand spun wool (for linsey woolsey),
-mill spun linen,
-walnut dyed (but not hand spun) cotton,
--a commercial blend of cotton, linen, nettle and silk,
Picture
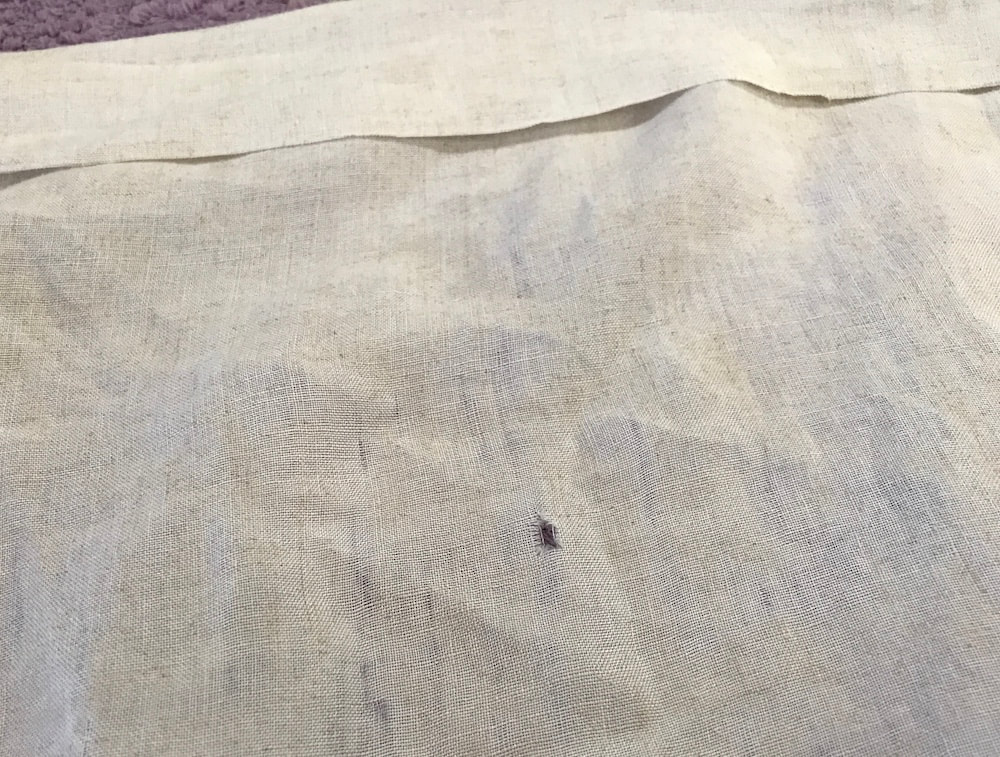
There are so many variables.
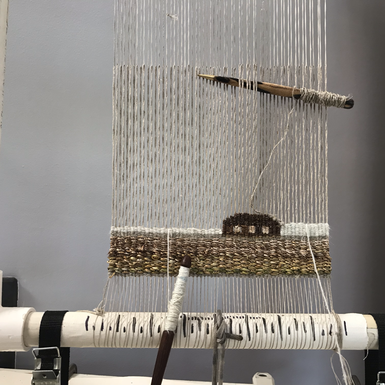
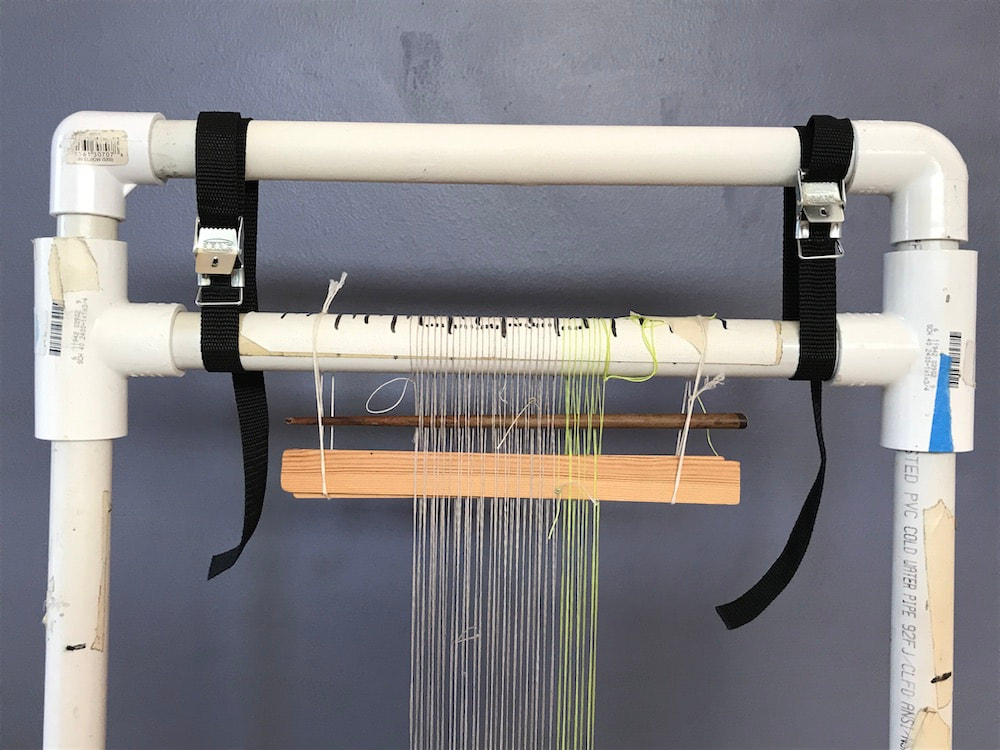
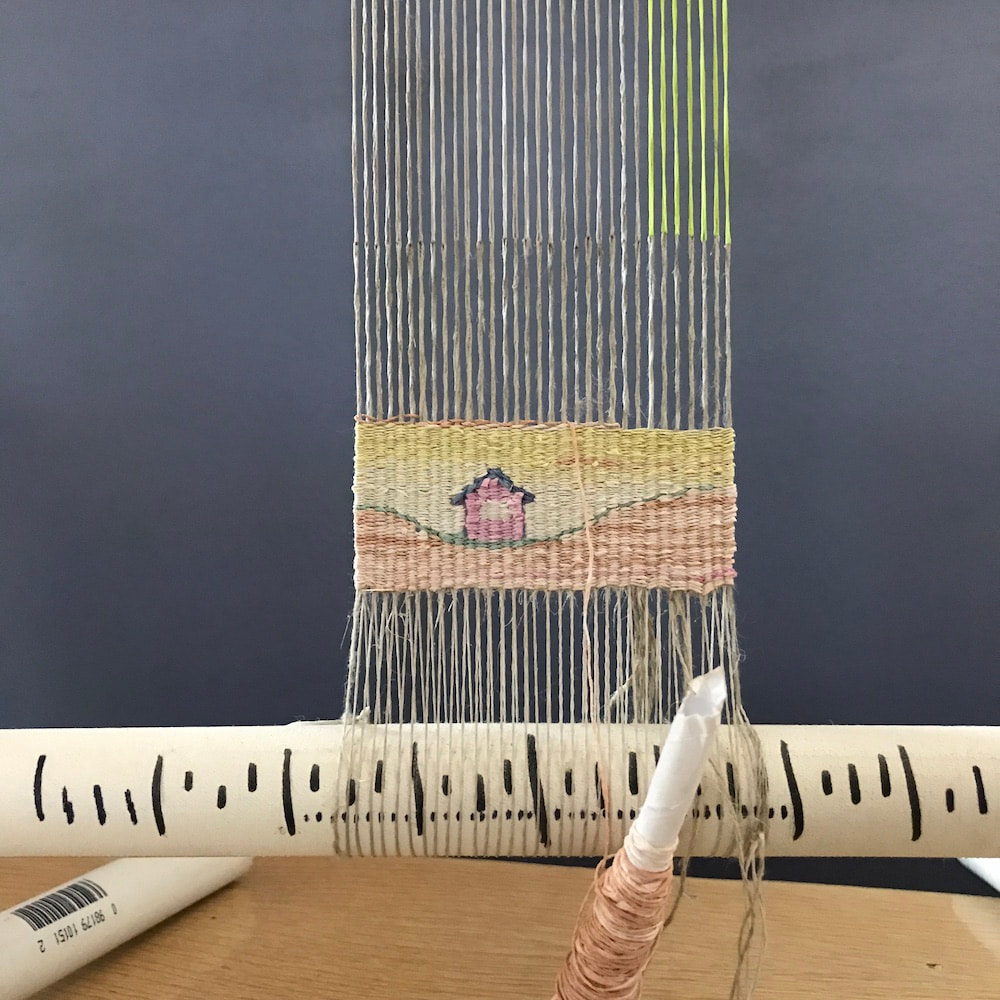
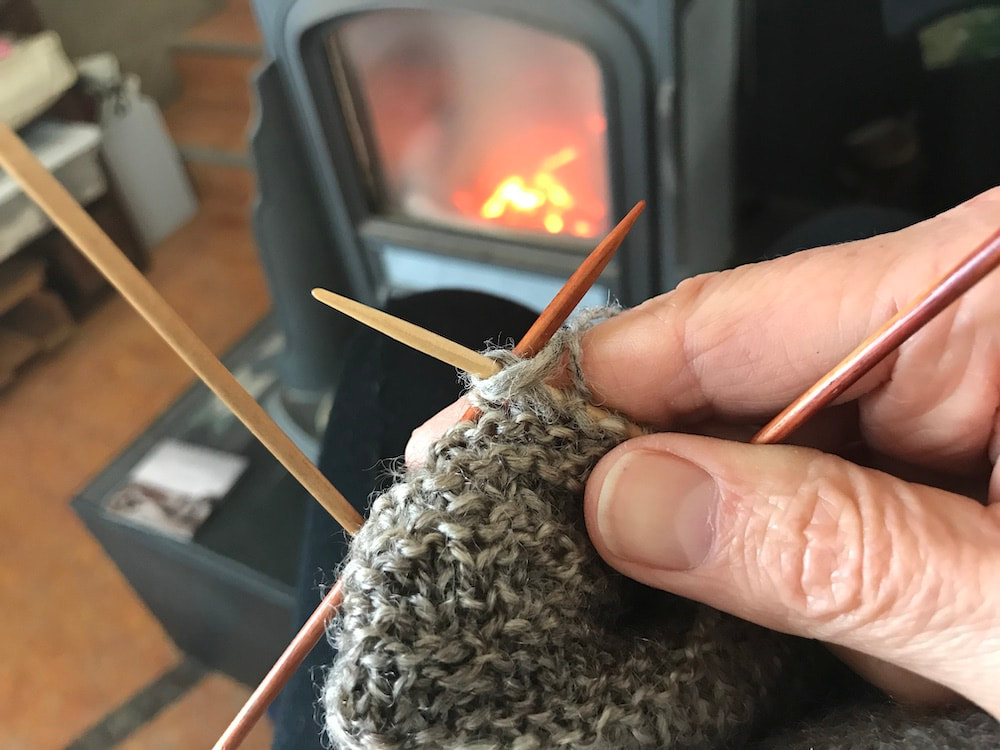
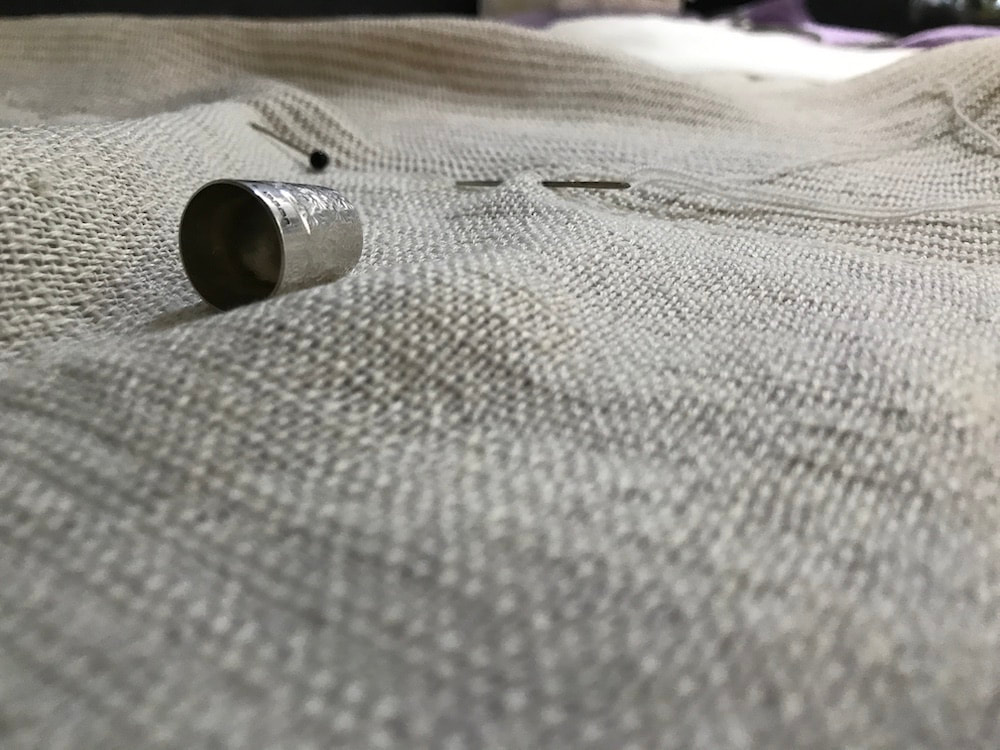
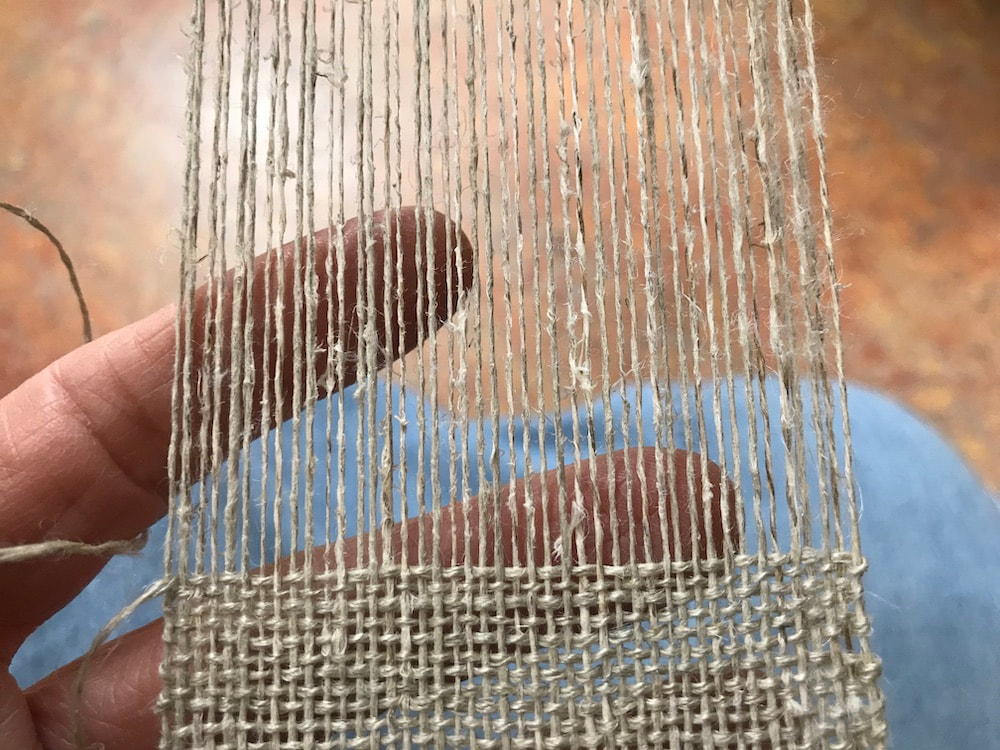
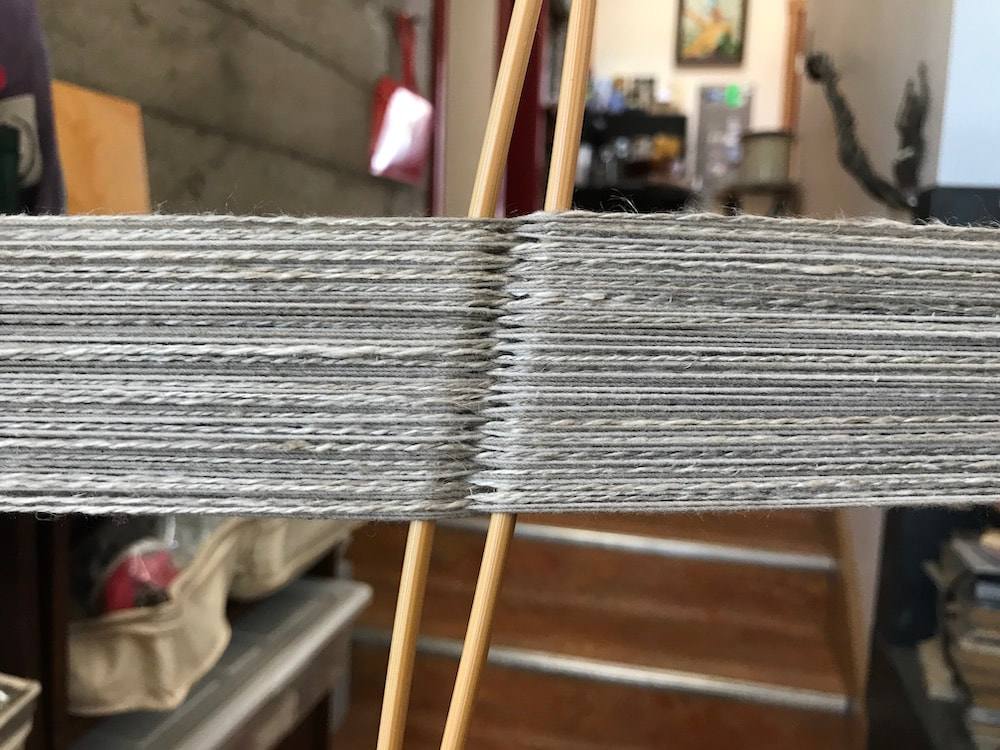
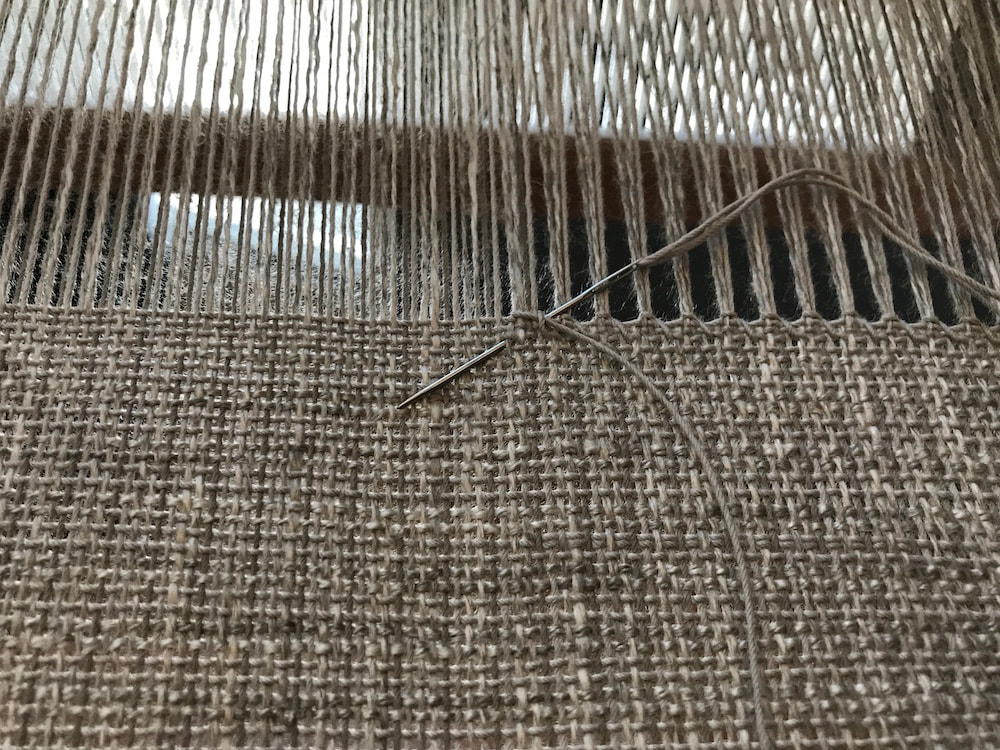
In the photo above,
I'm re-sleying the rigid heddle,
moving from a 12 to a 15 dent.
(Both ends of the cloth are lovely and astonishingly different)
Picture
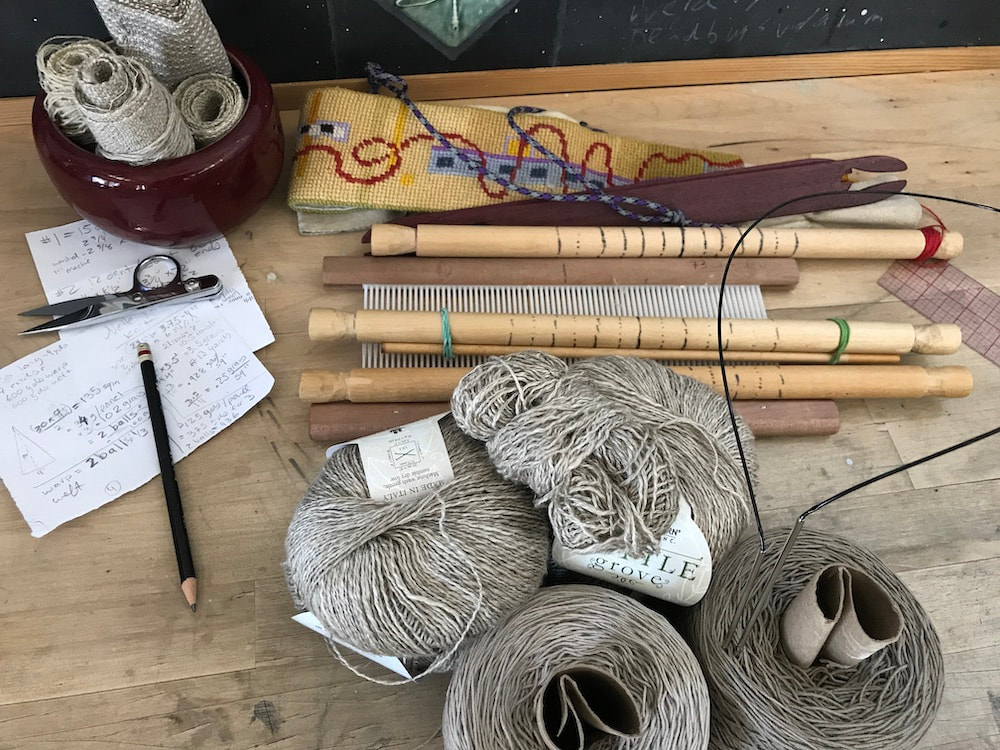
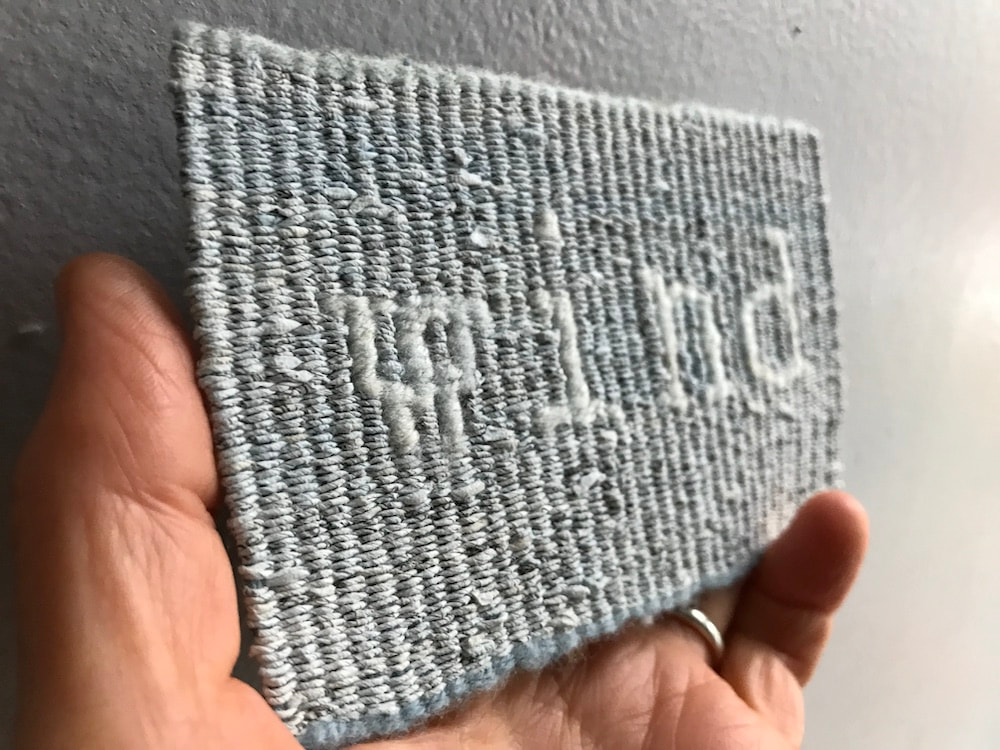
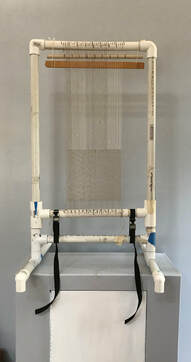
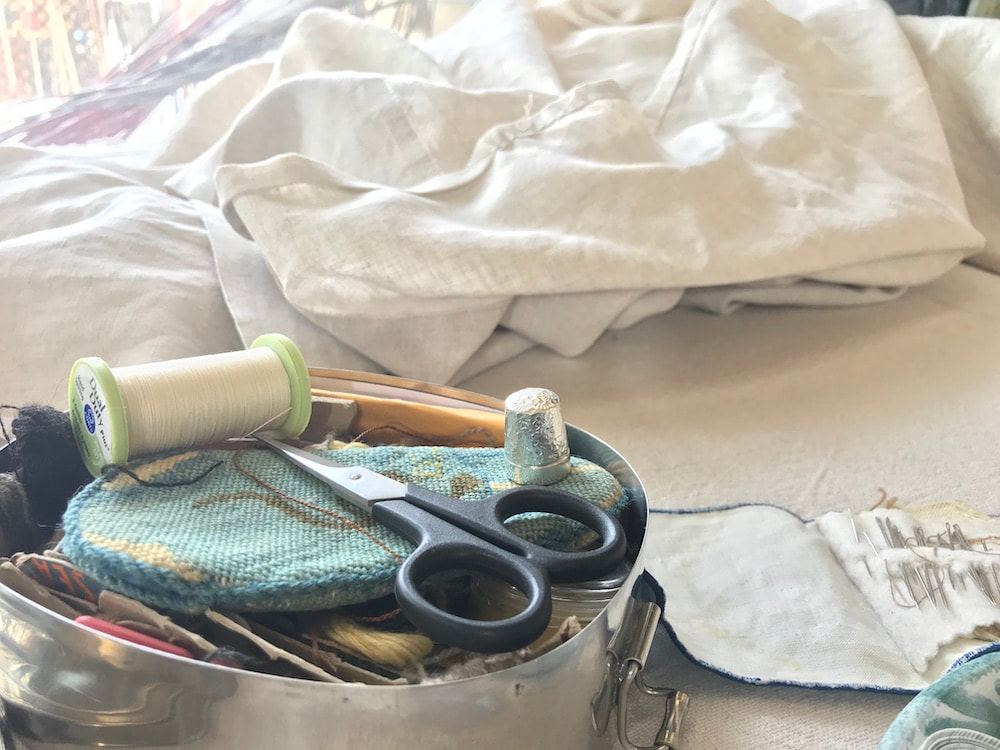
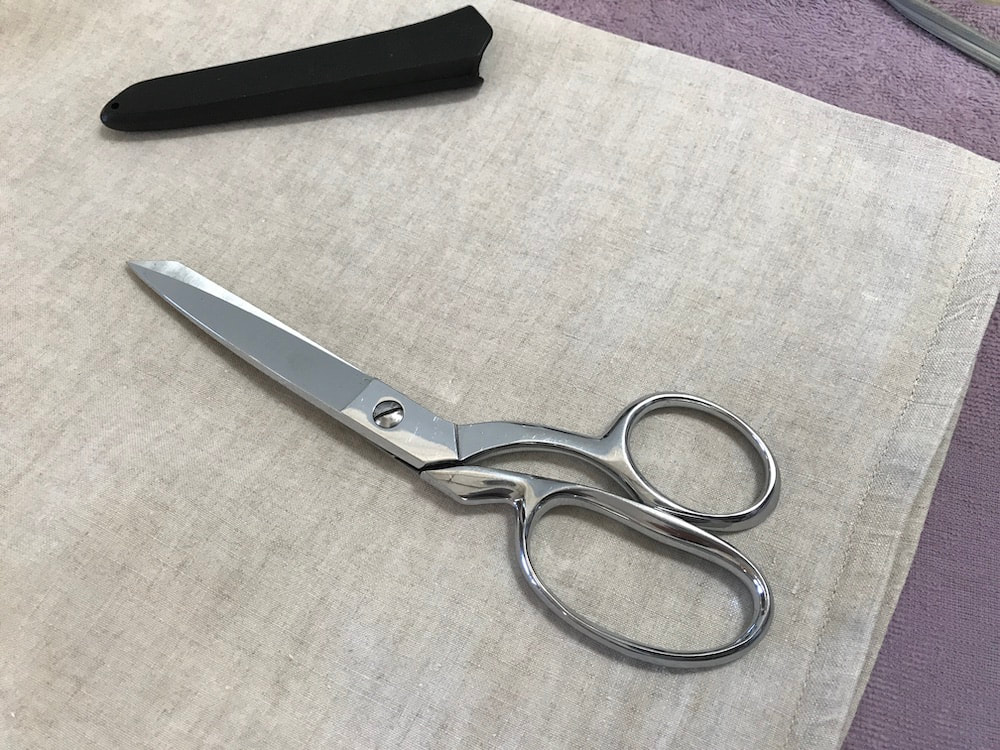
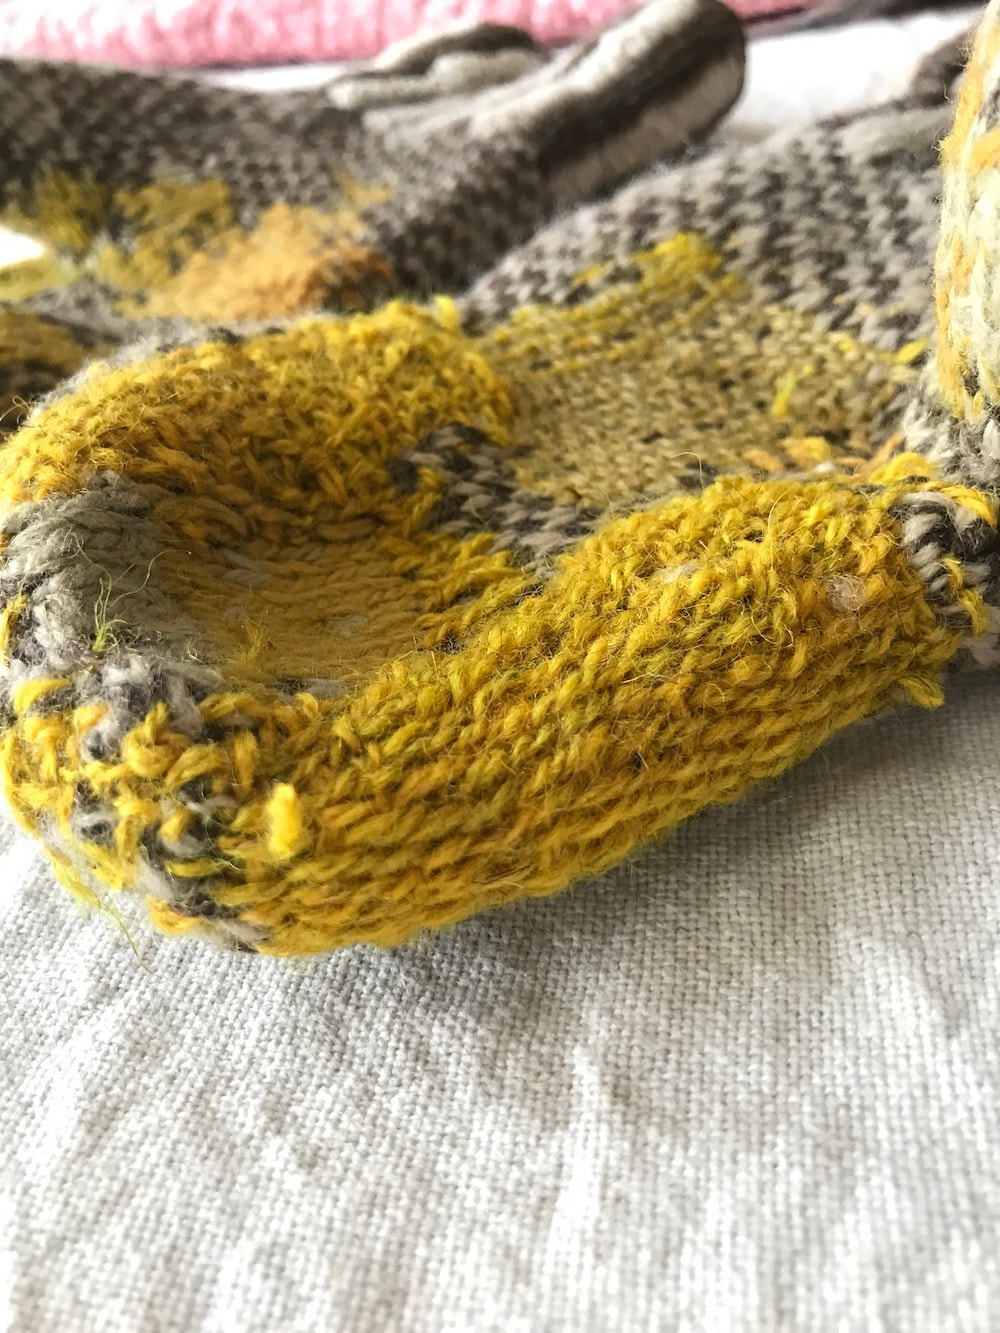
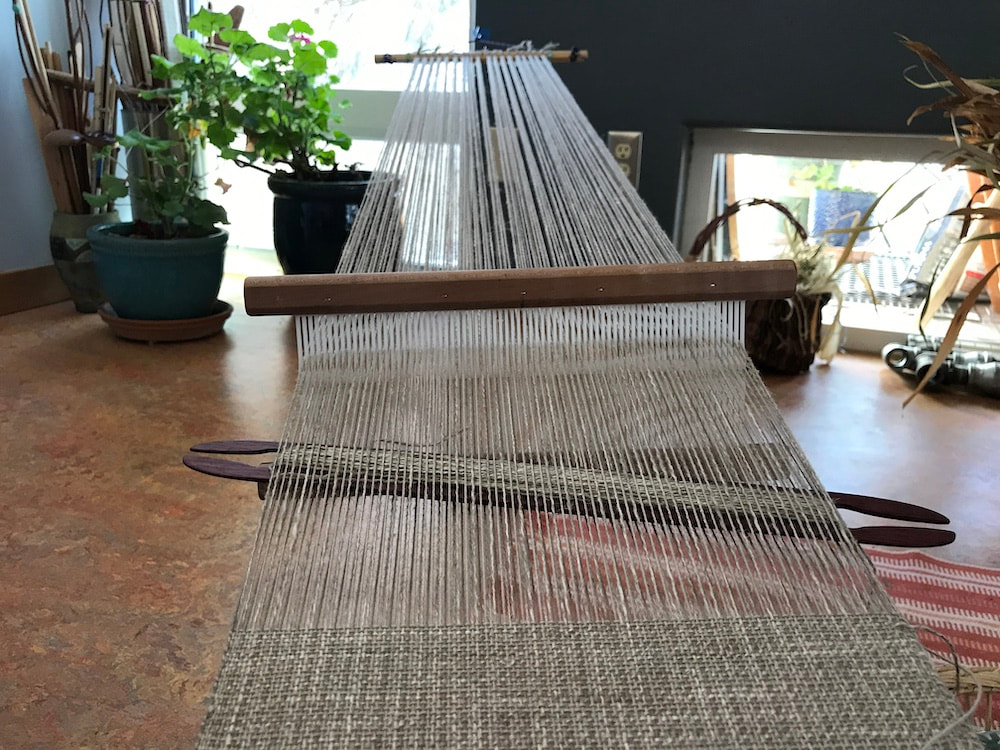
Project in the raw: samples (in the red bowl), calculation sheets, fiber, snips loom and knitting needles.
My favorite samples
are the 100% hand spun linen
and hand spun linesey-woolsey,
but I haven't yet spun enough fine linen  
so I decided to keep building working on that
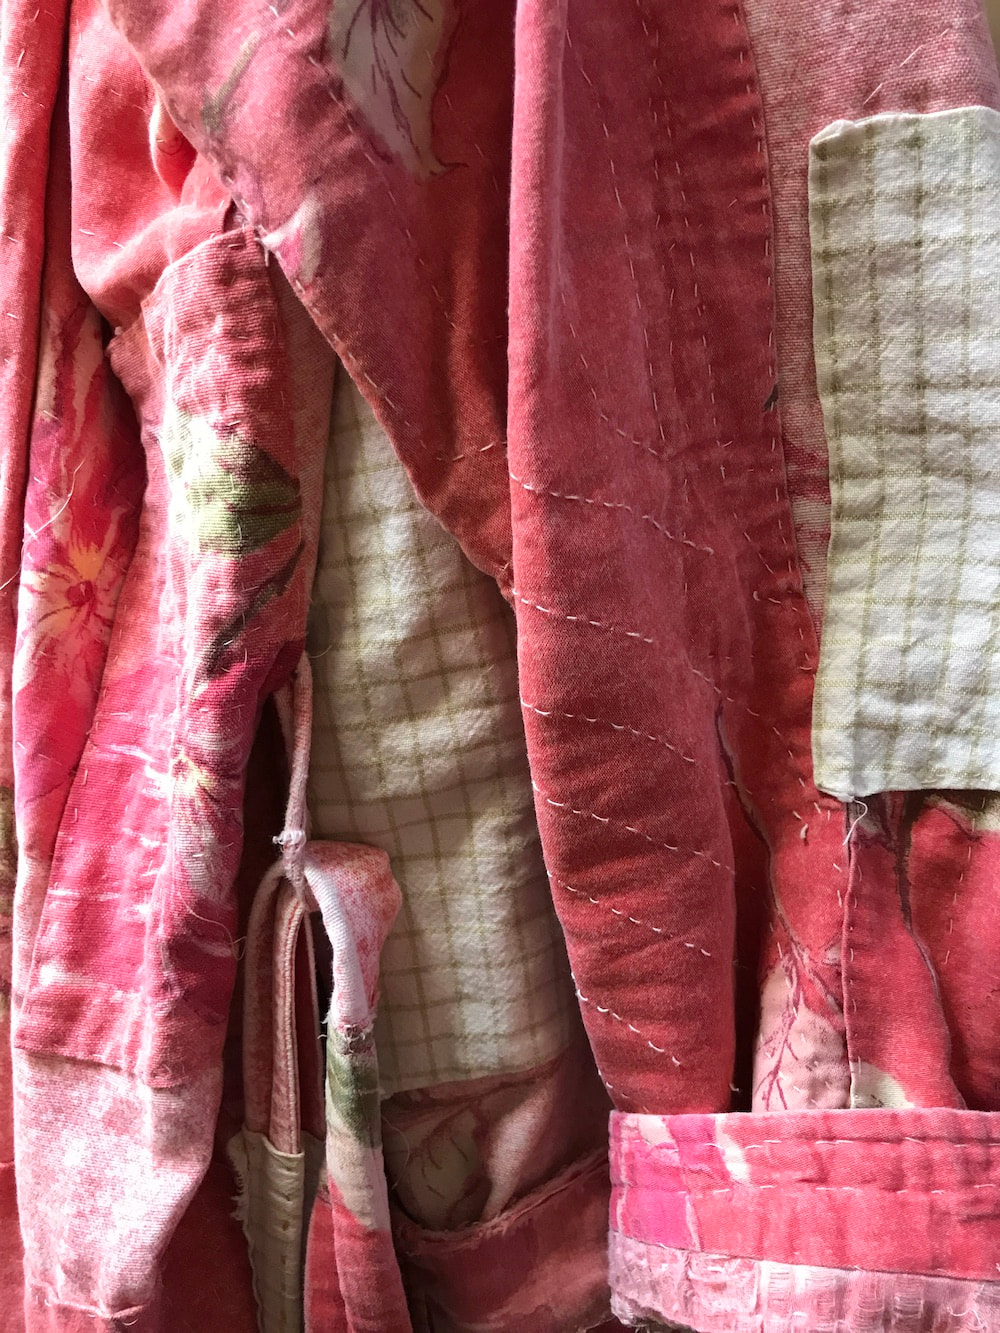
while beginning on this first non-wool skirt:
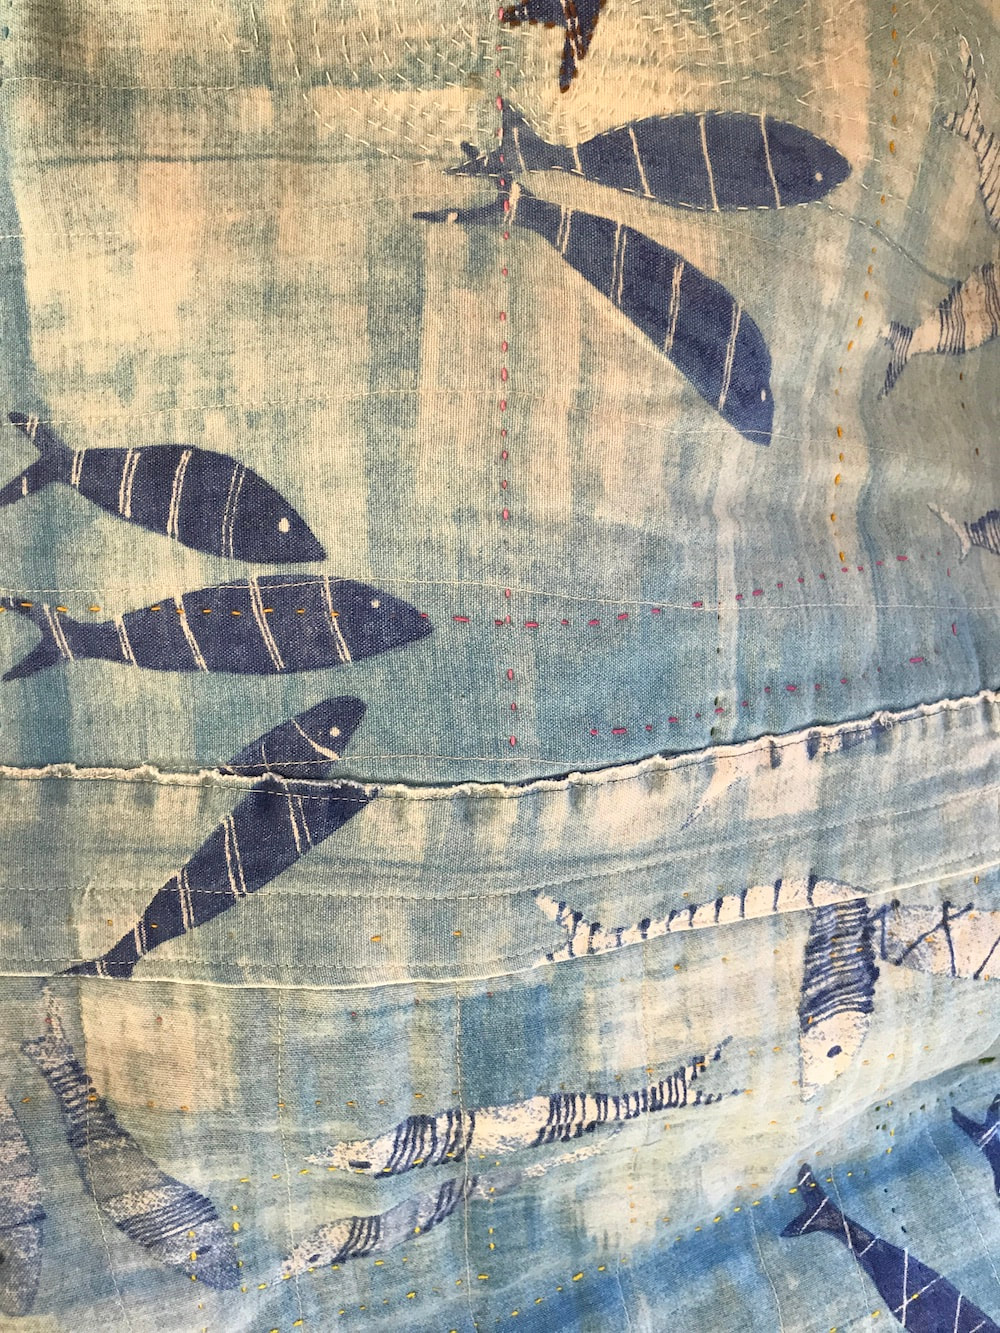
--a combination of the walnut dyed cotton 
and Nettle Grove (cotton, linen, nettle and silk).
I chose this last  in part because of the name,
(though of course there is hardly any actual nettle fiber in it),
in part because there it was at the Yarn Underground (my LYS),
and mostly because it is pleasant to knit with --
and essential feature of Sarah-Dippity  skirt materials.
Picture
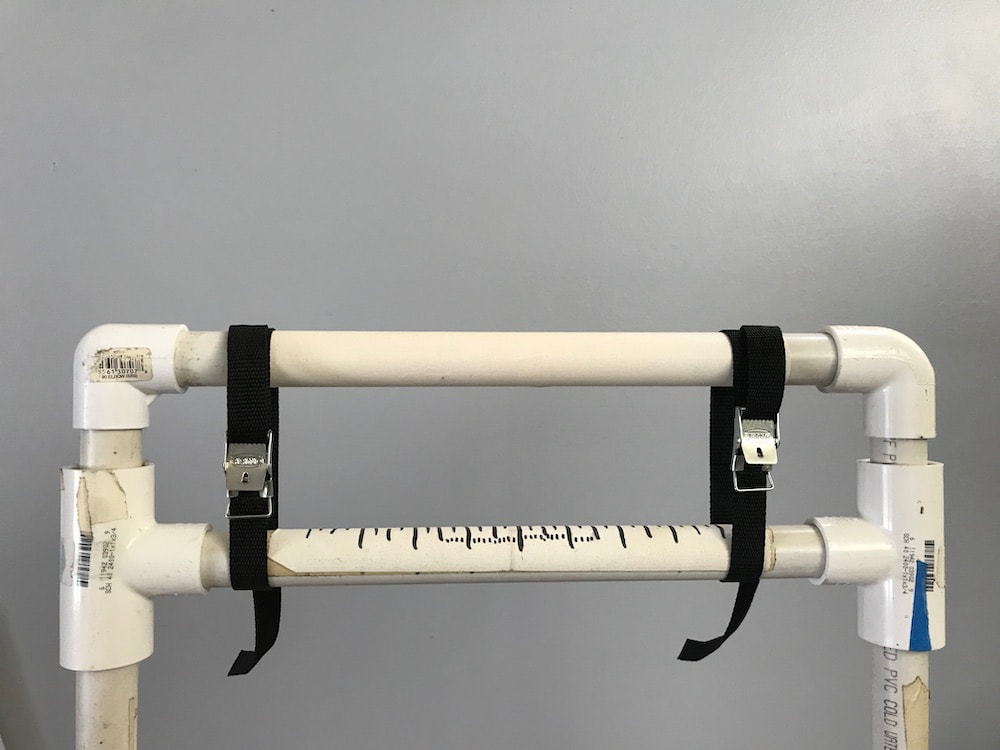
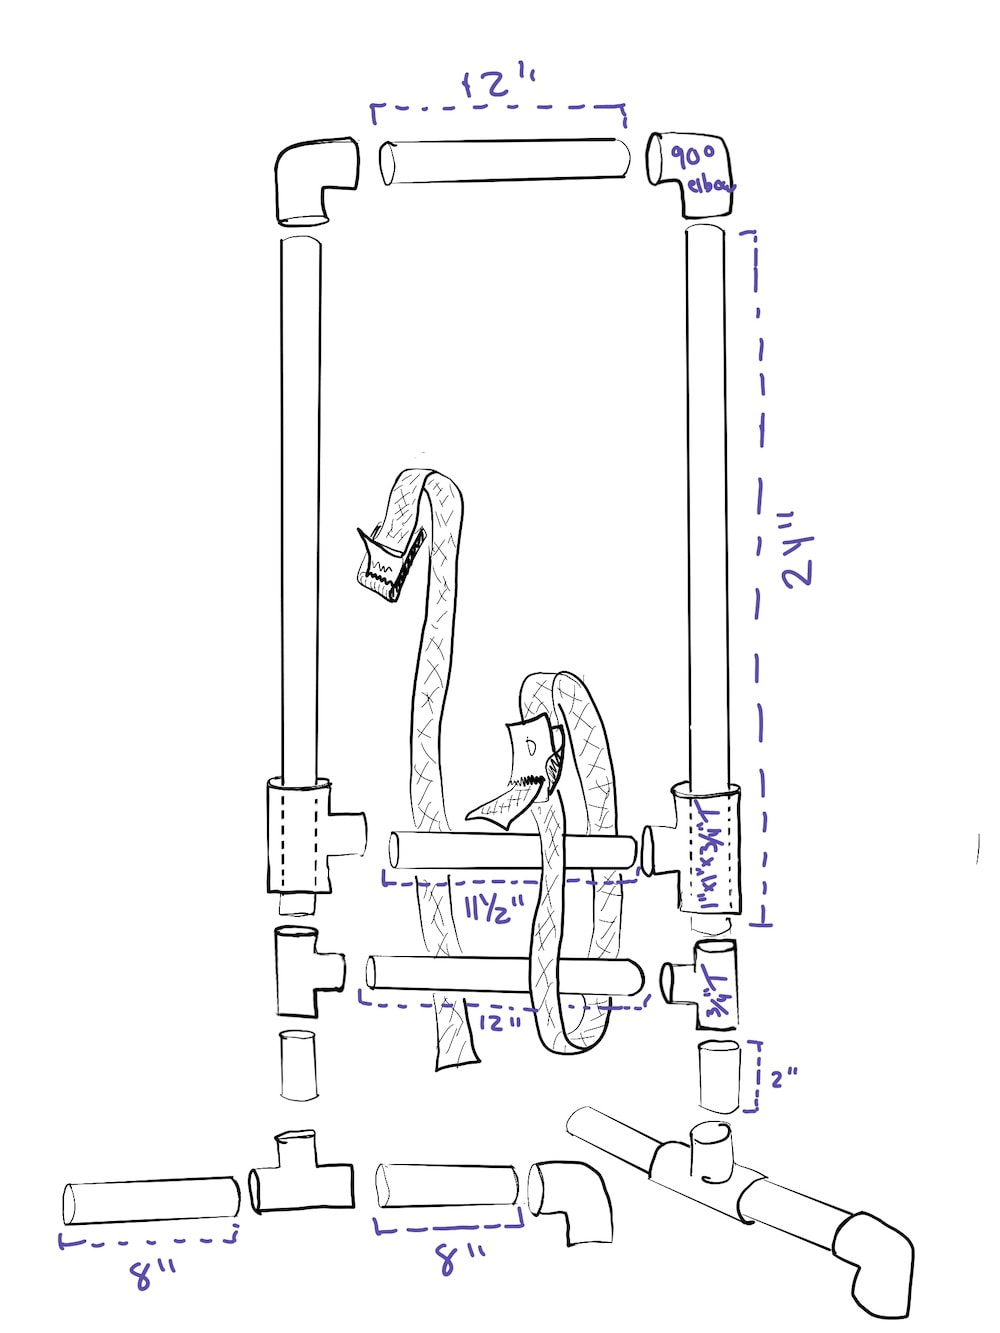
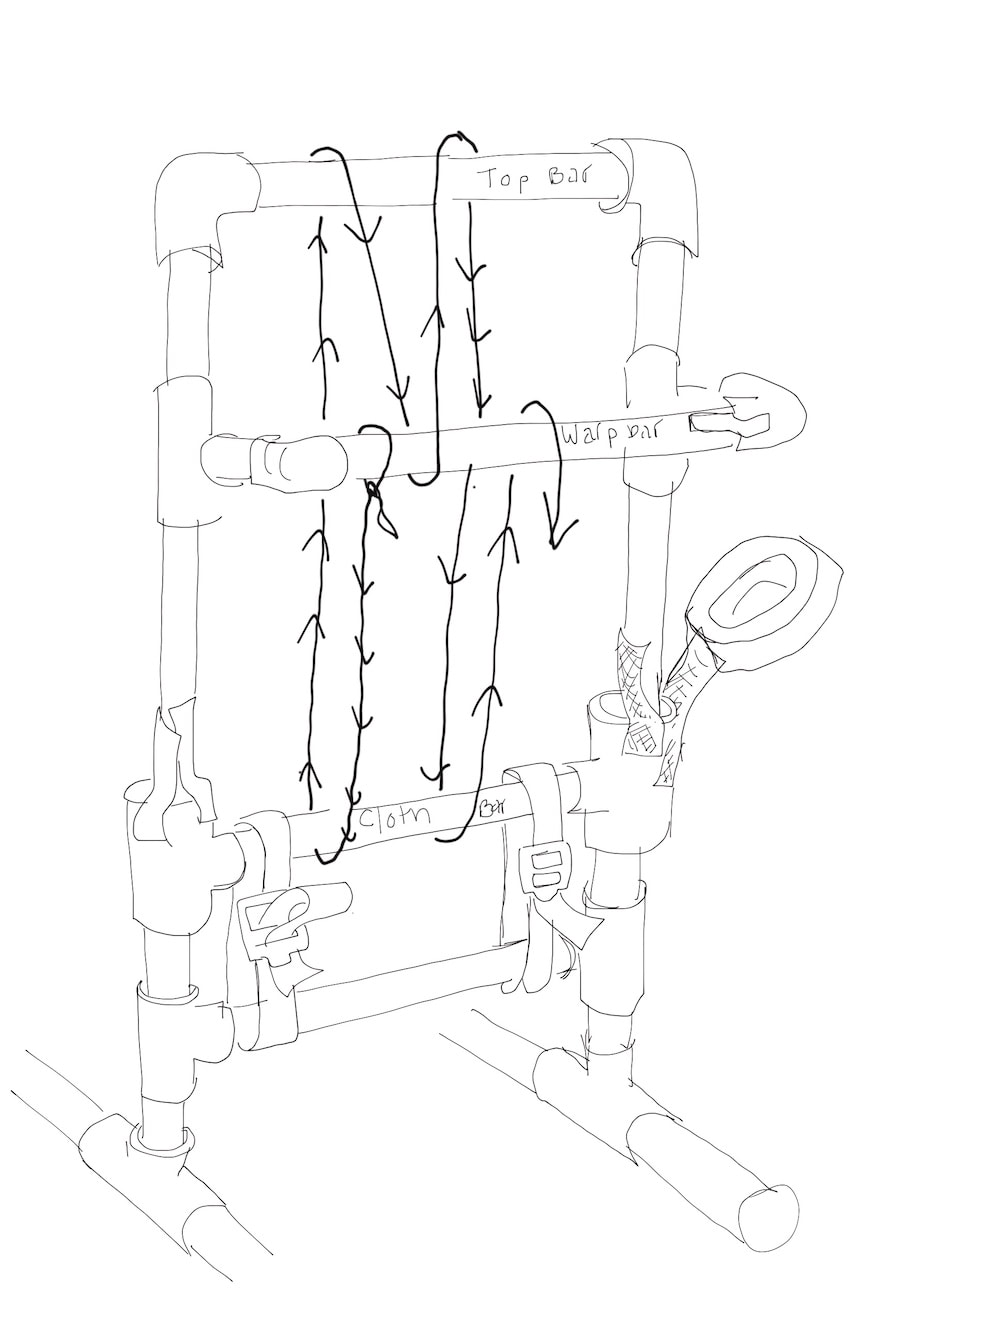
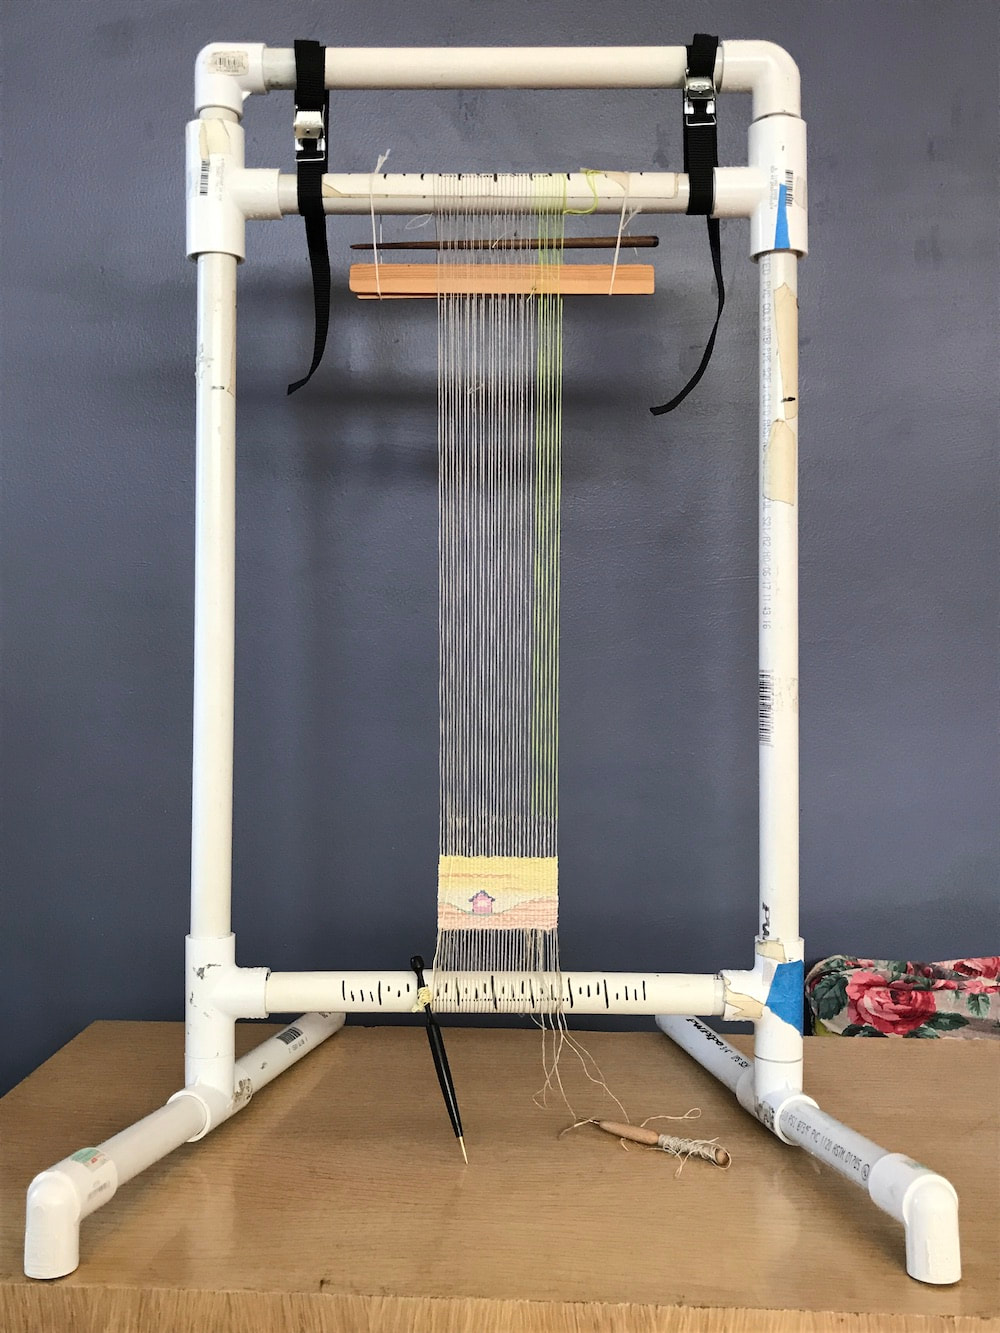
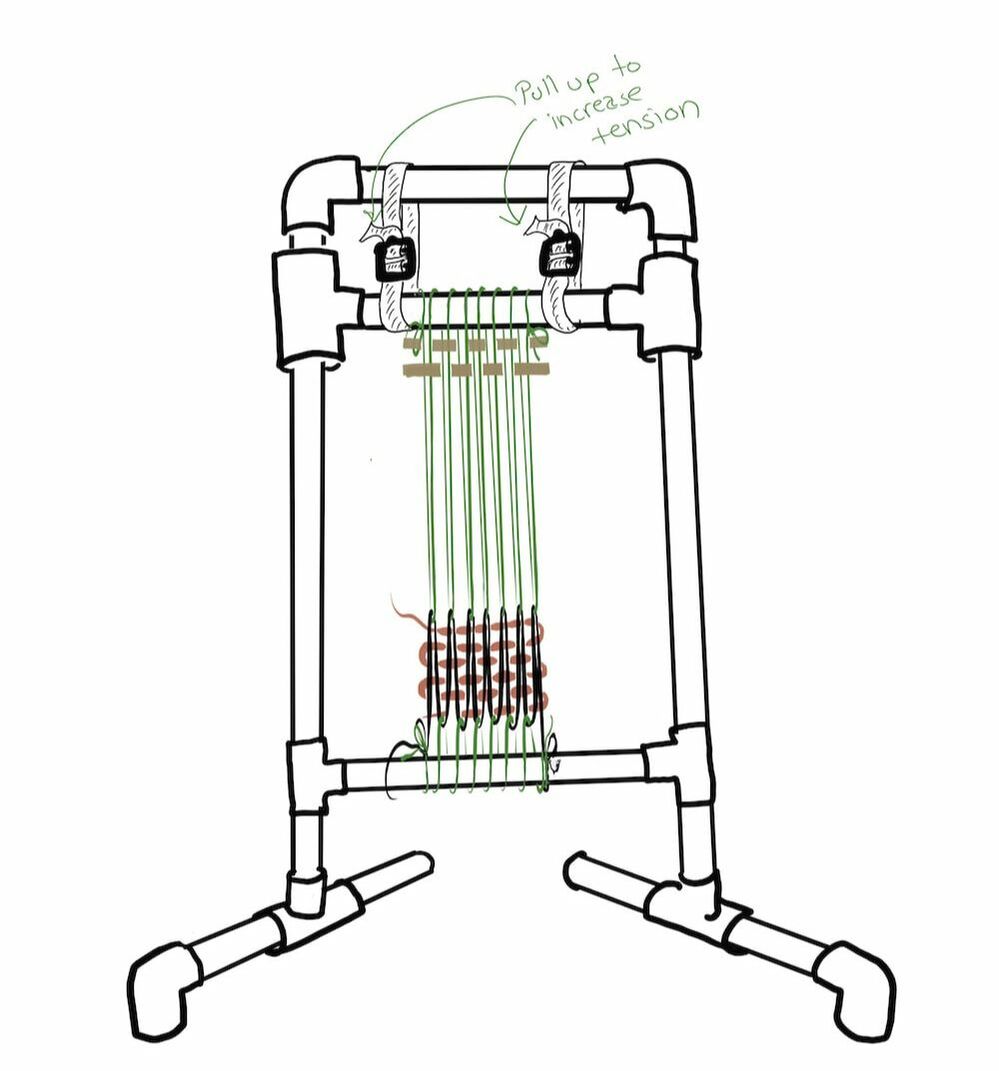
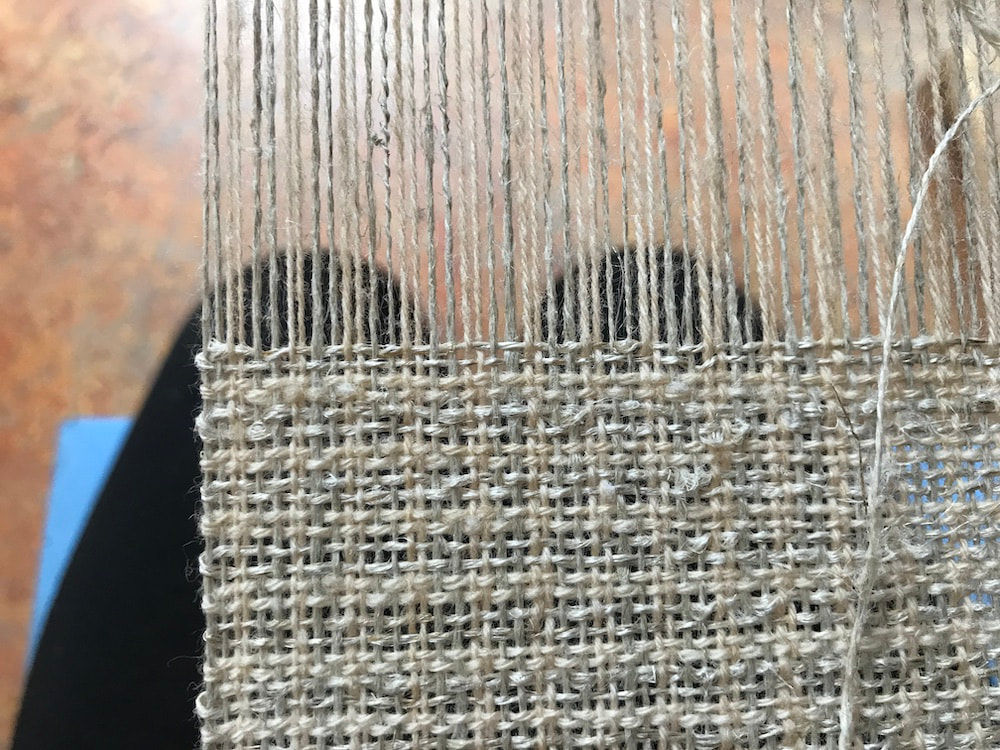
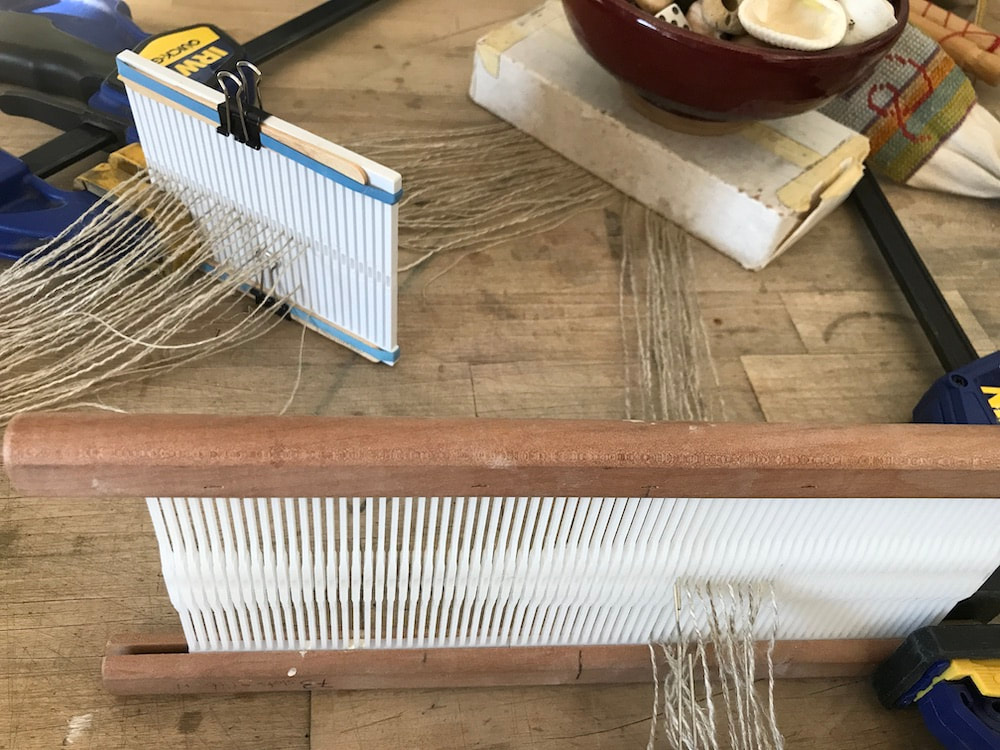
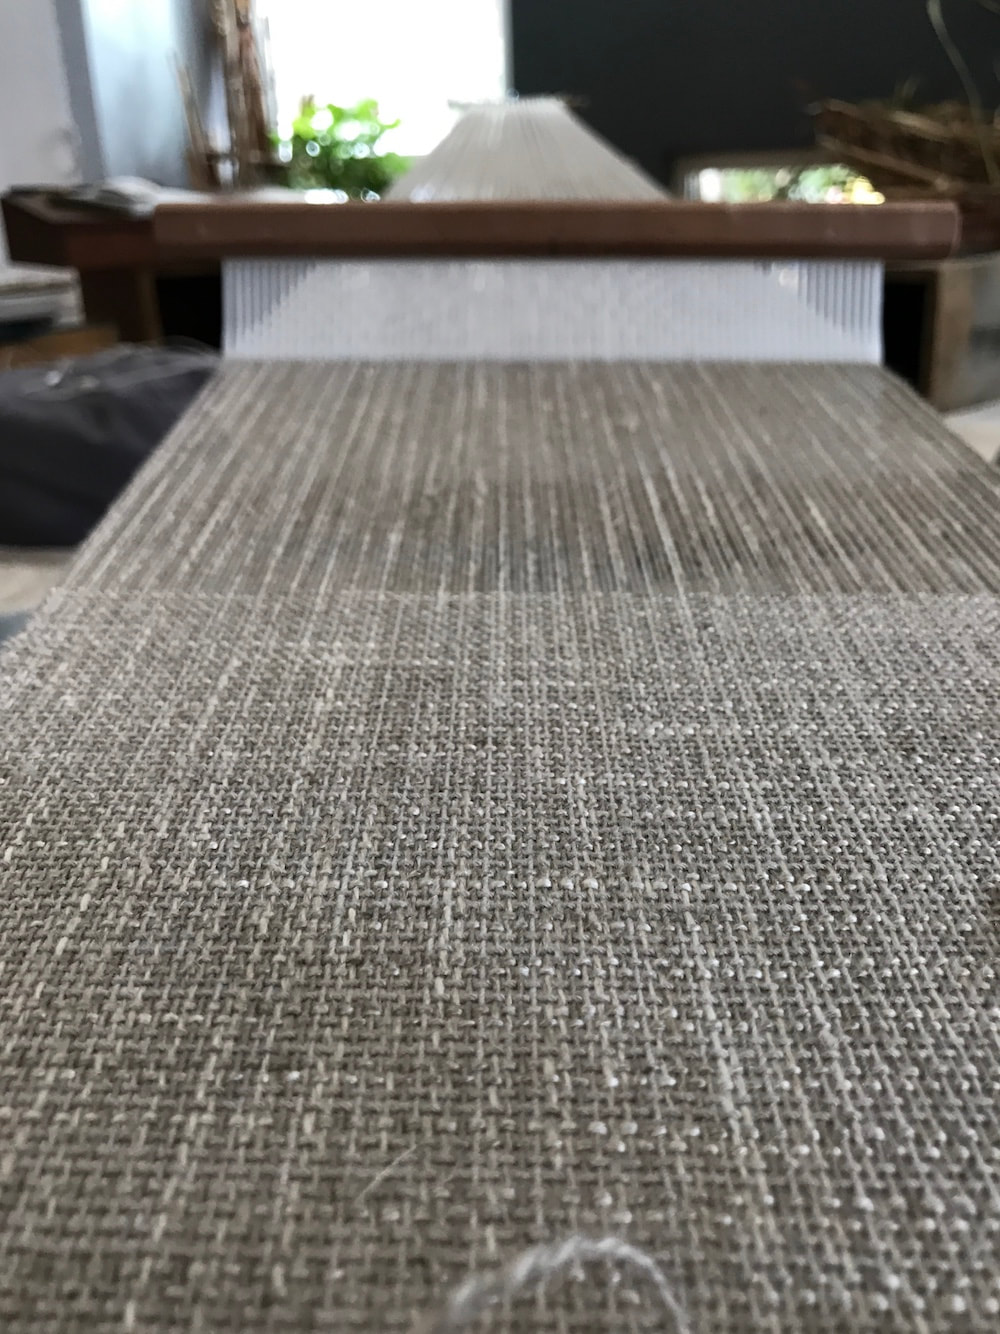
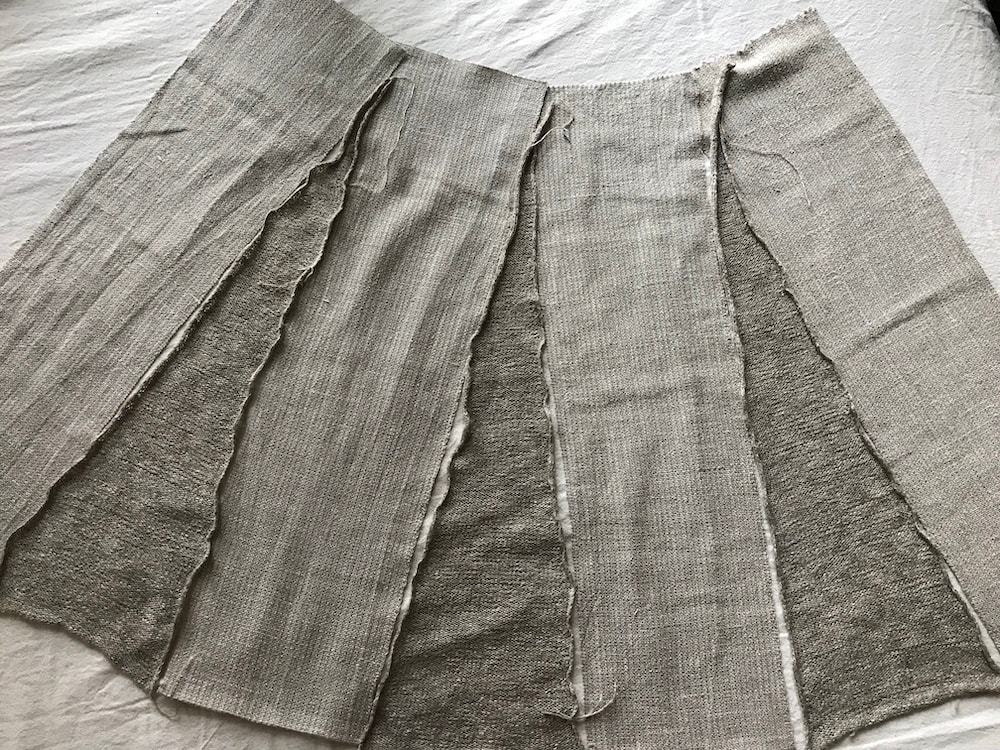
Using the basic warping technique
 from Backstrap Dialogues
I wound my longest  Backstrap warp yet (four+ yards)
threaded the 15 dent rigid heddle,
plunked my butt on the floor,
​and started weaving.
Picture
With a wool skirt to keep my legs cozy,
Picture
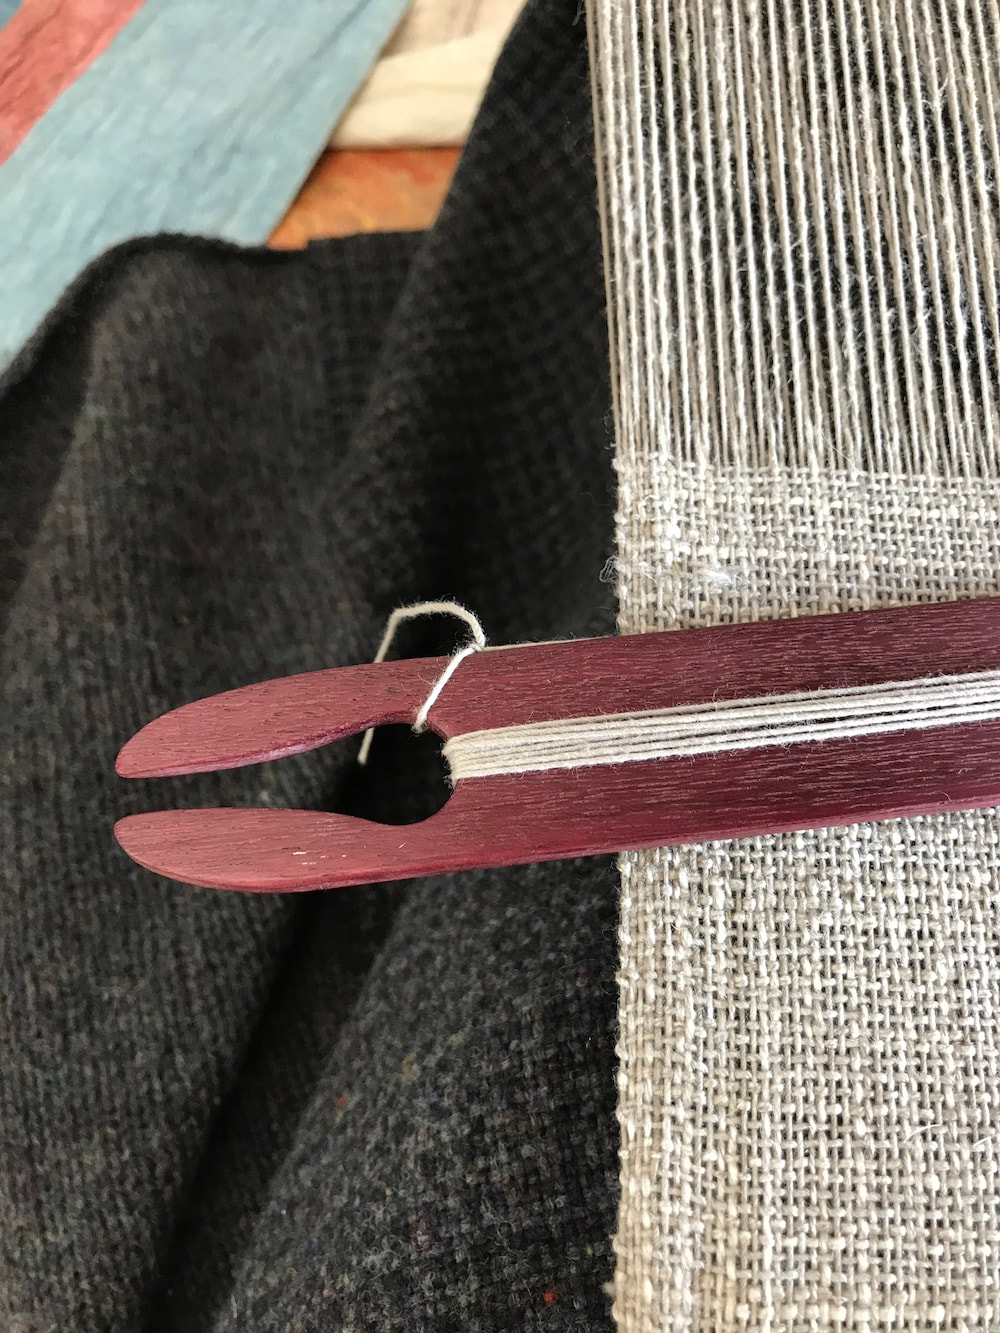
old quilt to sit on,
 and a few simple tools--
Picture
this part went way too fast. 
Picture
All too soon, it was done.
Picture
Of course then I got to wash and press it,
drape it against my legs,
​and get all excited about actually putting it on.
But first
​ --three wedges to knit 
(a couple of weeks of evening reading time),
Picture
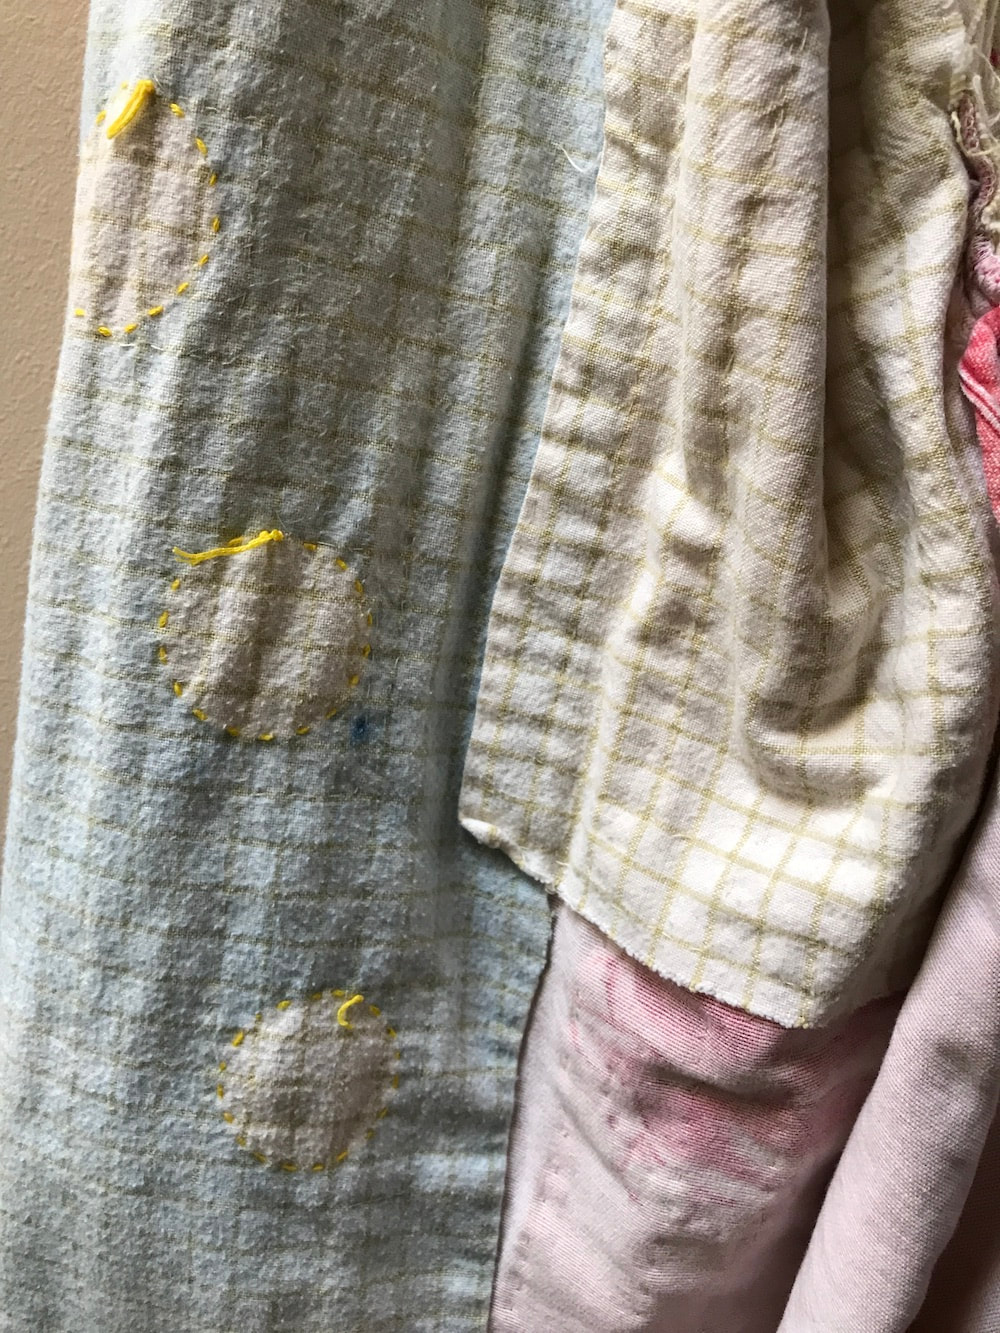
--a rough layout to test my calculations,
Picture
--a more careful layout to test the actual fit
Picture
-- some time devoted to the question
of whether the knitted wedges
should go over or under the woven panels
(I chose under),
Picture
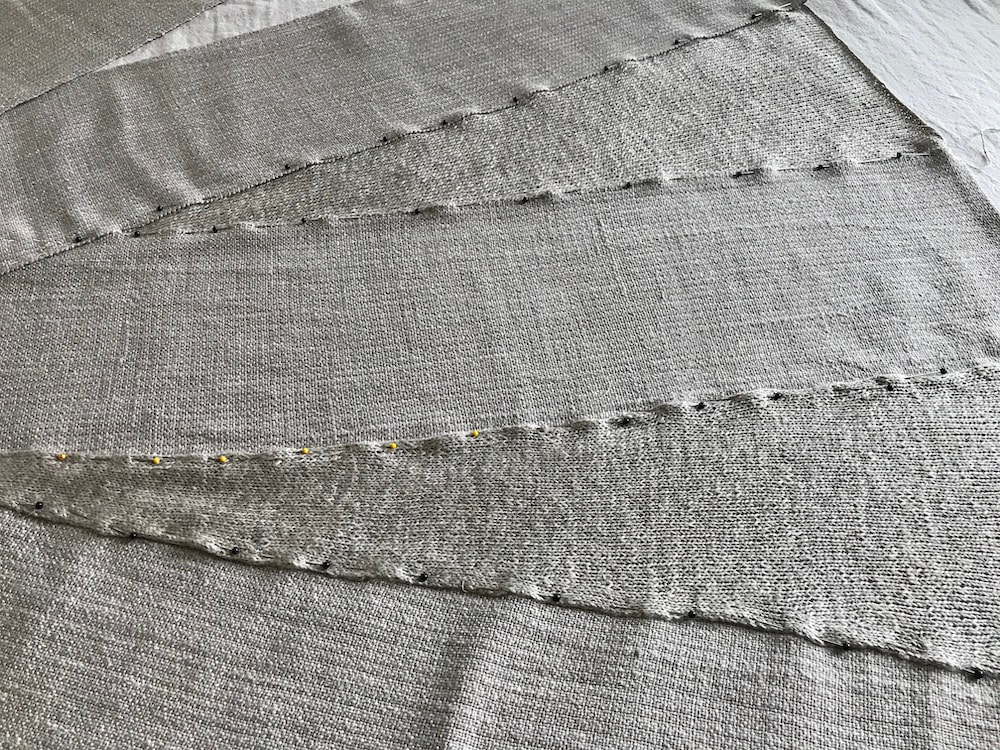
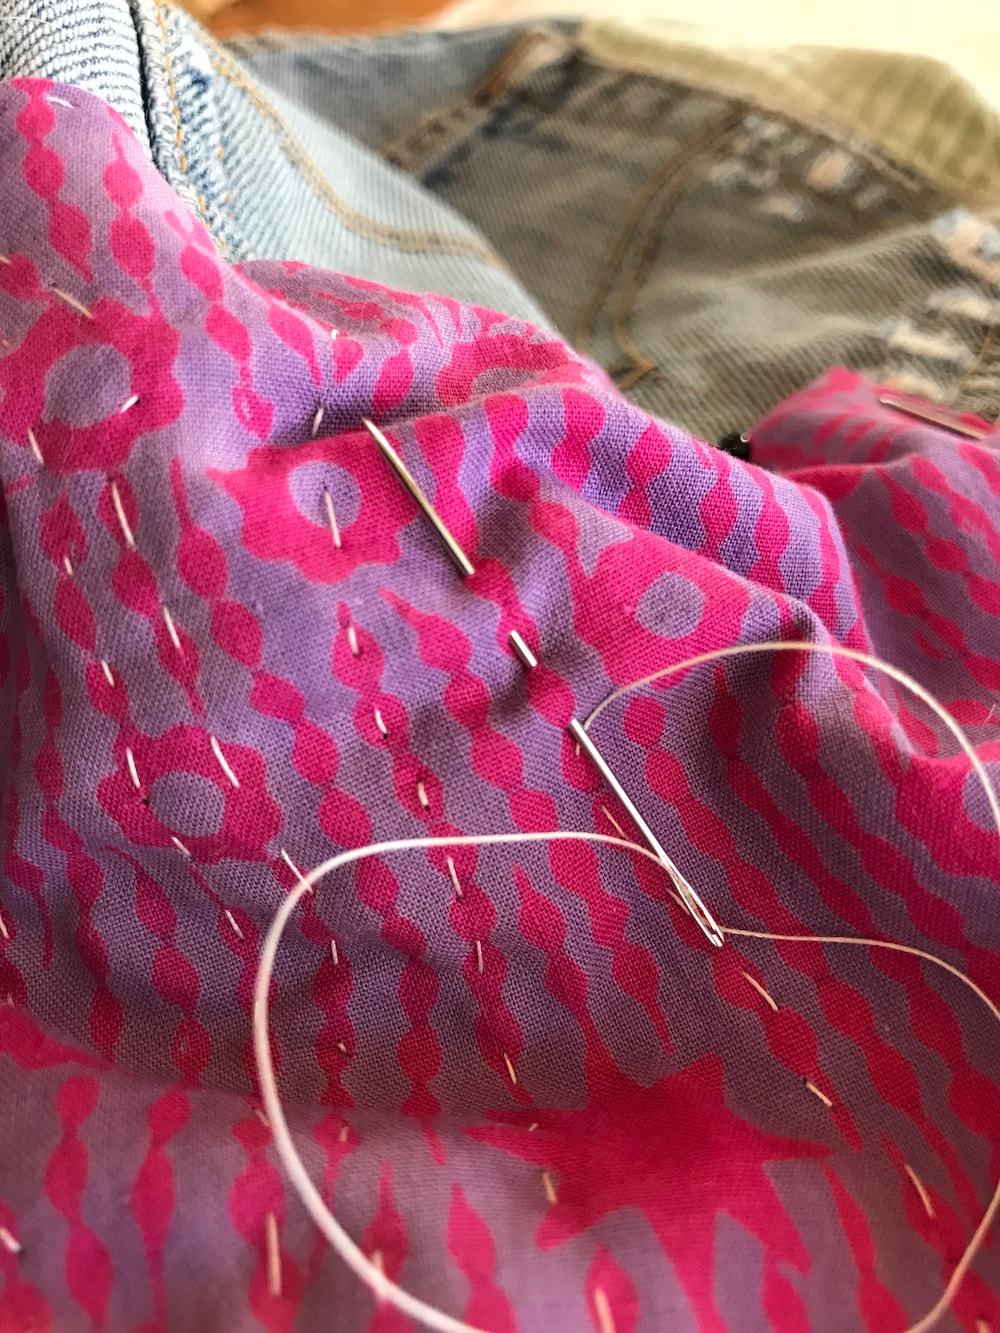
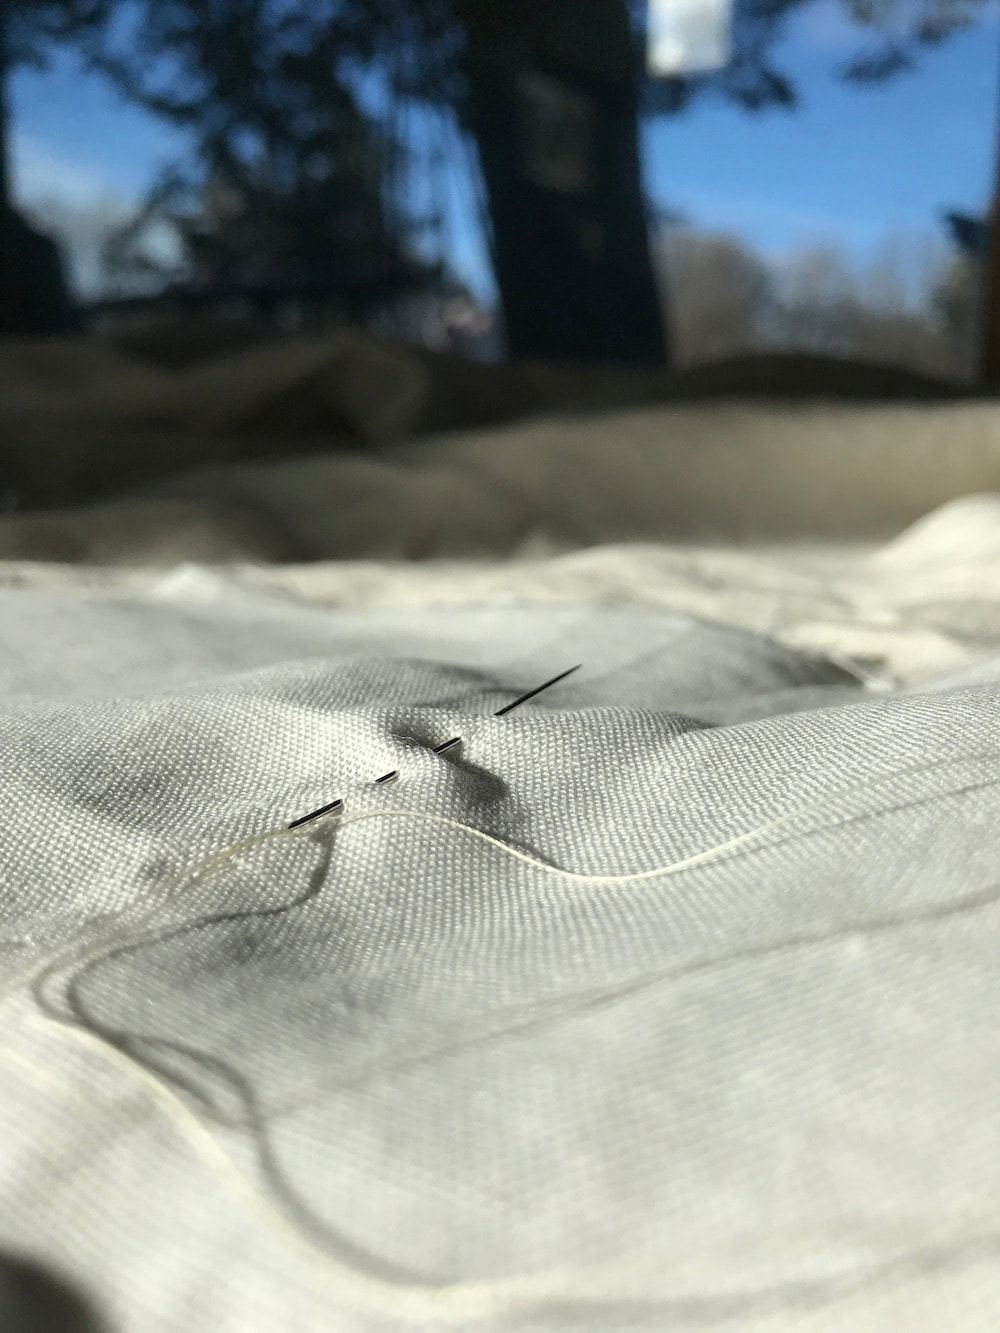
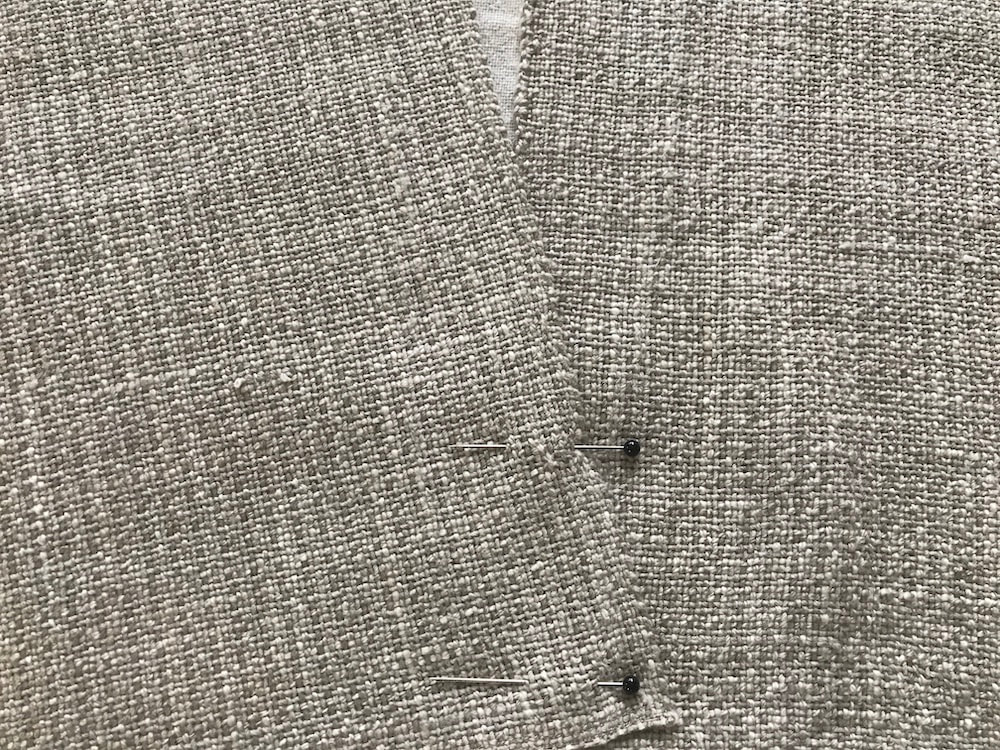
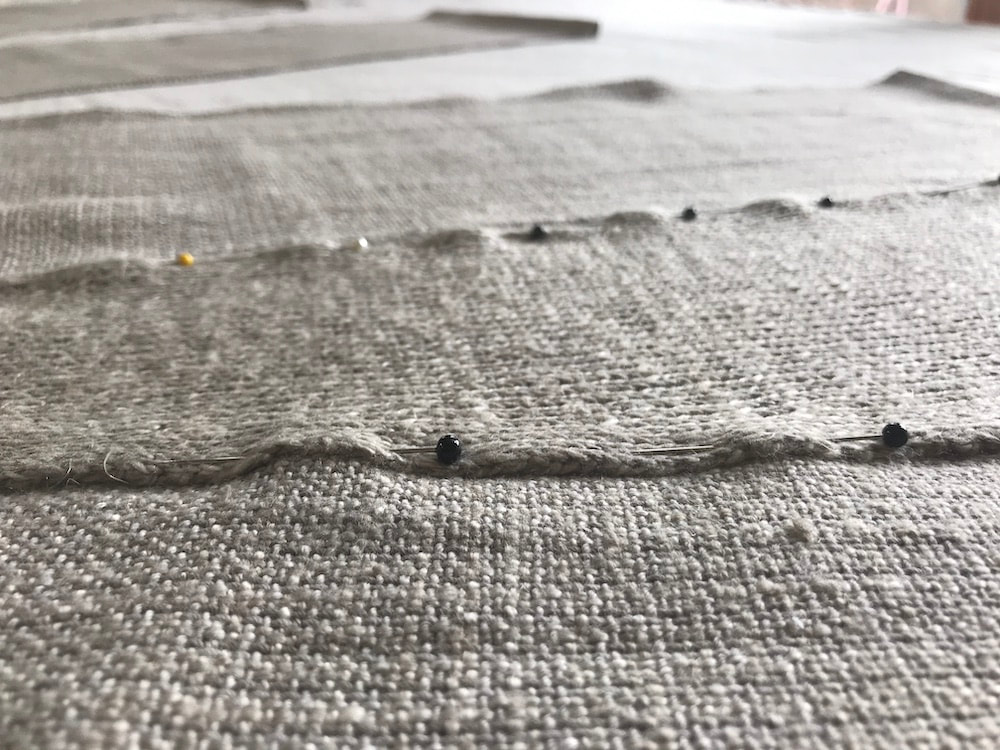
-- careful (but rough), basting 
--and finally, yesterday afternoon,
trying it on (see the beginning of this post),
at which point I learned that I do, indeed,
need to knit a fourth wedge.
Picture
More, then to come in future blog posts:
-the Great Closure Debate
(buttons? zipper? snaps?)
-The Waistband
(I think this skirt might want one,
but do I want to weave it
and if so,
how?)
and 
-Final Fitting
Oh, the DRAMA.

Until then, here are 
a few amazing  Sarah-Dippity links:

-Jaya on Instagram
-Peg on her Blog
-An entire Ravelry Thread
-#sarahdippityskirt
(a hash tag  I hope any of you making skirts and on instagram, will use)
​What else? Do let me know.
Thanks everyone!

PVC Pipe Loom--an idea upside down

3/18/2019

 
Picture
Does anyone else get a thrill
when an idea that seems fixed
is suddenly turned on its head?
This happened to me just a few weeks ago
and I'm beside myself with delight.
Picture
PVC Pipe Tensioned Tapestry Loom
Picture
PVC Loom specs for tensioned tapestry Loom
Picture
PVC Loom set up for a continuous warp and a shedding bar (as described in Kids Weaving)
I've been writing about PVC Pipe looms
since about 2003
when I first began to work 
​on my book Kids Weaving.
There, we used these looms
to weave inkle shoelaces, blankets,
scarves, bags, a ​tapestry dog collar,
​ and even knotted pile.
Picture
Picture
It's not a perfect loom by any stretch,
but it does have some serious advantages:
-- simple to make with readily available hardware store materials.
--easy to assemble (and disassemble),
--an adaptable design, 
-- inexpensive (esp compared with almost any other loom on the market)
--homely (everything you weave will look better than your loom)
--portable (you can weave almost anywhere)
Picture
Picture
I've blogged about them several times:
-October 2015: PVC Pipe Loom
-January 2016: Four Selvedge Tutorial
-February 2016: Long Warp/ Short Loom (continuous warping)

They are also an important component of Fringeless,
(the Four Selvedge class with Rebecca Mezoff),
and I use them regularly in my work.
Picture
Linen Four Selvedge Warp on PVC loom (warp approx. 6" square)
Picture
First Dead Leaf Tapestry; Daylily leaf cordage on PVC Loom at left.
For all these years though,
and in all these places, 
I've put the floating tension bar
at the bottom of the loom.
Then Judy Smith, 
who chose to build a PVC loom for the Fringeless Class,
put her tension bar at the TOP!
Judy shared a photo on the Fringeless private facebook group
and though I am not on facebook,
Rebecca thought I should see the fabulous work Judy had done.
She (Rebecca), thought she was showing me tapestry,
little knowing that I would get double the pleasure
when I also caught a glimpse
of the configuration of Judy's loom.

Of course I promptly had to try it --
and the reality was even better than I imagined.
Picture
The main difference is in the ease of set-up,
as the floating bar does not have to be
held in position with tape
while the warp is put on
(as shown in the third drawing at the top of this post).
It simply hangs in position
while the warp is wound on.
Picture
​Another advantage is that
 the weaving area is several inches lower 
so considerably easier on a weaver's back.
​
Also, the tension straps are out of the way
​leaving more room to work.
Picture
Alas, I don't have a photo of Judy's Loom and Tapestry
but happily Judy gave me permission to share her thoughts,
and here is what she has to say:
Love my pvc loom. I think I set it up that way because I was used to the top bar being tensioned when I did Navajo style weaving. A little more about that loom: most of the loom is made of the heavier pvc (#40 something) 1” size. It is all lined with the thickest wooden dowels that will fit inside in an effort to prevent bending. The “tension bar” is a 1 1/4” dowel. That will not bend. That bar just happened to fit into a slightly different pvc (must have been 1 1/4”) that both held the sturdy wooden bar and slid on the 1” pvc side bars. 
Love the fringeless technique. Being used to Navajo weaving, I hated dealing with fringe when a piece was finished. If weaving an actual rug (really going to put it on the floor), then I would want the toughness of the Navajo edges. But for all else- I sure love the fringeless.
Picture
Wow, Judy --
this is so helpful, both to me
and to anyone else who might want to try a PVC Loom.
Though I, too, have reinforced the PVC with interior dowels,
it is not a thing I've done for a while
and I appreciate the reminder. 
As for the position of the tension bar --
the idea is so wonderful and obvious that I feel a bit dense
for never having thought of it in all these years,
and can't thank you enough
for your vision
and for blowing my mind.
​Sharing ideas is just the BEST.
Picture
Hand Woven Four Selvedge Tapestry in Progress; linen warp; spun coffee filter weft; natural pigments; 3" x 3"; PVC Pipe loom.
​One of these fine days I might get it together
to draw an instruction booklet 
on ways to warp this loom,
but for now, the links above will have to do.
Kids Weaving, though now out of print,
is also still a great source of information--
copies can be found at close to the original price.
And now we have Judy's idea 

that I get to add to the PVC Loom canon
and share here, with you. 

Picture
So now that I've waxed nostalgic
from looking at Kids Weaving
and thinking of the grand time we had
making stuff on those looms,
 I'll close with this photo
 taken in the late 1990s by Jodi Gear
(of the Pigment-dyed coffee filters I wrote about last week).

It feels astonishing to me
that I  still have the dress (if not the hair),
am still making yarn to weave with,
and happily,
still have a thing or two
or ten
​ to learn
​about all of it.


Coffee Filter Yarn

3/12/2019

 
Picture
So just when I start thinking
that turning coffee filters into yarn
is interesting and satisfying
but not necessarily
​my absolute favorite thing in the world...
Picture
Hand made watercolors by K J Gear and Sarah C Swett (mine are the funky ones in shells with the consistency of tar...)
my friend Jodi Gear
sends the exquisite 
naturally pigmented coffee filters
she has used to make
 handmade watercolors 
(many of which I get to test--how lucky is that)?
Picture
She was going to throw them away --
the point, after all, was the pigment they contained--

but then fished them from the garbage
​because they were just so pretty.

​SO pretty, 
and springy
and joyous
that I was diverted from
the thrilling project I intended to write about today--
Picture
 to spend more time
with these colors
as snow falls from the sky--
again.

Happily, it turns out
that not only are the filters lovely 
but they are also easier to spin 
than the heavier brown ones I've used so far
Picture
Round rather than cone shaped,
they are also lighter in weight
so I get a finer yarn for a given width of cut.
They are also strong,
which made them easy to handle
when I dunked a few into an indigo pot
to get greens and purples. 
(Jodi has done a LOT of cochineal experiments!)
Picture
Hand Made Watercolors and the filters that made them (plus indigo).
As I've written before
I'm a newbie at this business of spinning paper,
but nonetheless I thought it'd be fun to share
a technique for transforming
a round piece of filter paper
into a continuous strip
​that can be twisted into yarn--
​in case you want to try too.
Picture
Picture
1. Fold the filter in half.
2. Cut from one folded edge to 1/2 inch (1cm) from the other
following the curve.
​DO NOT CUT THROUGH at the end of the cut.
Picture
Picture
3. Make a second cut parallel to the first
and approximately 1/4 inch away
4. Continue cutting parallel  strips  as shown,
always stopping about 1/2 inch from the other folded edge,
until the entire filter is in strips joined at one edge.
Picture
5. Open out the filter with the uncut edge up.
6. Cut from top slit at an angle through to the edge
​making a free end as shown two photos down.
Picture
6. Cut at an angle from the next slit
to the one diagonally across from it
(offset by one as shown).
Picture
7. Continue connecting the offset slits in this way
until the entire circle is one continuous strip.
--It's probably a good idea to make sure it doesn't tangle as you go
​but I'm a little casual about this,
so have to be gentle when handling it.
Picture
The paper spins best when slightly moist
so at this point I've found it best to wrap it in a damp cloth
and let it sit for half an hour or so.
(hankie soaked in water and squeezed out really thoroughly).
Before I read about the Hankie Method
I misted it lightly all over with a squirt bottle,
tossing gently to make sure the paper was evenly damp,
but the hankie method seems to work better.
The amount of moisture is apparently unique
for every kind of paper
and every atmospheric condition
so I've had to practice and adjust...
Too much water and the paper falls apart in my hands.
Too little and it doesn't want to accept the twist.
Experiment!
Picture
The coffee filter paper is far stronger
than, say, the variable annuity semi-annual report pages I've used
but it still won't take a lot of pressure 
(too much 'suck' on a spinning wheel would snap it instantly),
Picture
so I've been doing most of the twisting 
with my Ashford Charkha, 
which has a very low drive ratio.
Other twisting ideas:
Charlotte, a weaver, has used her bobbin winder to great effect
twisting old sewing pattern pieces into yarn
My lightest high whorl Hepty Spindle (20 grams) works well,
and imagine a supported or Medieval spindle would also be great.
Picture
But back to the charkha:
I make a kind of purn 
by wrapping the spindle shaft with a piece of scrap paper,
 taping it at the overlap so it won't unroll while I'm starting to spin.
This allows me to remove the fiber from the spindle 
without unrolling it while it is still damp and fragile.
It's also a handy way to store the yarn.
Picture
Sometimes, if I'm in a hurry,
instead of winding the yarn onto a bobbin
​I even weave with these purns.
It's not particularly effective, 
(no tapping the yarn into place and sometimes they come unwound),
​but alas, I do it anyway.
Picture
This yarn from Jodi's filters
is the nicest that I've made so far--
almost as fine and and pleasant to use
as the samples that Velma sent me.
Picture
It's not my beloved wool, of course.
Nor, indeed, is it as blissful to weave with
as hand spun linen (though a damn site easier to spin).
But I like it.
It has possibilities.
I might eventually try to use it
for something other than tapestry.
Just what I do not know.
But most yarnish experiments are worth a try--
even when the precious materials
have been rescued from the trash.

And oh golly, these colors feel like spring.
Picture
There is so much richness in this material
I hope you will give it a try.
And if you do,
please keep us posted about your experiments, K?

Sides to Middle and other Mending

3/5/2019

 
Picture
Our house does not have a linen cupboard,
which means we only  have
one set of sheets at a time.
and on laundry day
​ they must go
off the bed,
into the washer,
onto the line,
and back onto the bed
before nightfall.
Picture
My husband is also a restless sleeper,
and wears out our sheets 
at what seems a prodigious rate
so over the decades
we've been through
quite a few.
And of course this makes me sad
as, being a textile person,
I get attached.

Happily however, though the cloth gives way
in the middle of a sheet
there are still many useful bits 
around the edges.

I've sewn many into bags
for shipping tapestries,
and storing clean fleeces.
Picture
Others, I've loved so much 
that I sewed them back together every which way
with bits of themselves or others
layer upon layer,
like so much flannel Boro
which can be used as an extra thick sheet
a funky quilt,
or even an indoor sleeping bag.
Picture
Still others have reinforced
my favorite bathrobe
(my only bathrobe, actually),
which grows thicker by the year
as the yummy old cotton wears away,
like sand on a coastline,
and is subsequently replaced
with the rich edges
of the most recent sheets
whose centers have bitten the dust. 
Picture
A few years ago I wondered
if actual linen linens
might last a little longer than cotton,
so splurged on two huge flat linen sheets,
on the theory that constant shifting
of bottom to top
and top to bottom 
and this side to that
might distribute the wear.
It seemed to work, for a while.
Certainly faithfully turning them 
has given me lots of good practice 
making tight hospital corners 
on whichever was acting as the bottom sheet.
But alas, even as they have grown
softer and more delicious,
the usual wear patterns still showed up
and the day before yesterday
as I hung them to dry from the beams of my studio,
I saw actual holes.
​Sigh.
Picture
But wait!
I have scissors
and needles
and thread.
I have hands
and some bits of other linen
for patches.
Dammit -- I LOVE these sheets.
I can REBUILD THEM
Picture
Sides-to-middling is a thing
I've only read about in novels --
 usually used as an adjective 
to describe genteel poverty
or excessive thriftiness
as in "she has sides-to-middle sheets."
It's not generally seen as a compliment. 
But somehow it always intrigued me.
And it seems straightforward enough.
So yesterday I cut the sheet down the center,
​(the one with actual holes),
began hemming and patching the new (worn) edges,
and later today (I hope)
​will stitch the previously unworn sides
​together to become the new middle.
​It won't be fancy,
But I hope it can go back on the bed.
Picture
But my mending is rarely fancy.
There is no special thread
or elegant Sashiko stitching in this work.
Not that I'd mind if there were.
Picture
I just know that if I set up such expectations
the mending would not happen,
so I rely on plain old running stitch,
the occasional backstitch to anchor it,
whatever thread that is at hand,
(quilting thread, embroidery floss, all purpose in some color).
and sometimes a patch
​ (fat quarters are fun)
on the inside or out
(or both for the butt of my jeans).
Picture
The results, alas, are haphazard
since for me the point
is to extend the life of beloved
or particularly useful  clothing
so they (and I) can get back to work.
Picture
Cuffs on a hand spun sweater I knit for my husband (Romney fleece), in the early 1990s --fourth or fifth cuff rebuild...
Not that mending isn't work.
Indeed, without me really noticing
​I find that it has become
an elemental component of my practice --
not only to extend the life of a handspun sweater
​or expensive sheets,
Picture
but also to honor
​some perfectly replaceable leggings
​that just happen to have come in to my life
​and fit just right
Picture
which makes them as valuable
as whatever spindle spun 
backstrap woven cloth
​I make while wearing them. 
Picture
linsey-woolsey experiment
My mittens,
hand spun and knit by my dear friend Rochelle,
no longer look much like they did when she gave them to me,
but golly, it would have been hard 
to deal with all the snow this winter
​without the layers of yellow yarn
I hurriedly apply over the holes,
Picture
as shovel-handle friction had its way
amidst the falling snow.
Picture
But LOOK!
It's not snowing now.
And I've already showed you
way too many photos
​ of the underside
of my textile rich life.
So back we go to whatever it is we were doing.
My needle awaits.
​As does the bed.
Picture
    Picture

    ​Sarah C Swett 
    tells stories
    with
    ​ and about

     hand spun yarn. 


    Picture
    Click for info on
    my four selvedge
    warping class
    with
    ​ Rebecca Mezoff  
    fringeless


    Categories

    All
    Backstrap
    Books
    Cellulosic Experiments
    Clothes
    Coffee Filter Yarn
    Comics
    Distractions
    Dyeing
    Embroidery
    Hand Spinning
    Knitting
    Linsey Woolsey
    Looping
    Mending
    Milkweed
    Out In The World
    Plain Weave
    PVC Pipe Loom
    Shoes
    Sketchbook
    Slow Literature
    Tapestry
    Textile Tools
    Things To Wear
    Vague Instructions
    Willow

    Archives

    September 2021
    June 2021
    April 2021
    March 2021
    November 2020
    October 2020
    September 2020
    August 2020
    July 2020
    May 2020
    April 2020
    March 2020
    February 2020
    January 2020
    December 2019
    November 2019
    October 2019
    September 2019
    July 2019
    June 2019
    May 2019
    April 2019
    March 2019
    February 2019
    January 2019
    December 2018
    November 2018
    October 2018
    September 2018
    July 2018
    June 2018
    May 2018
    April 2018
    March 2018
    February 2018
    January 2018
    December 2017
    November 2017
    October 2017
    September 2017
    August 2017
    July 2017
    June 2017
    May 2017
    April 2017
    March 2017
    February 2017
    January 2017
    December 2016
    November 2016
    October 2016
    September 2016
    August 2016
    July 2016
    June 2016
    May 2016
    April 2016
    March 2016
    February 2016
    January 2016
    December 2015
    November 2015
    October 2015
    September 2015
    August 2015
    July 2015
    June 2015
    May 2015
    April 2015
    March 2015
    February 2015
    January 2015
    December 2014
    November 2014
    October 2014
    September 2014
    August 2014
    July 2014
    June 2014
    May 2014
    April 2014

things to make:
yarn . music . friends
whatever it is you cannot 

not
begin
Proudly powered by Weebly