Well hello!
How curious, suddenly,
to be here in the shortening days
of this somewhat odd summer
(in the Northern Hemisphere at any rate).
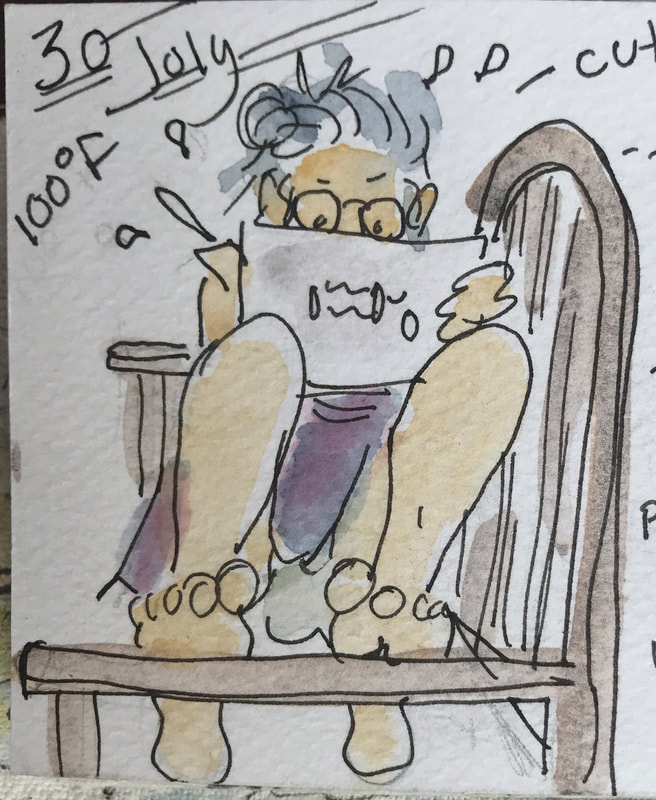
Between the super hot bits
and the super smoky bits
and the super dry bits
and all the stuff going on
in our lives
with our friends
and in the world,
every day has been
well -- itself,
and sometimes...a lot.
Yet here we are.
How curious, suddenly,
to be here in the shortening days
of this somewhat odd summer
(in the Northern Hemisphere at any rate).
Between the super hot bits
and the super smoky bits
and the super dry bits
and all the stuff going on
in our lives
with our friends
and in the world,
every day has been
well -- itself,
and sometimes...a lot.
Yet here we are.
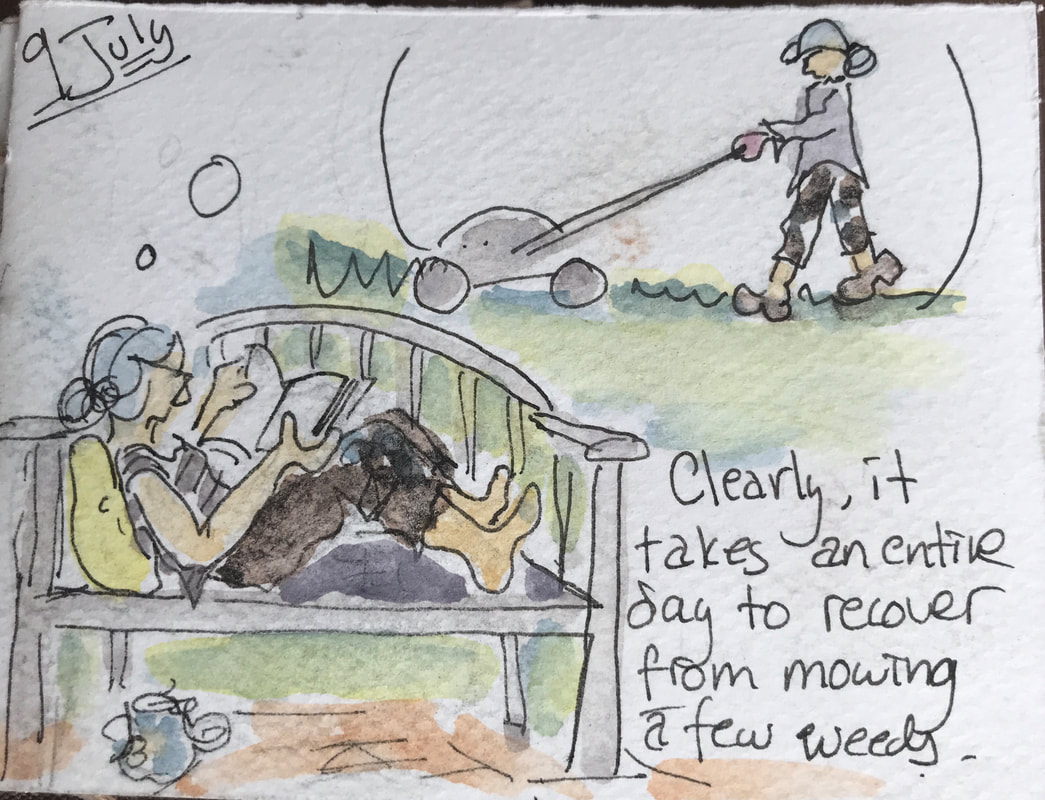
It even rained the day before yesterday--
a few brief hours of delicious thundery damp
after months of being parched.
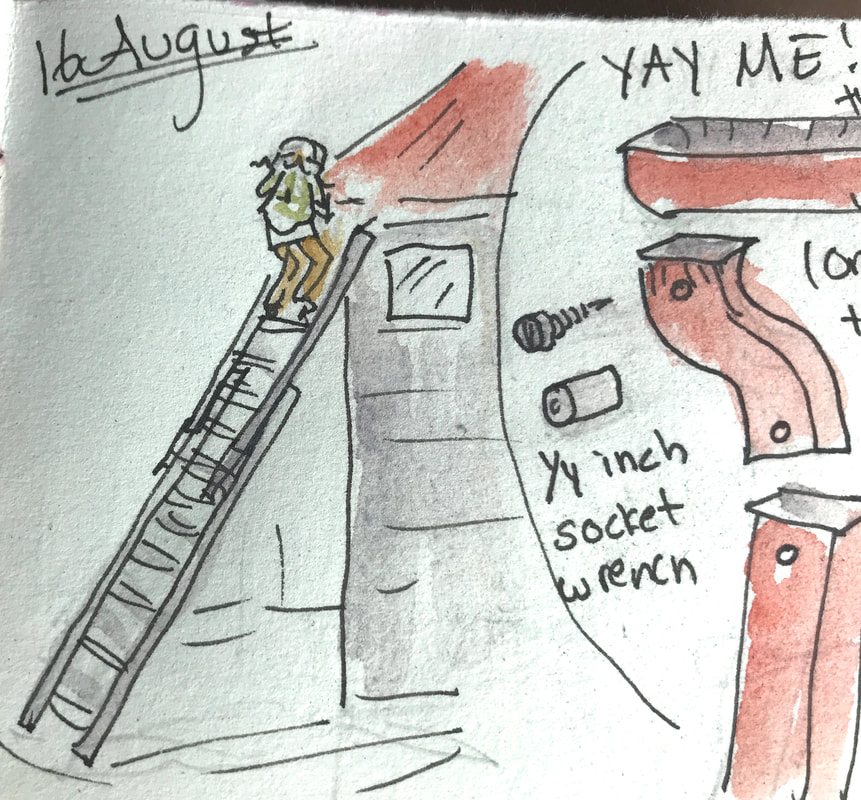
I'd just cleared the clogged downspouts, too.
Isn't it amazing
when things work out?
a few brief hours of delicious thundery damp
after months of being parched.
I'd just cleared the clogged downspouts, too.
Isn't it amazing
when things work out?

Actually lots of things have worked out--
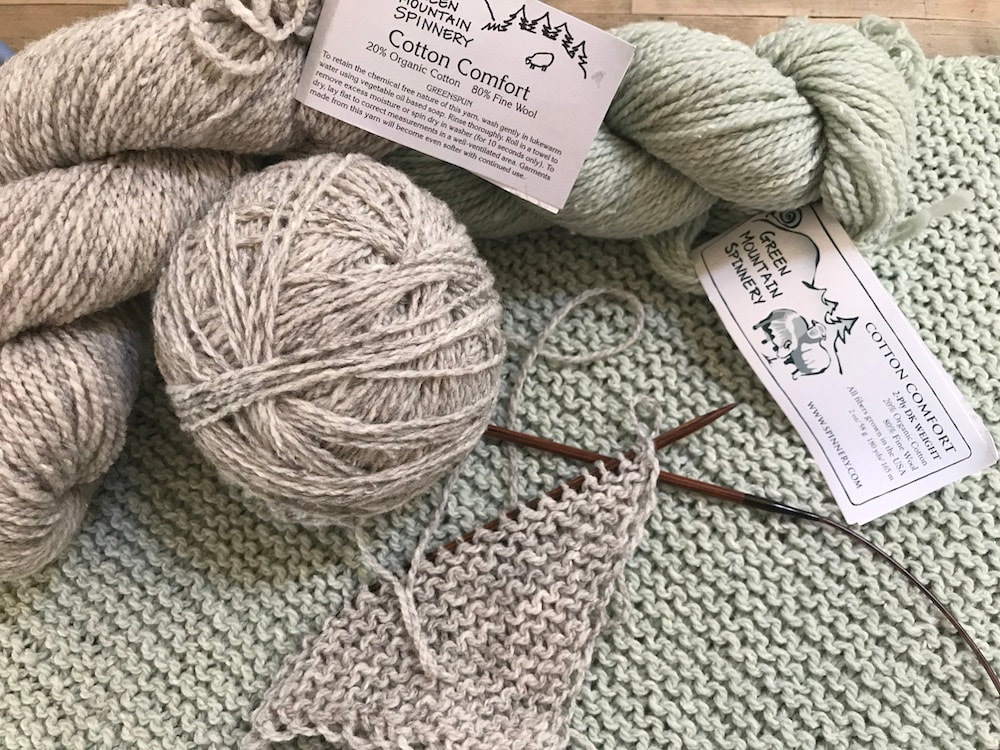
my collard crop, for instance, is incredible,
the freezer is filled with frozen berries,
and our local farmer's market provides all bounty
I am not enough of a gardener to grow.
I try, of course, and have managed
to have fresh lettuce almost every day
despite the heat.
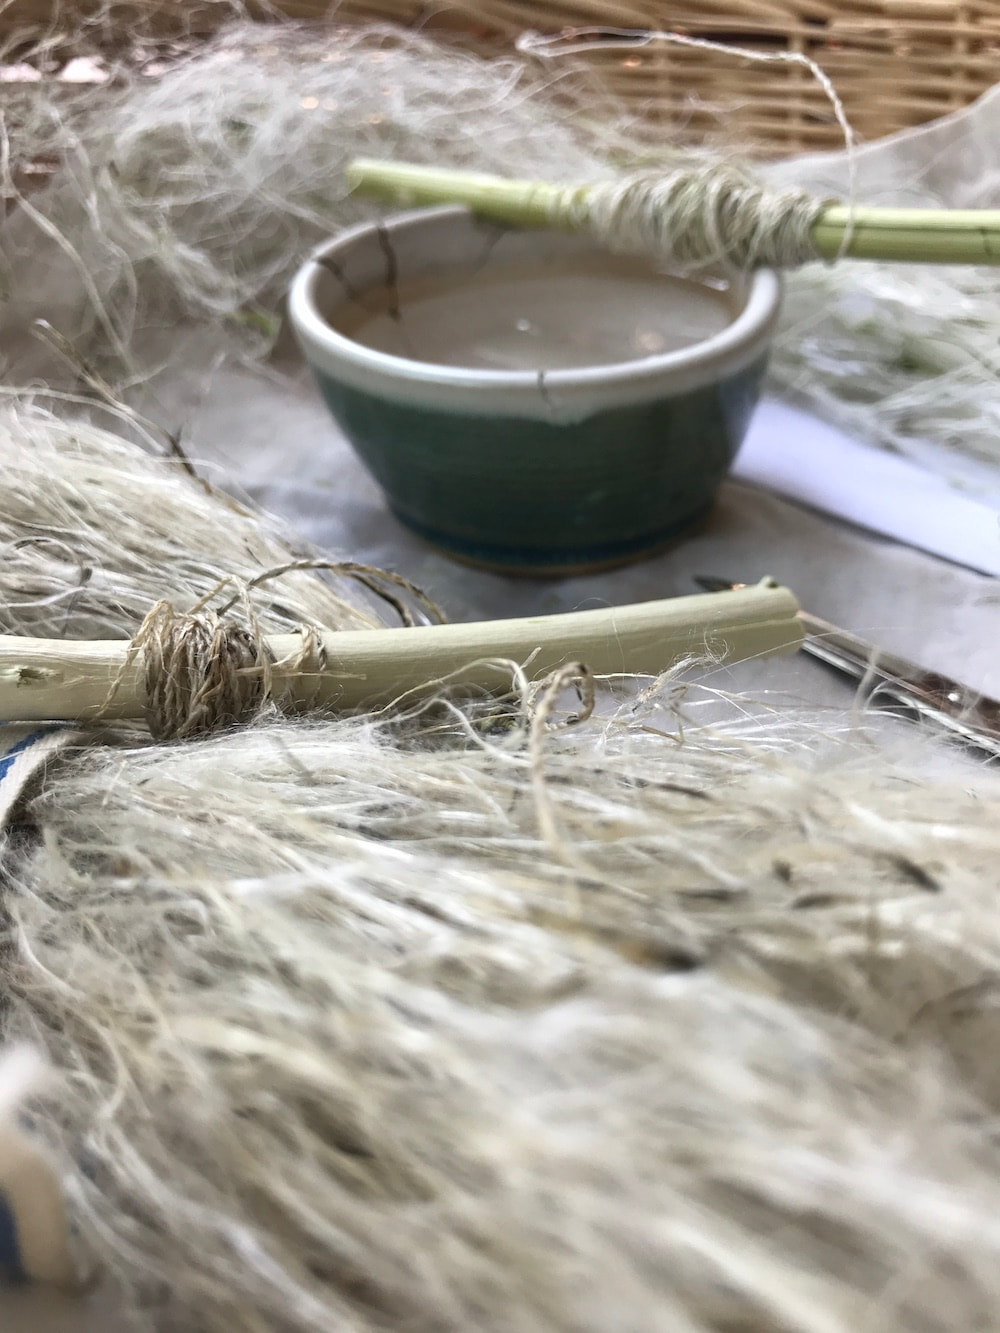
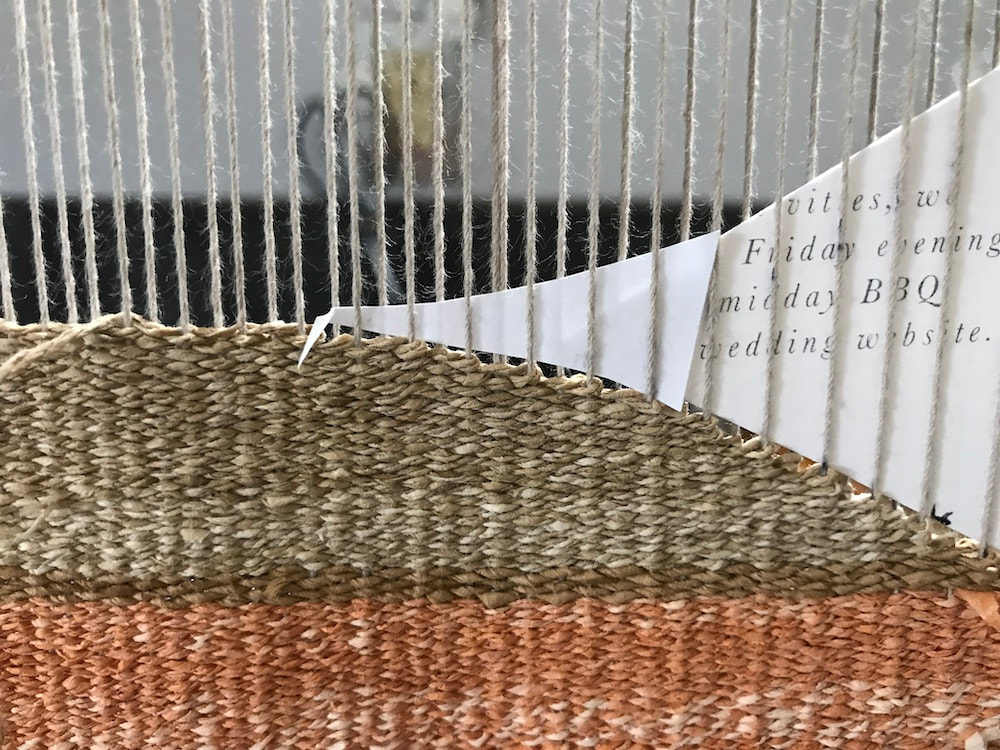
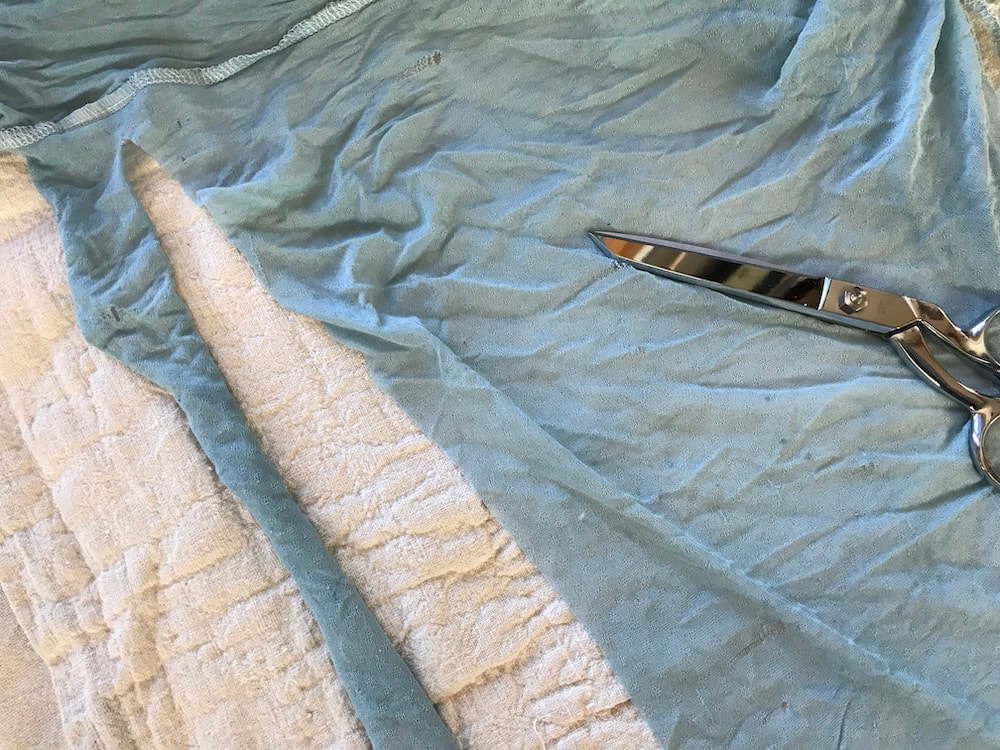
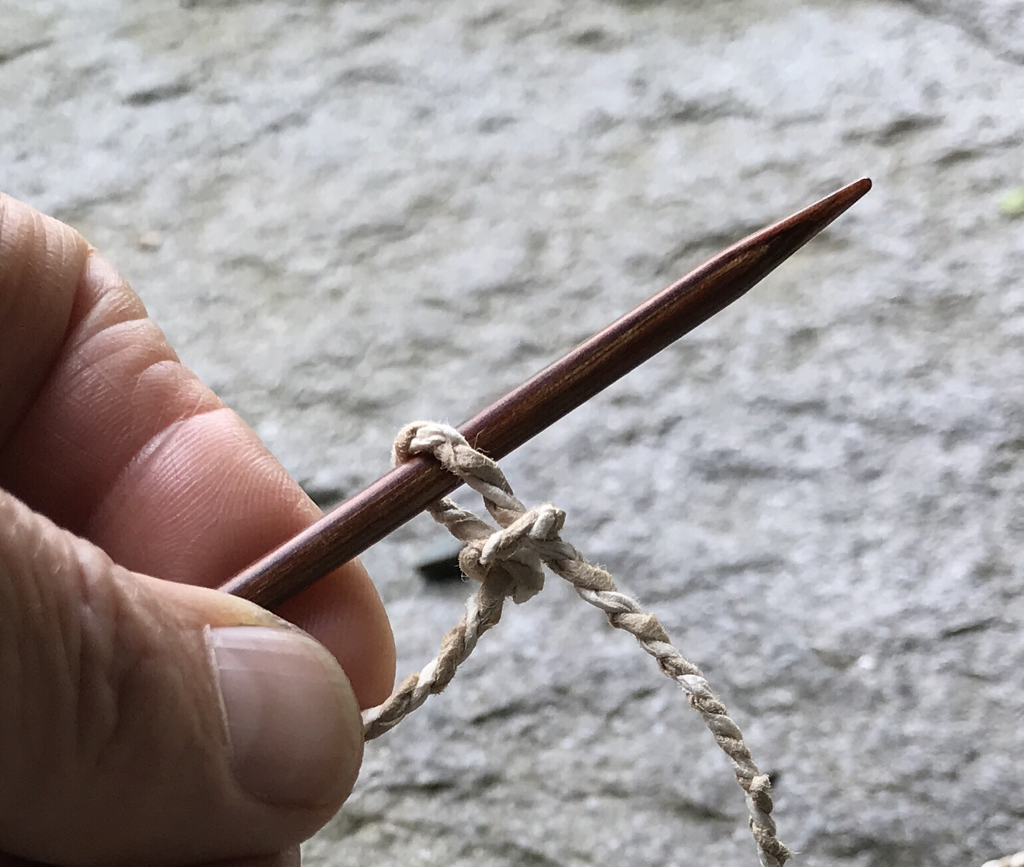
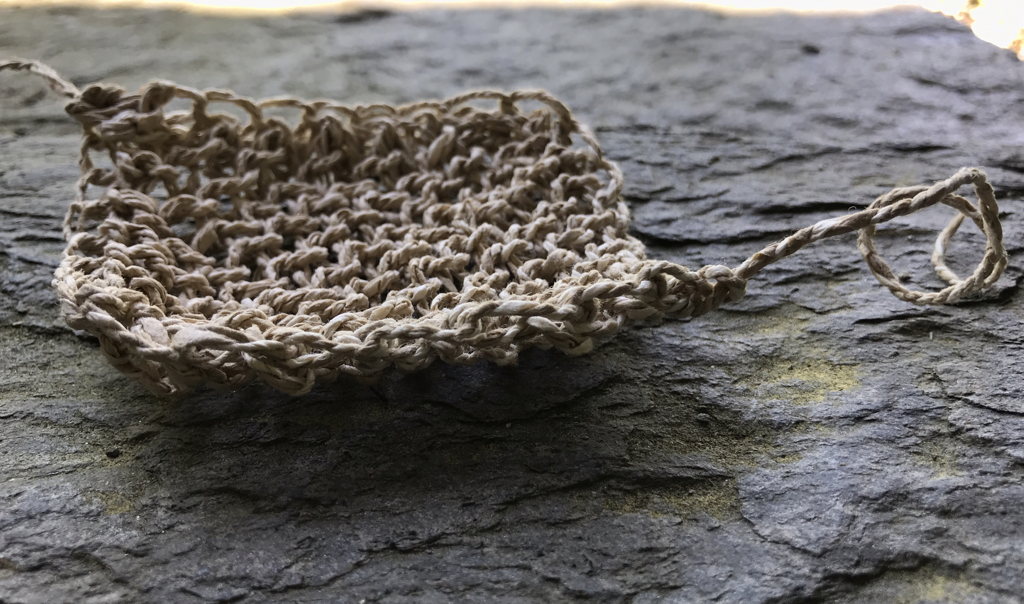
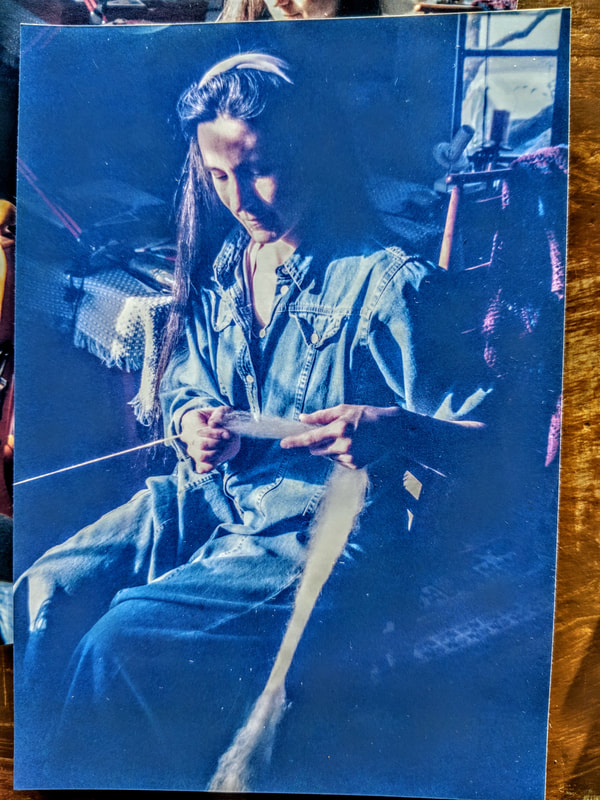
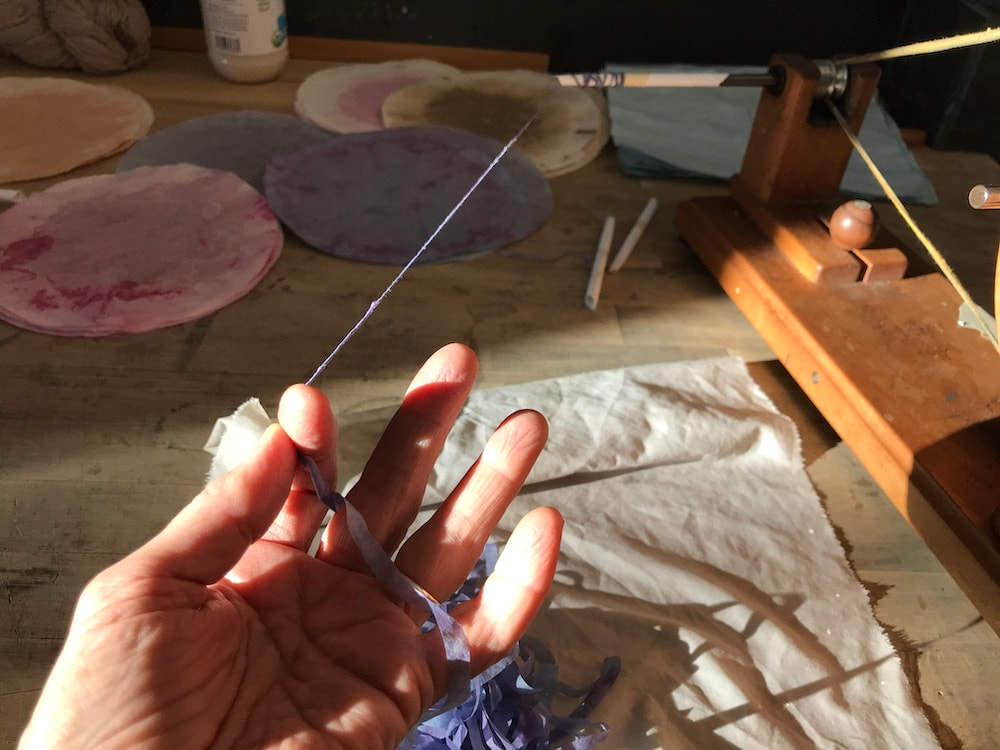
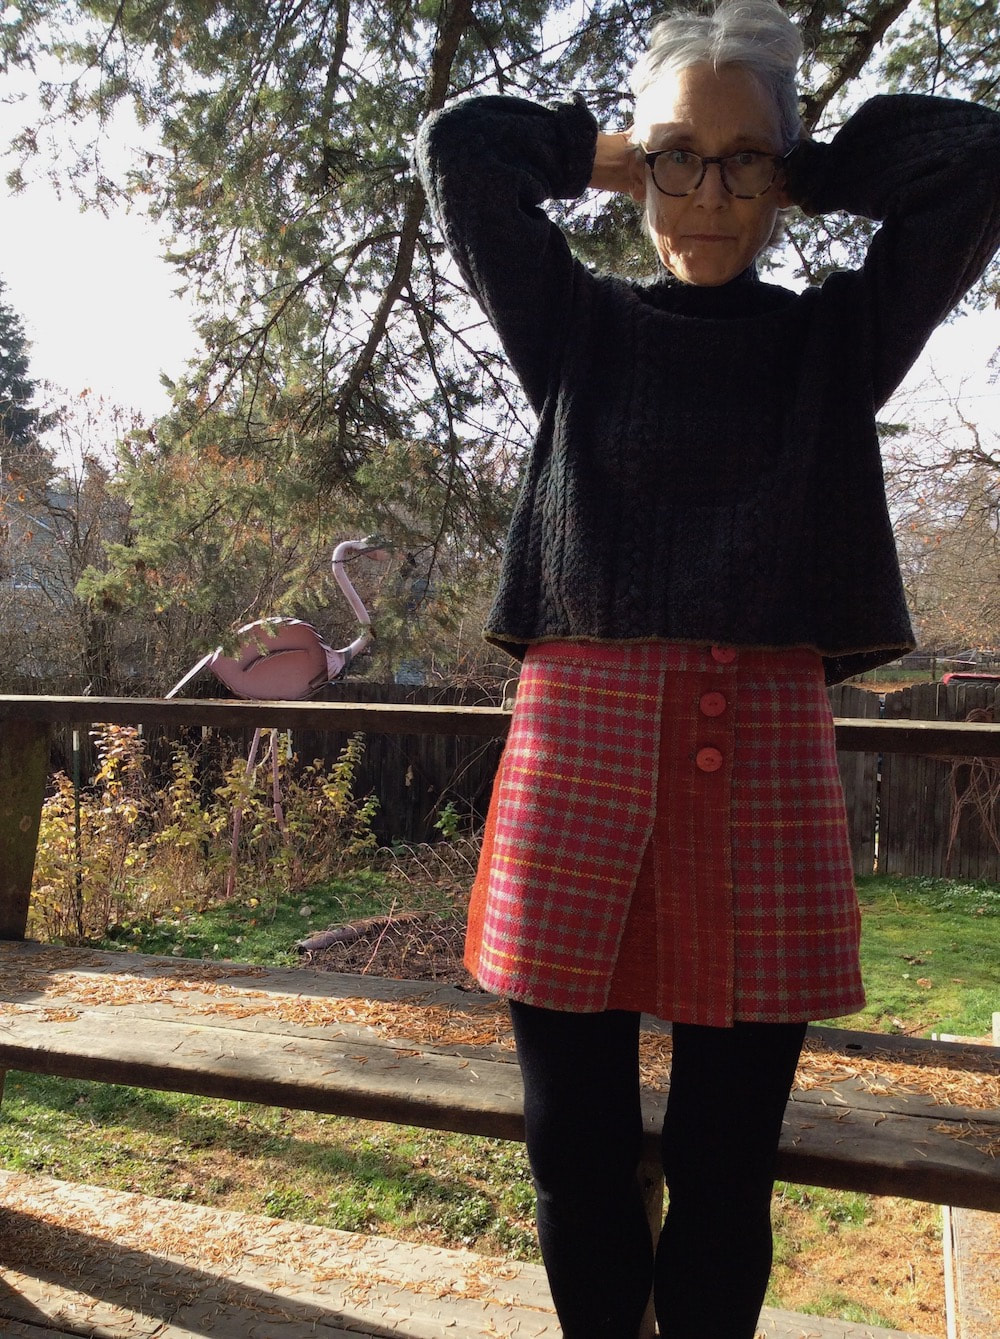
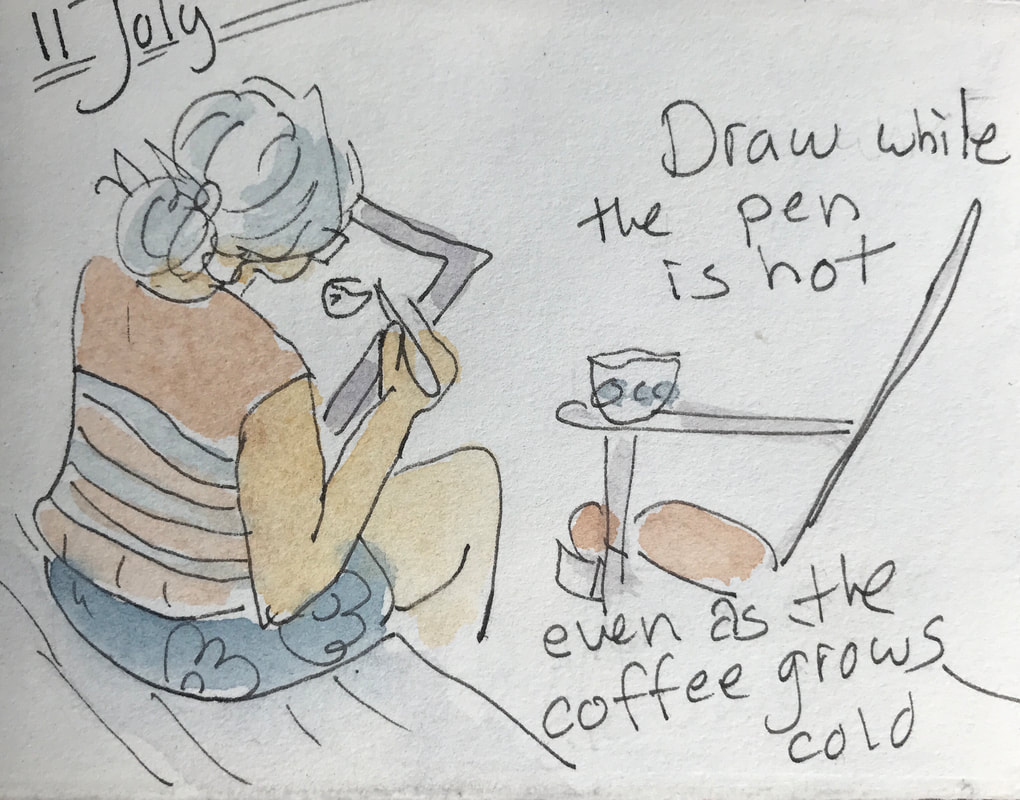
But this summer I've been more cartoonist
than gardener or weaver,
which to my astonishment means that
another thing that has worked out is
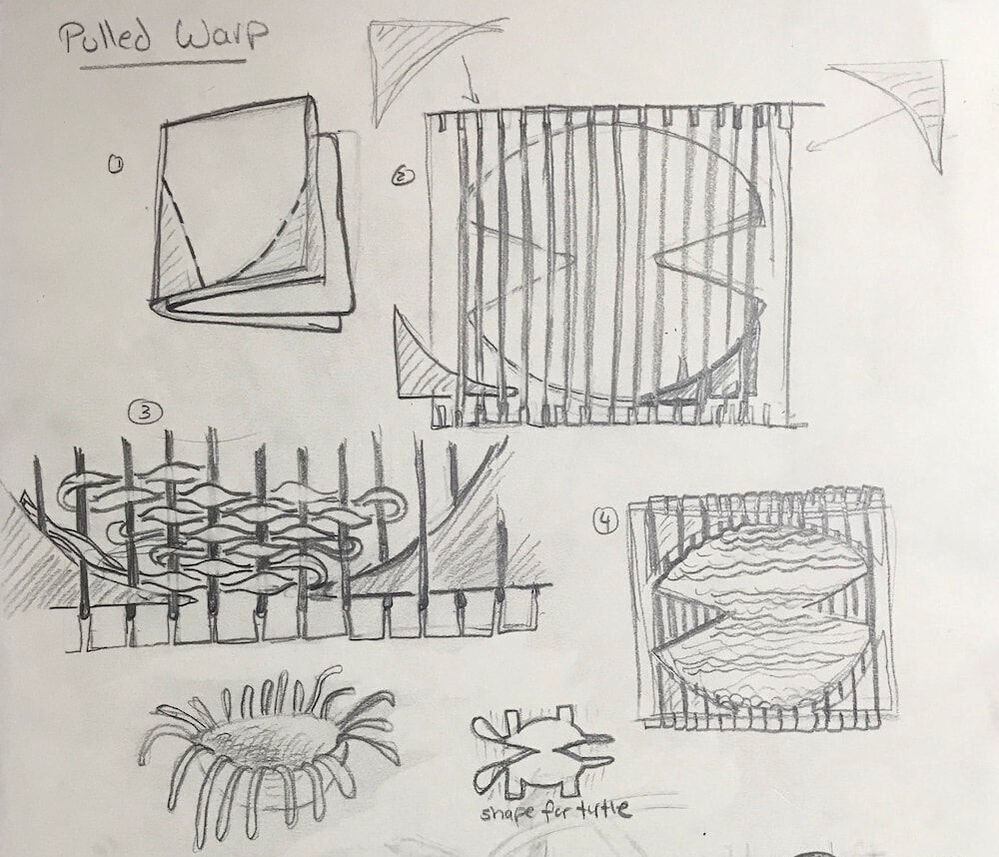
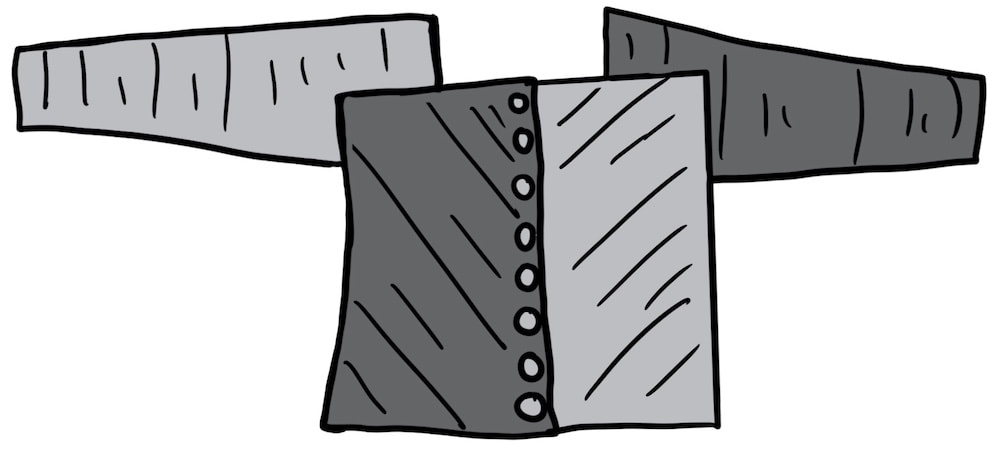
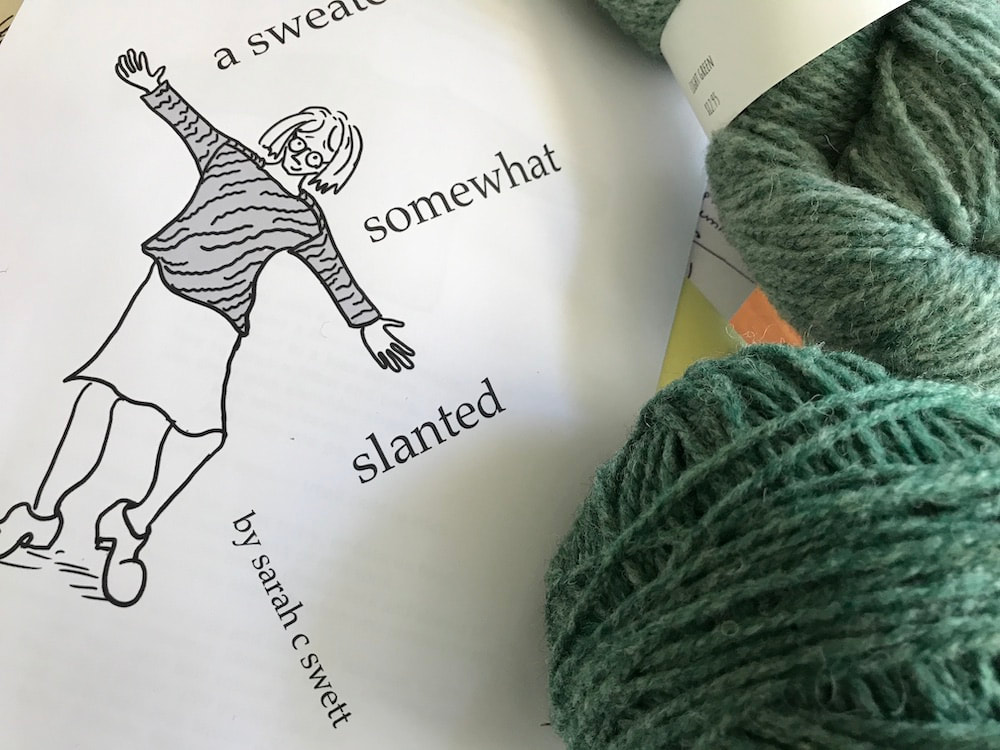
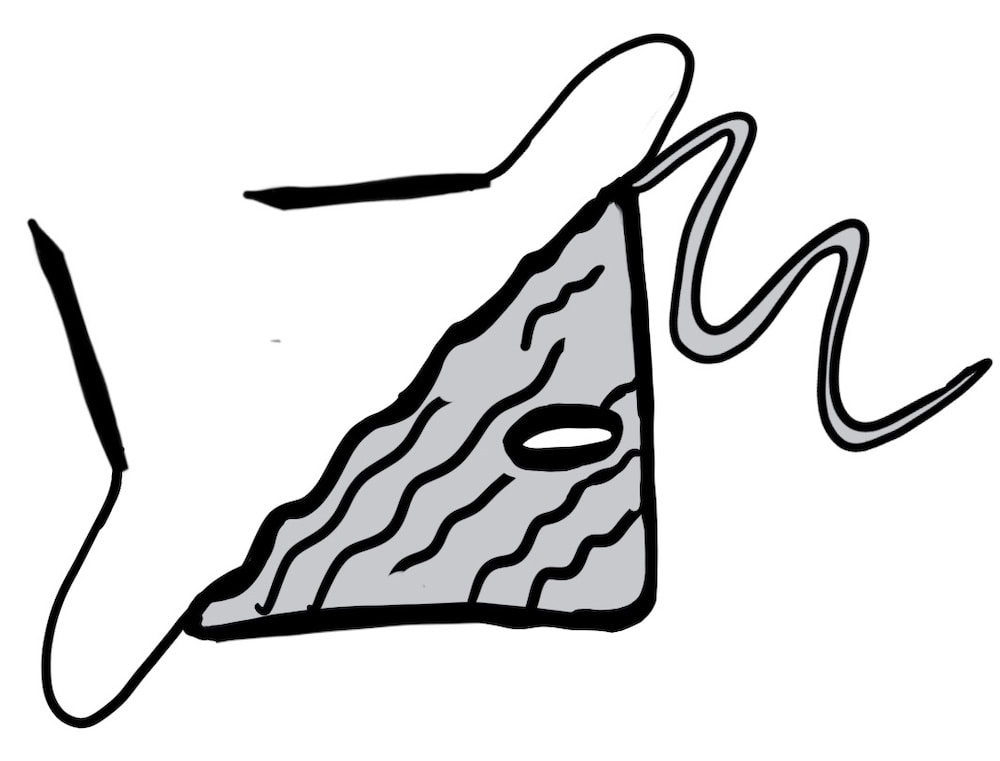
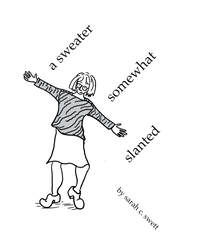
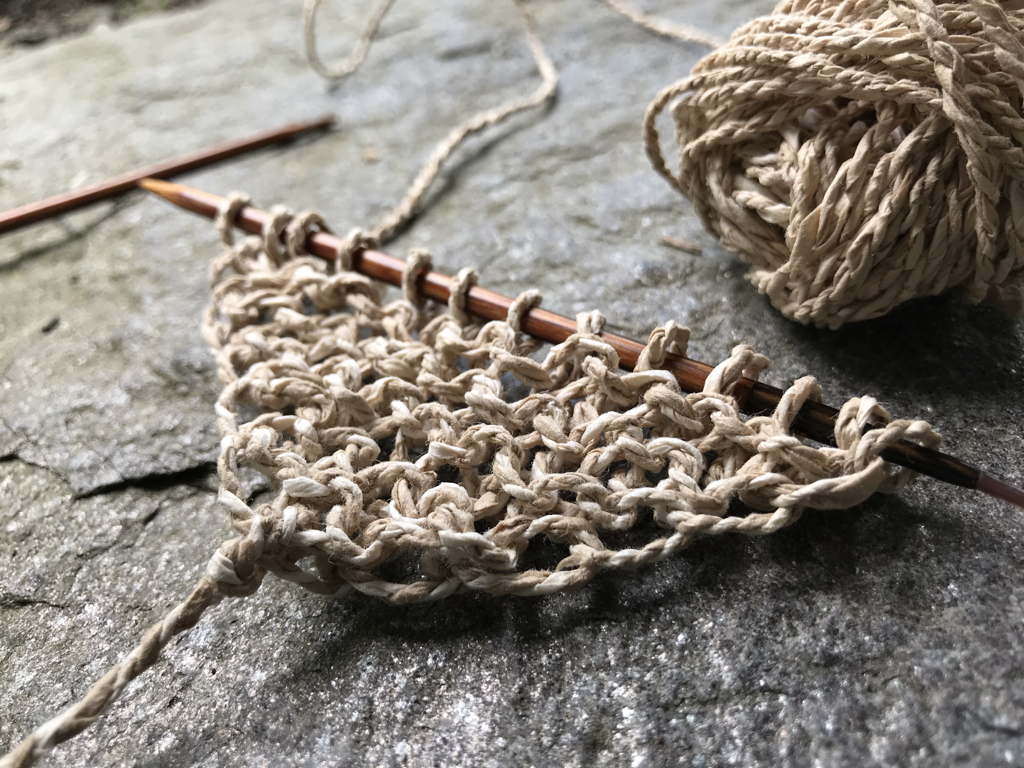
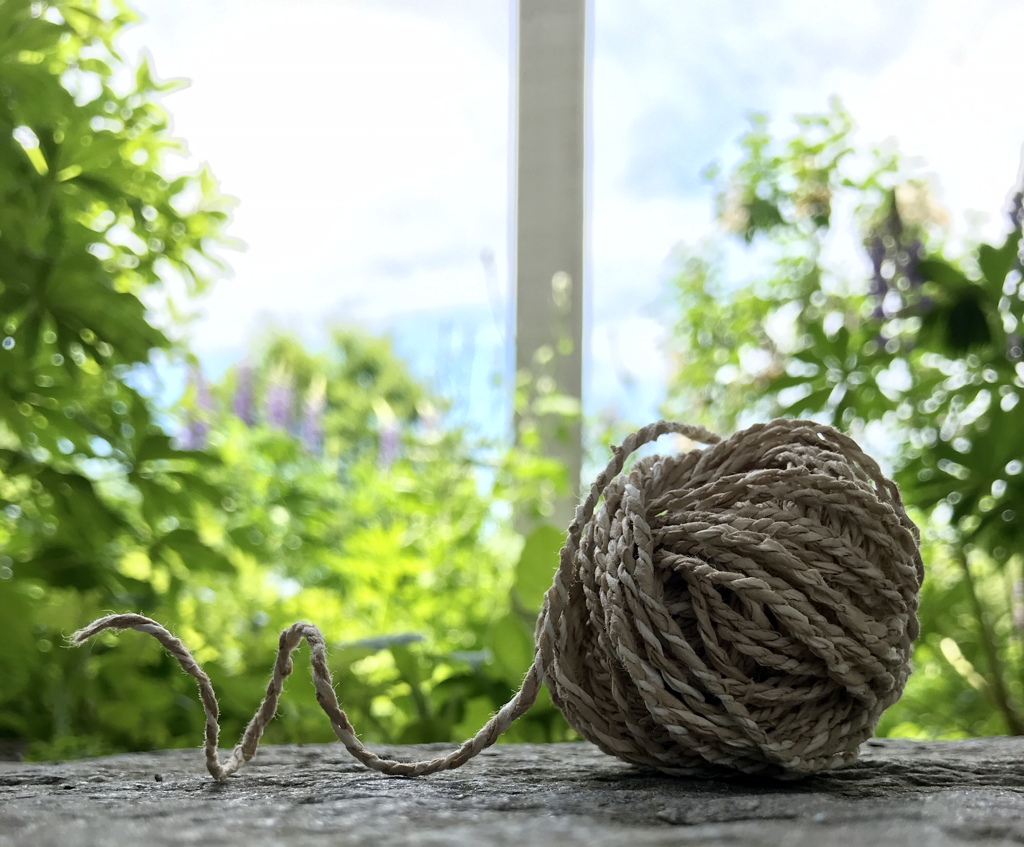
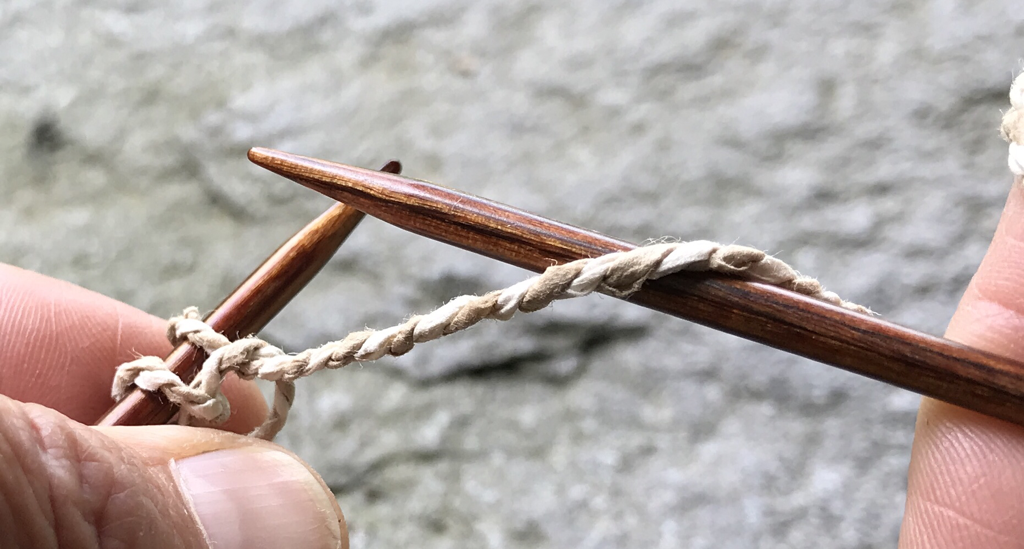
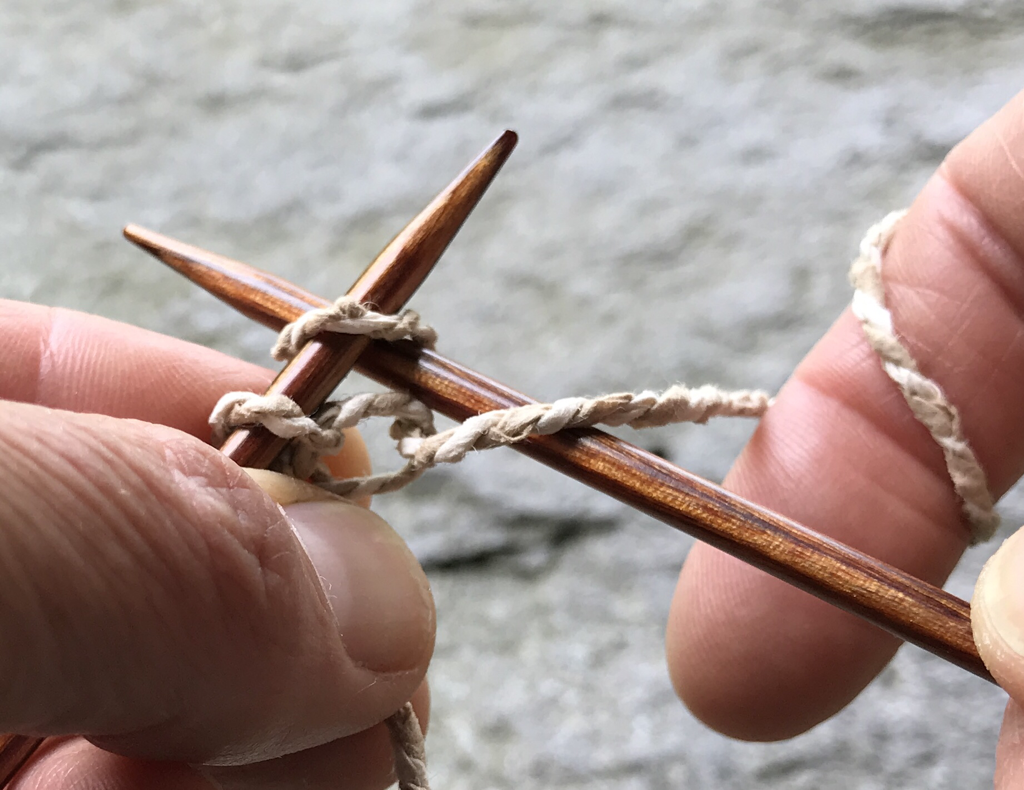
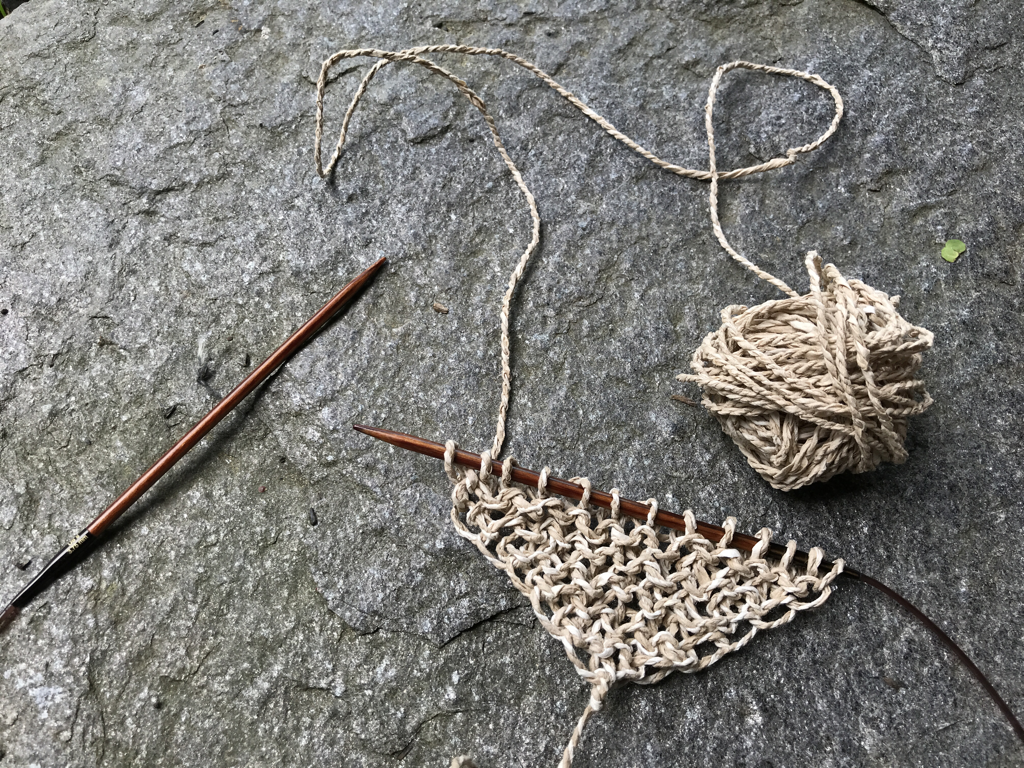
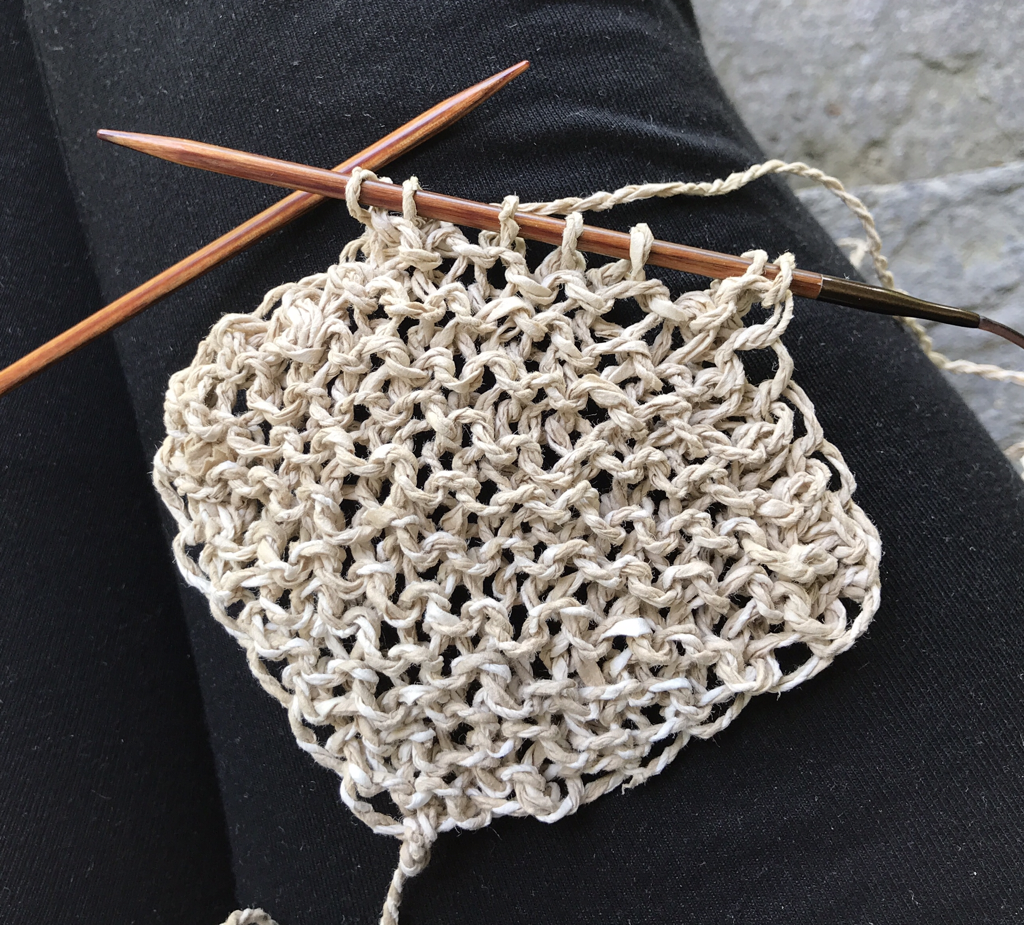
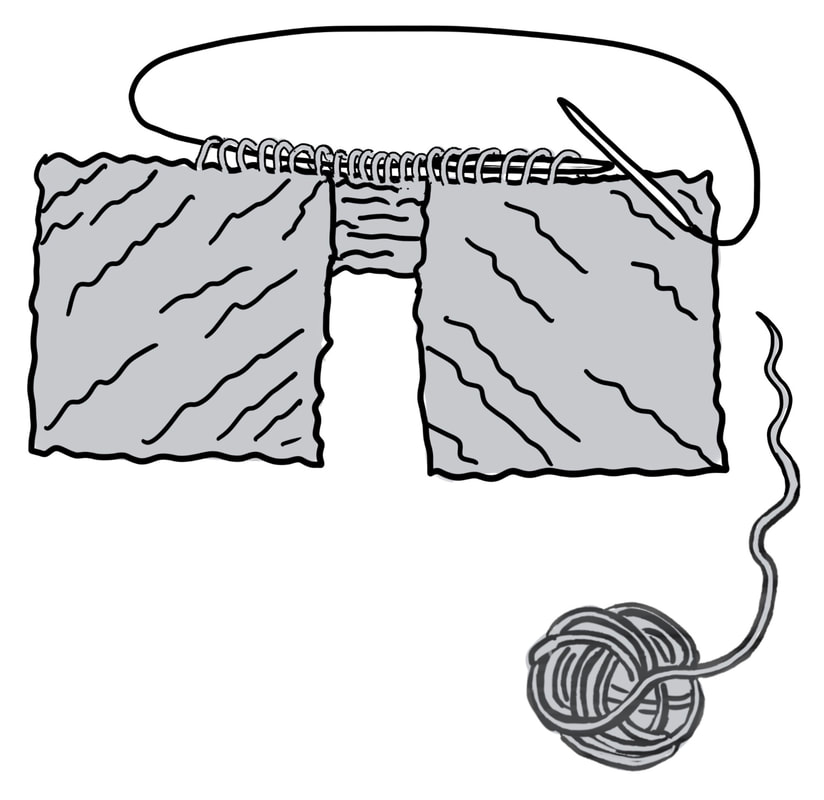
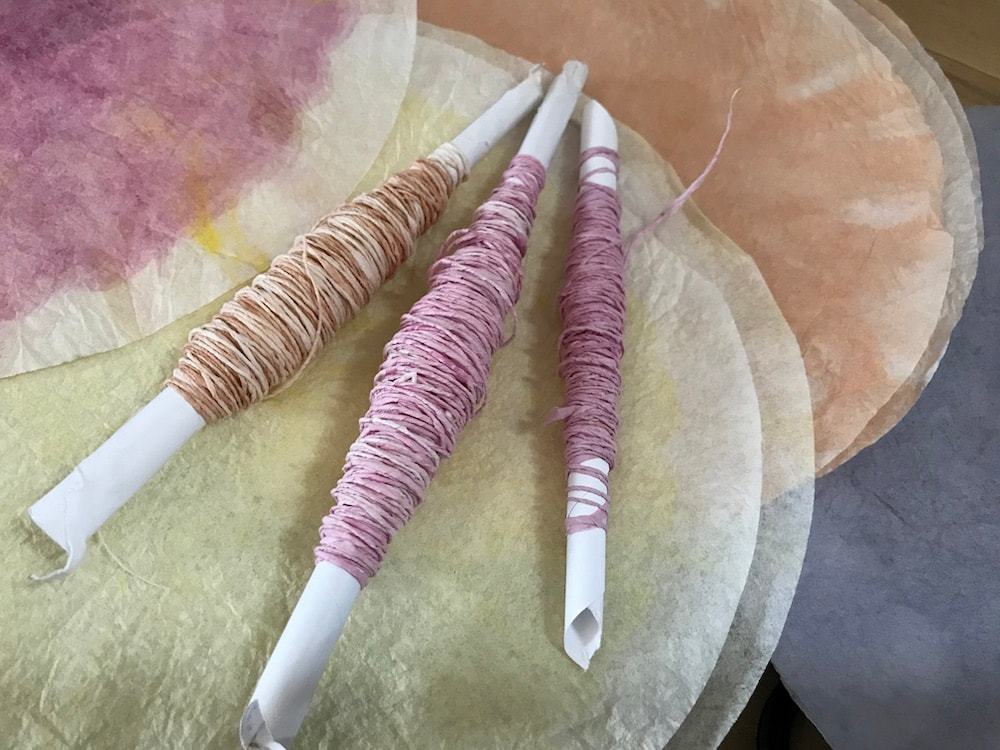
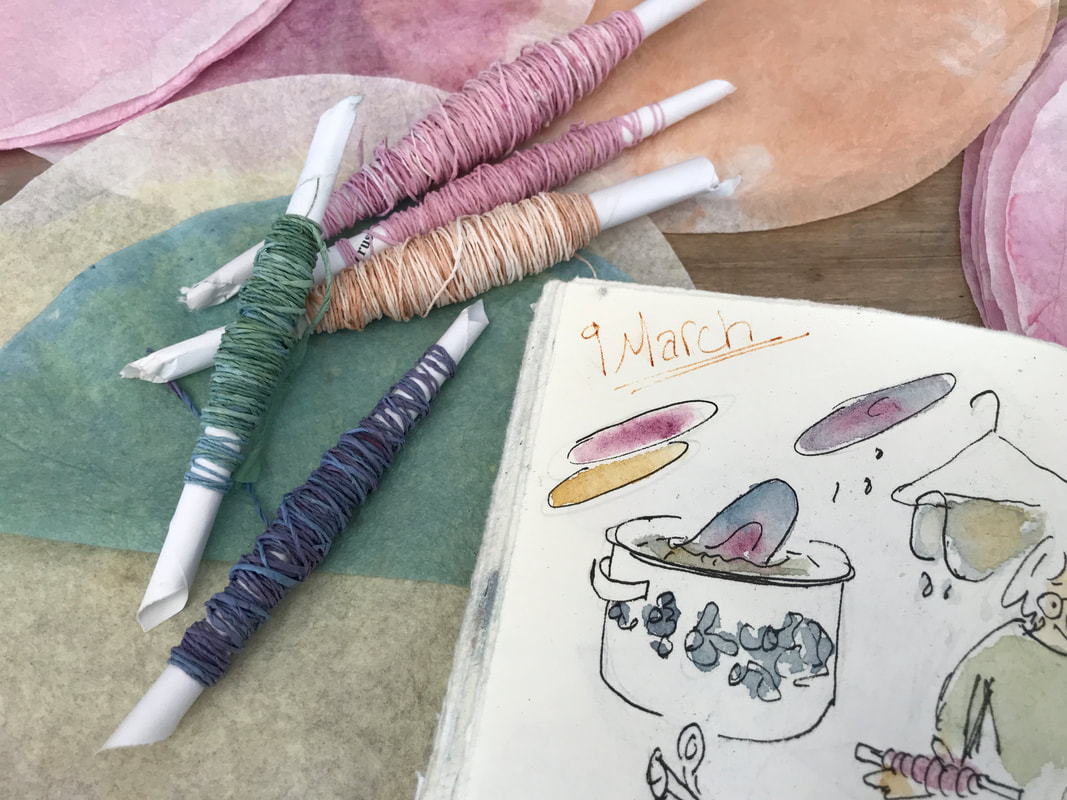
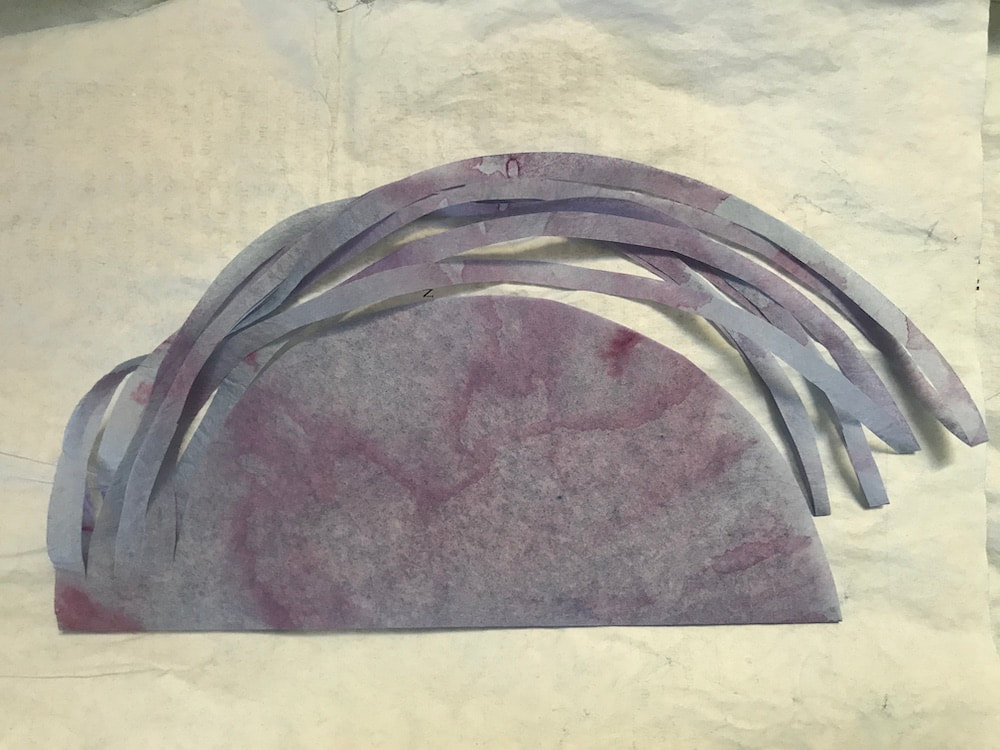
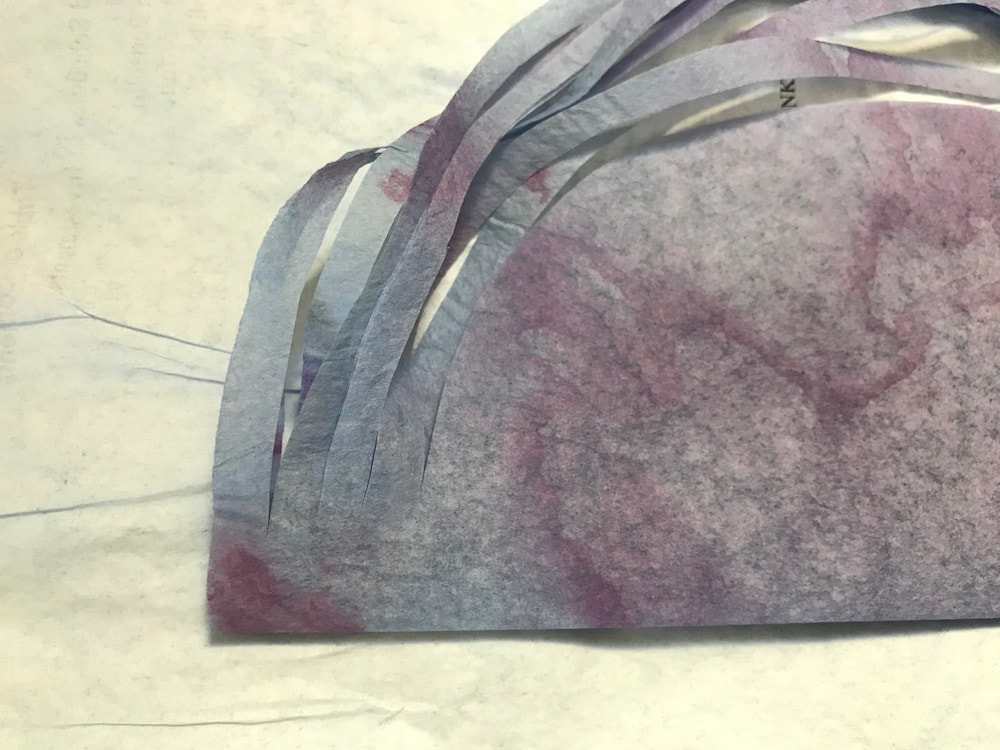
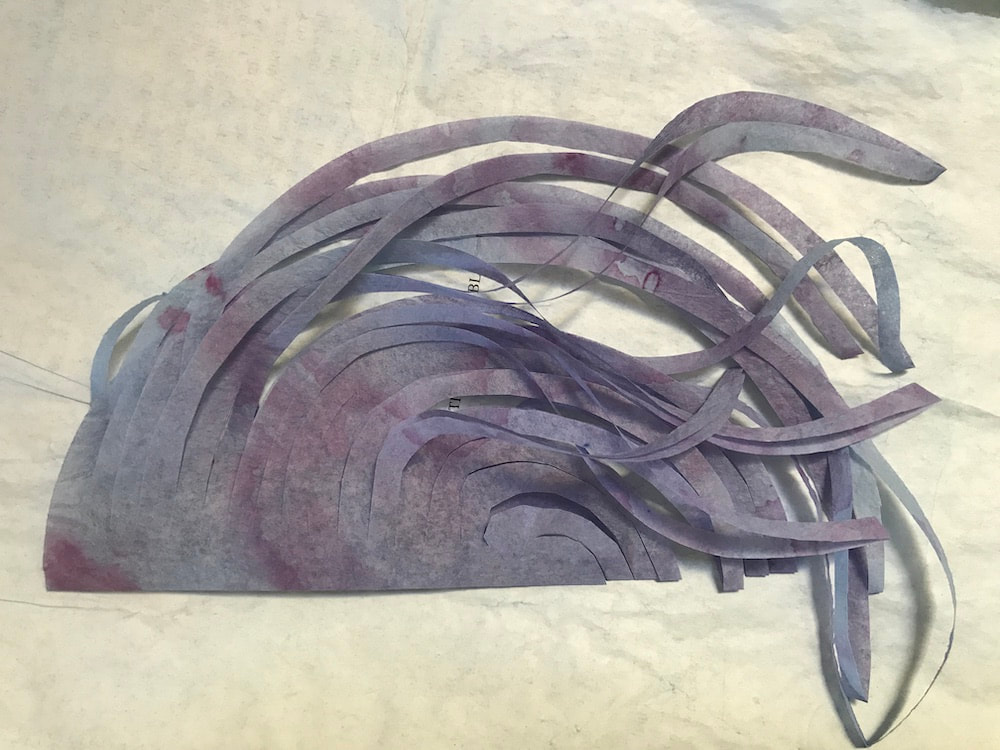
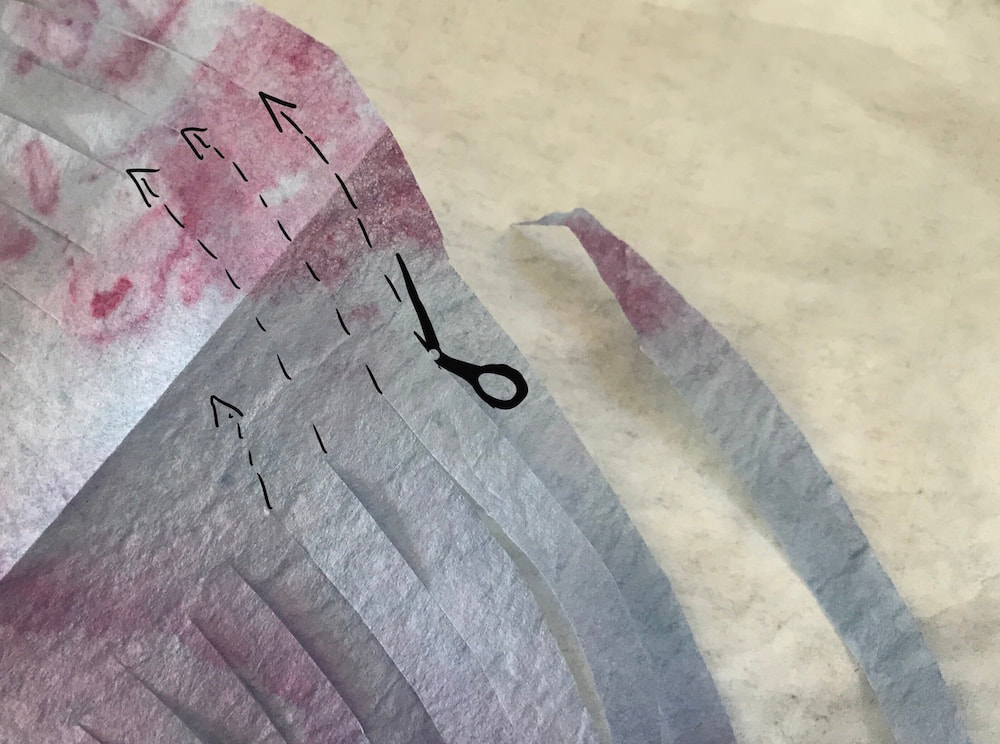
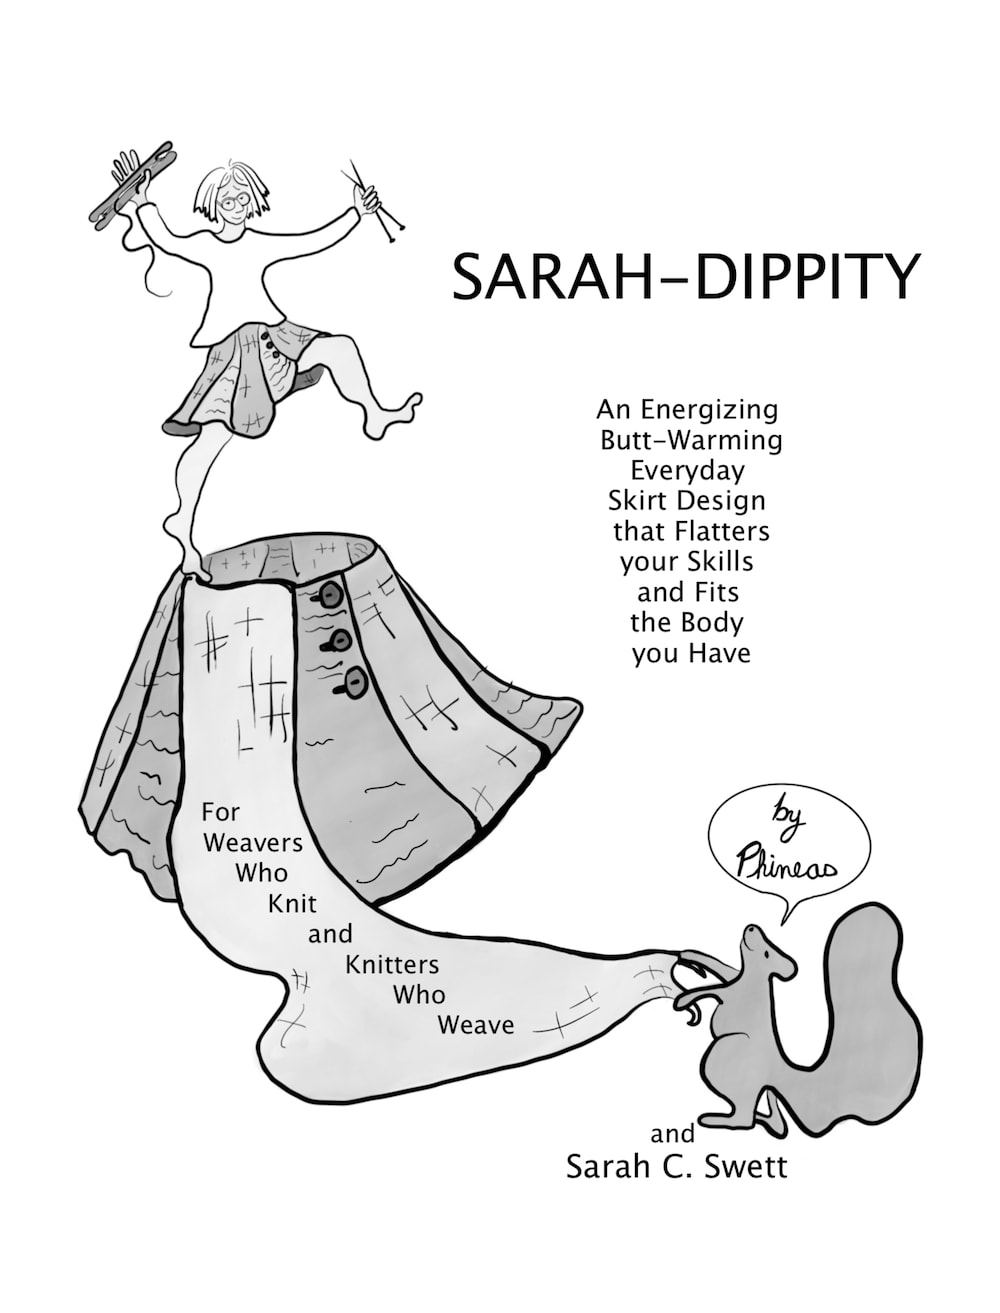
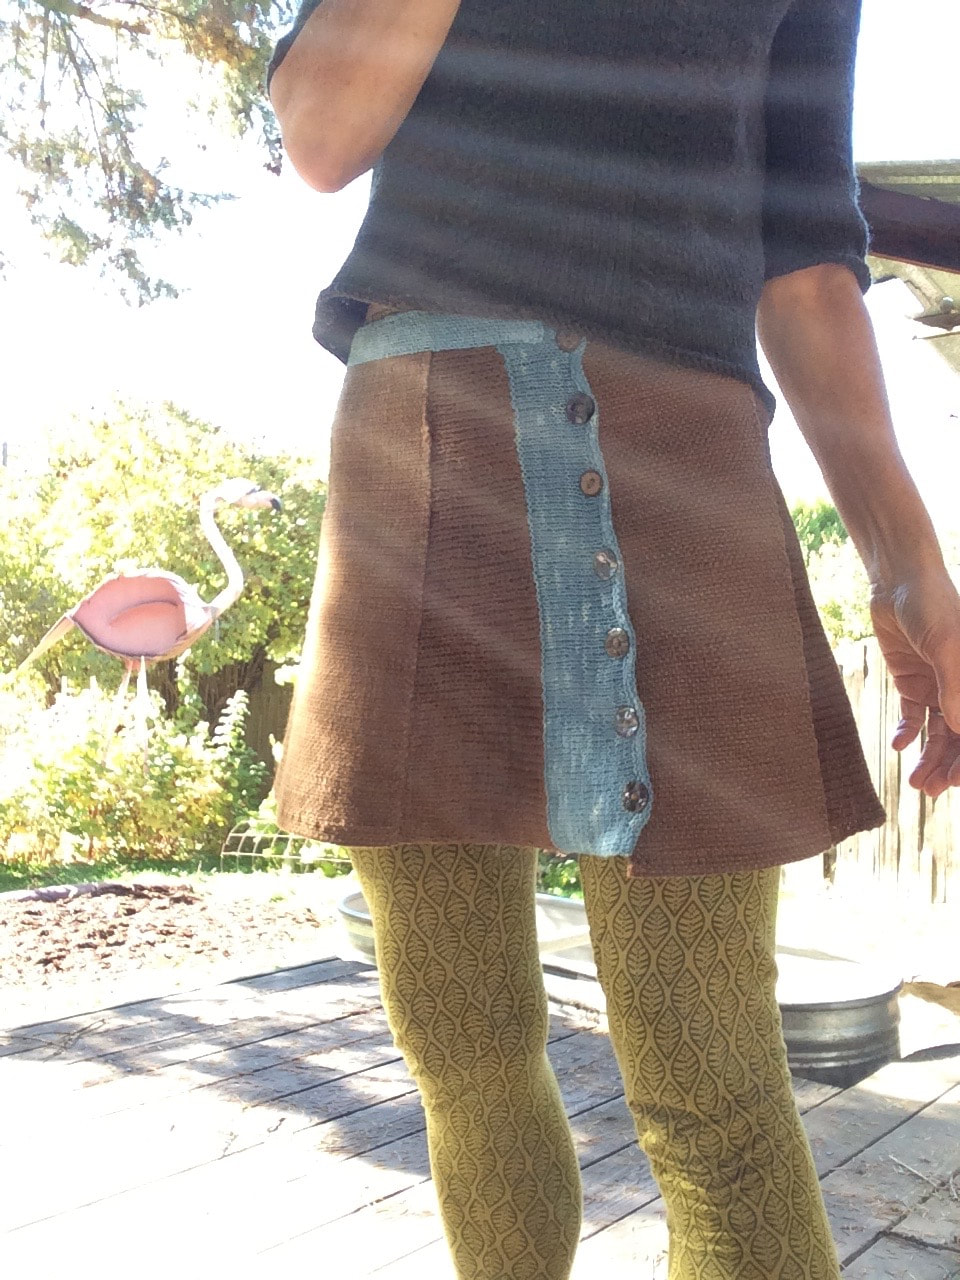
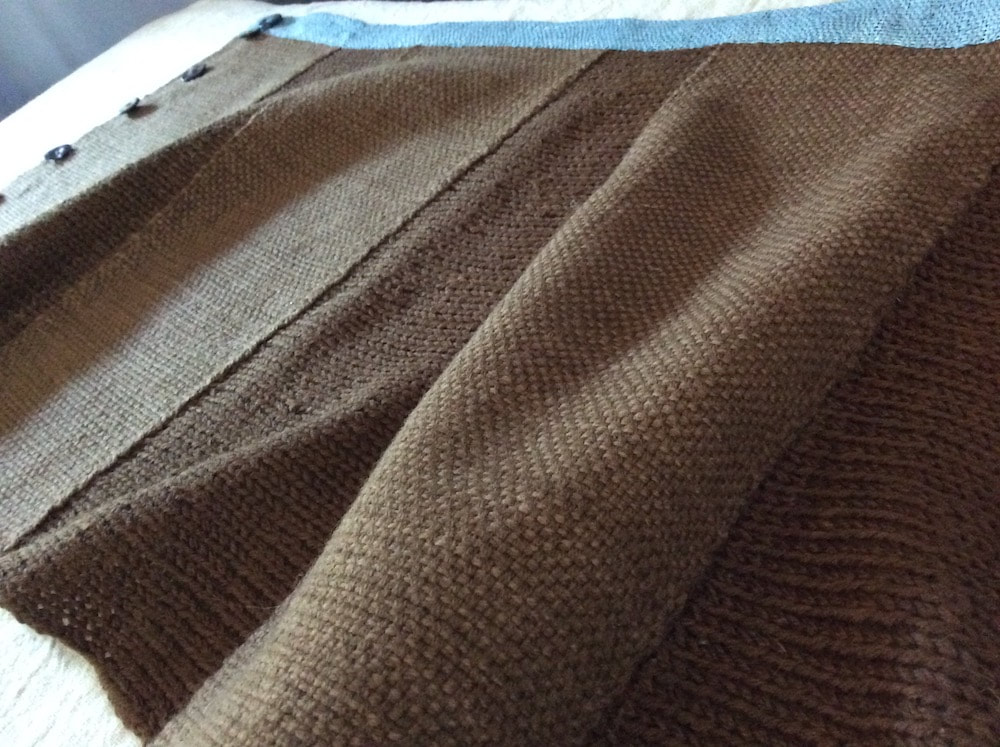
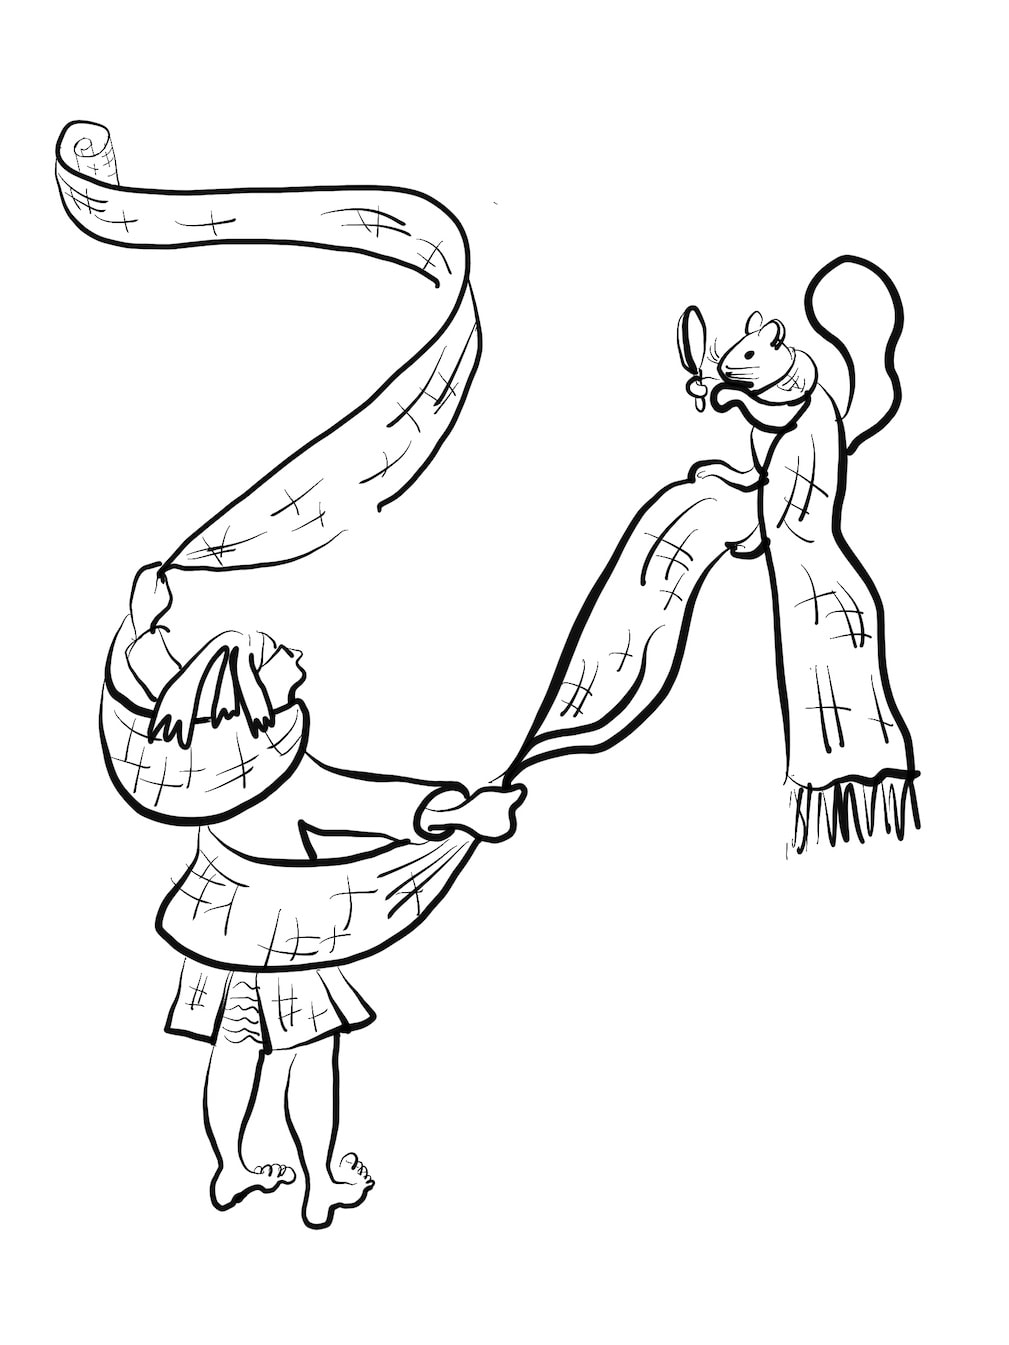
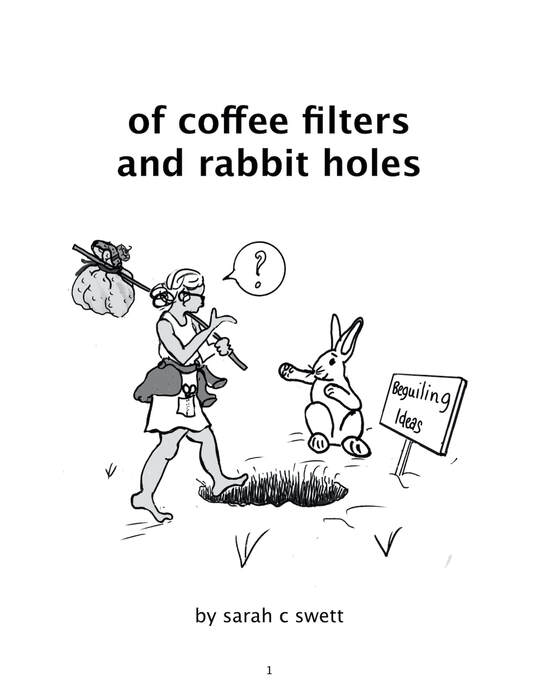
this new comic zine/guide thingy:
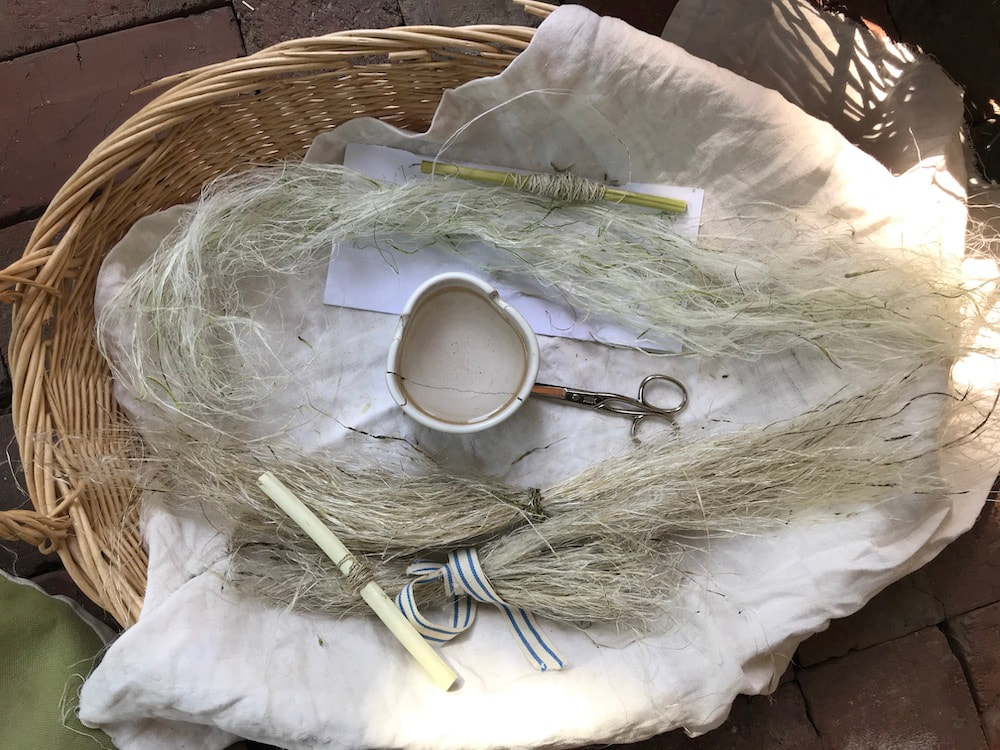
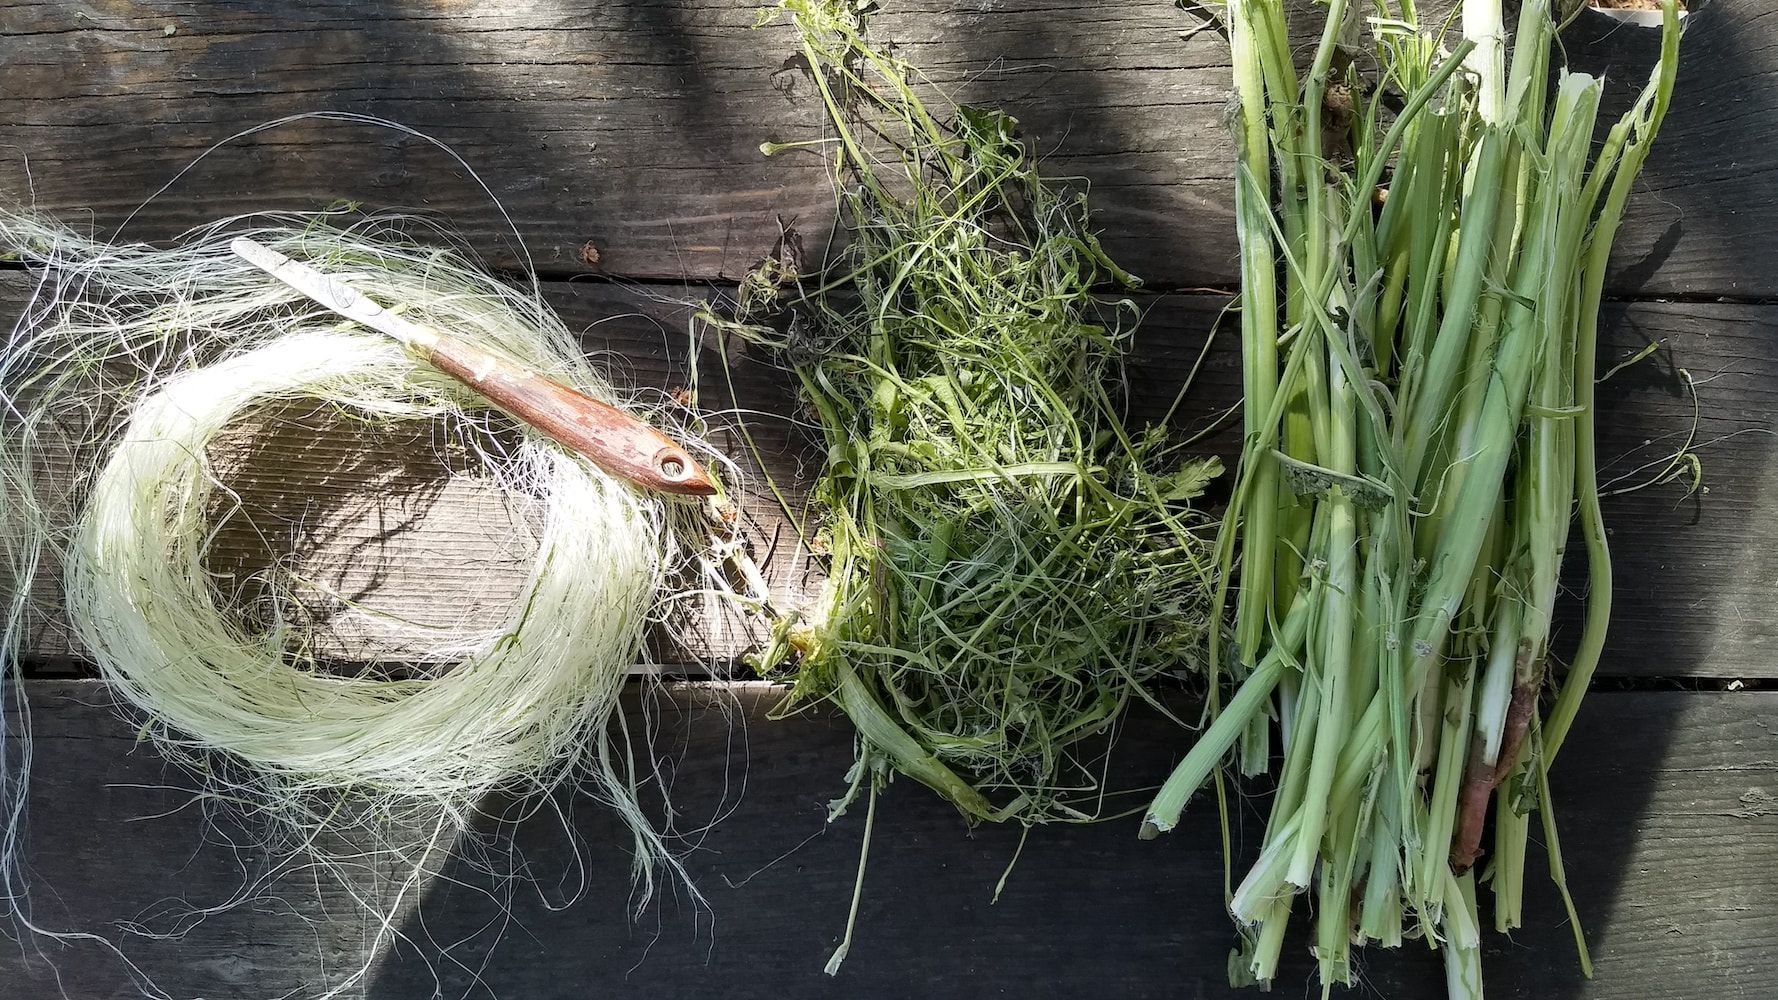
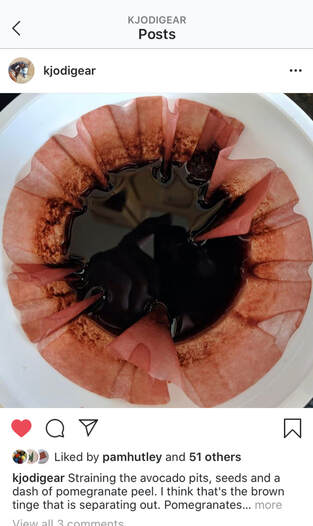
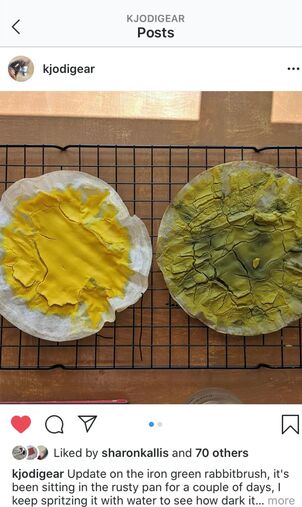
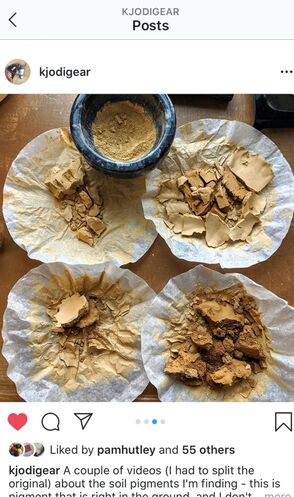
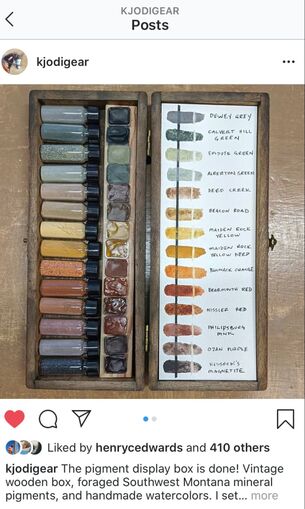
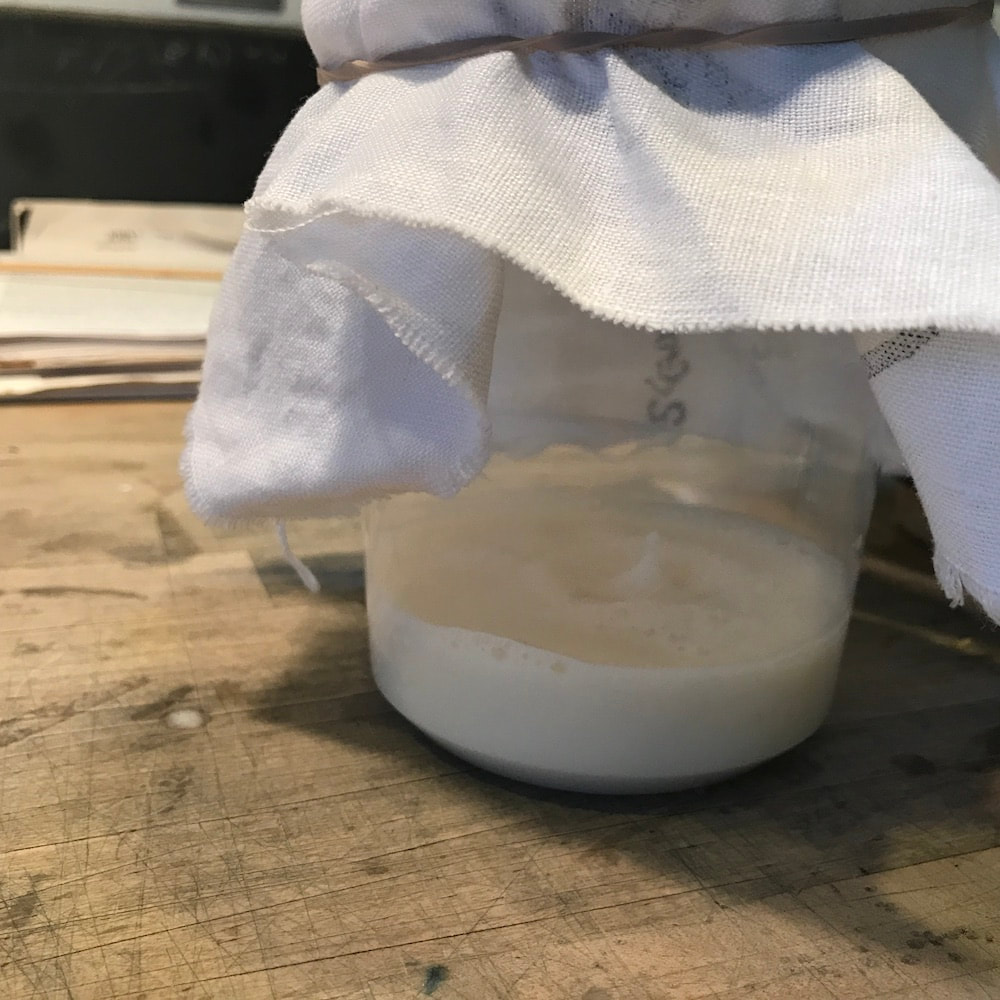
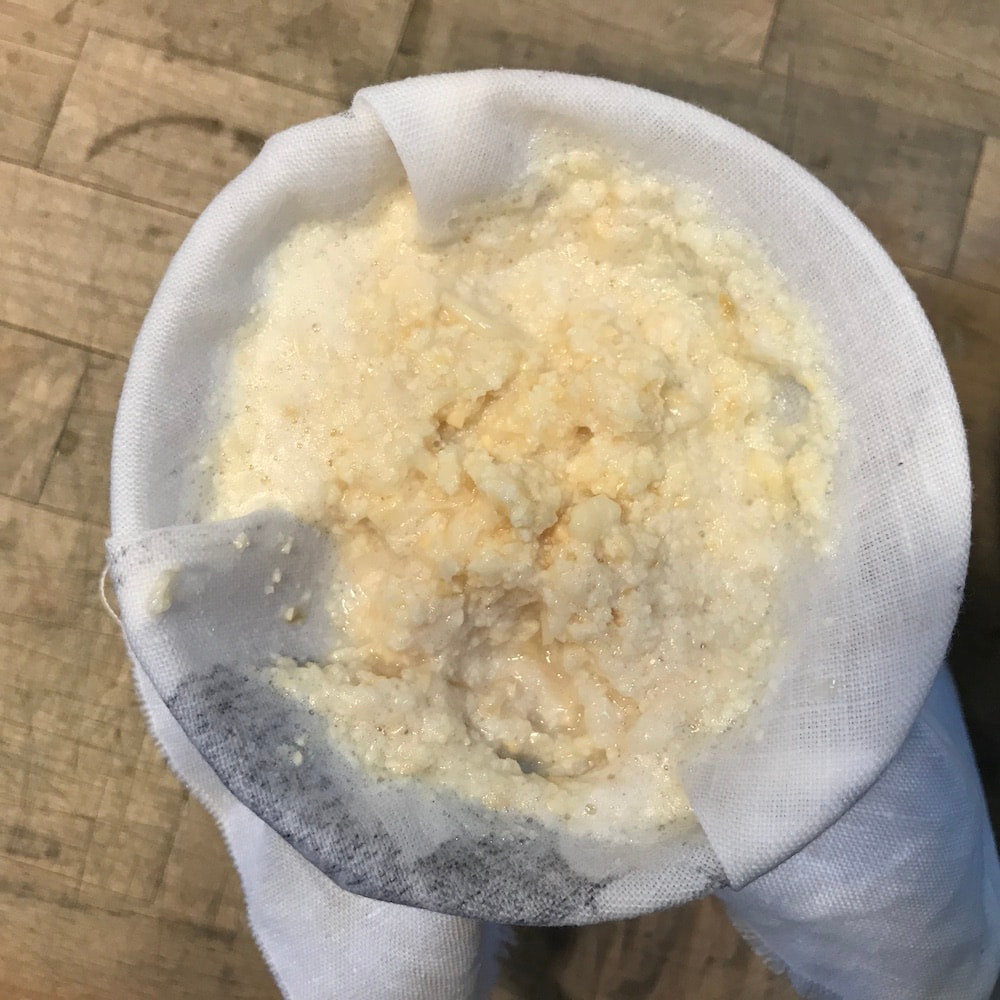
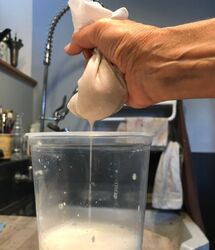
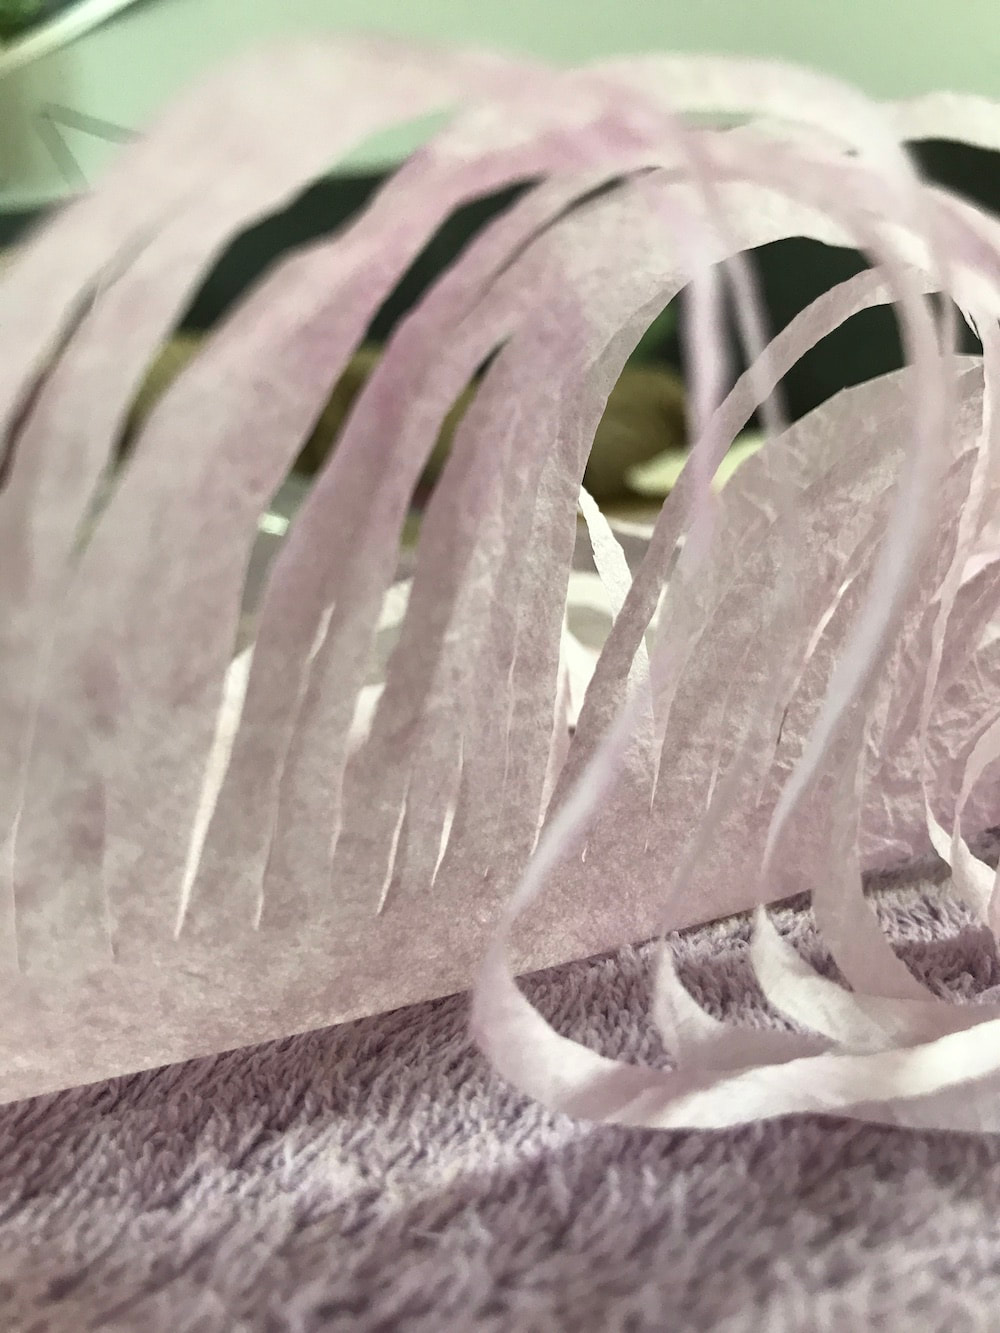
of coffee filters and rabbit holes
and I like it!
my collard crop, for instance, is incredible,
the freezer is filled with frozen berries,
and our local farmer's market provides all bounty
I am not enough of a gardener to grow.
I try, of course, and have managed
to have fresh lettuce almost every day
despite the heat.
But this summer I've been more cartoonist
than gardener or weaver,
which to my astonishment means that
another thing that has worked out is
this new comic zine/guide thingy:
of coffee filters and rabbit holes
and I like it!
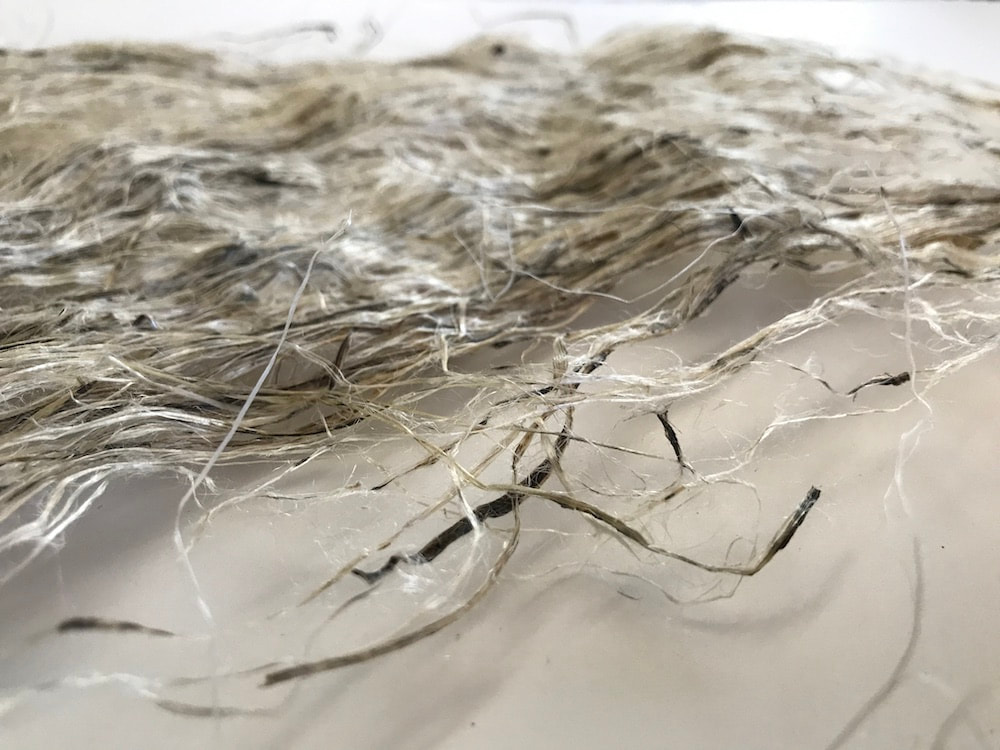
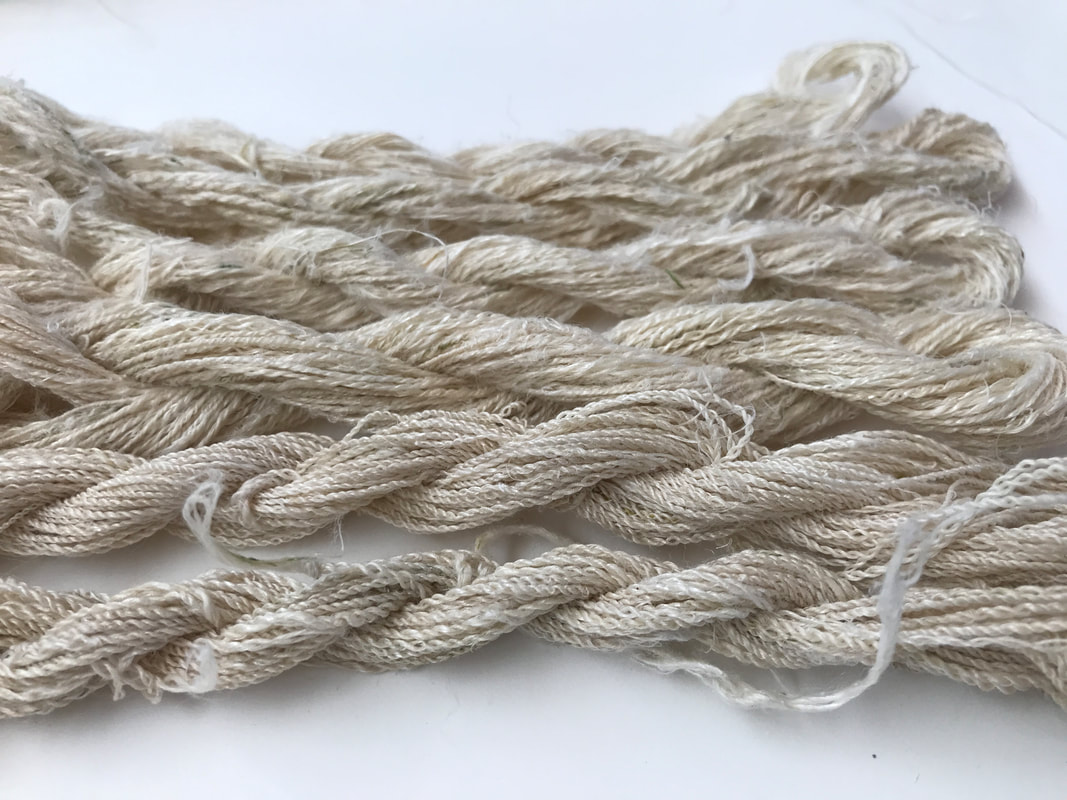
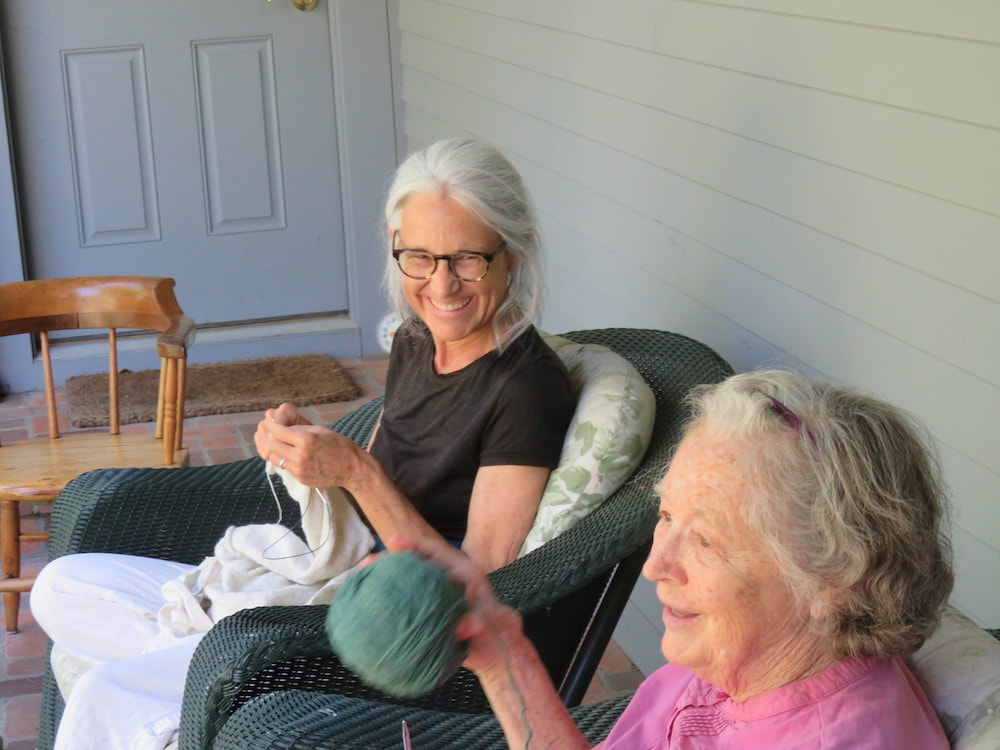
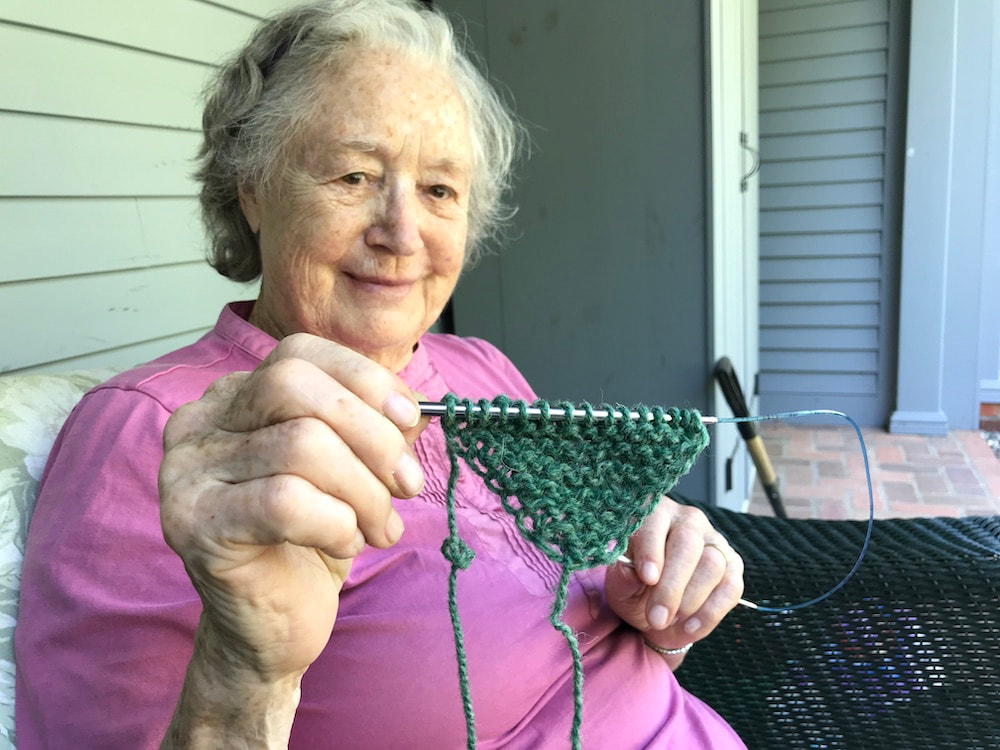
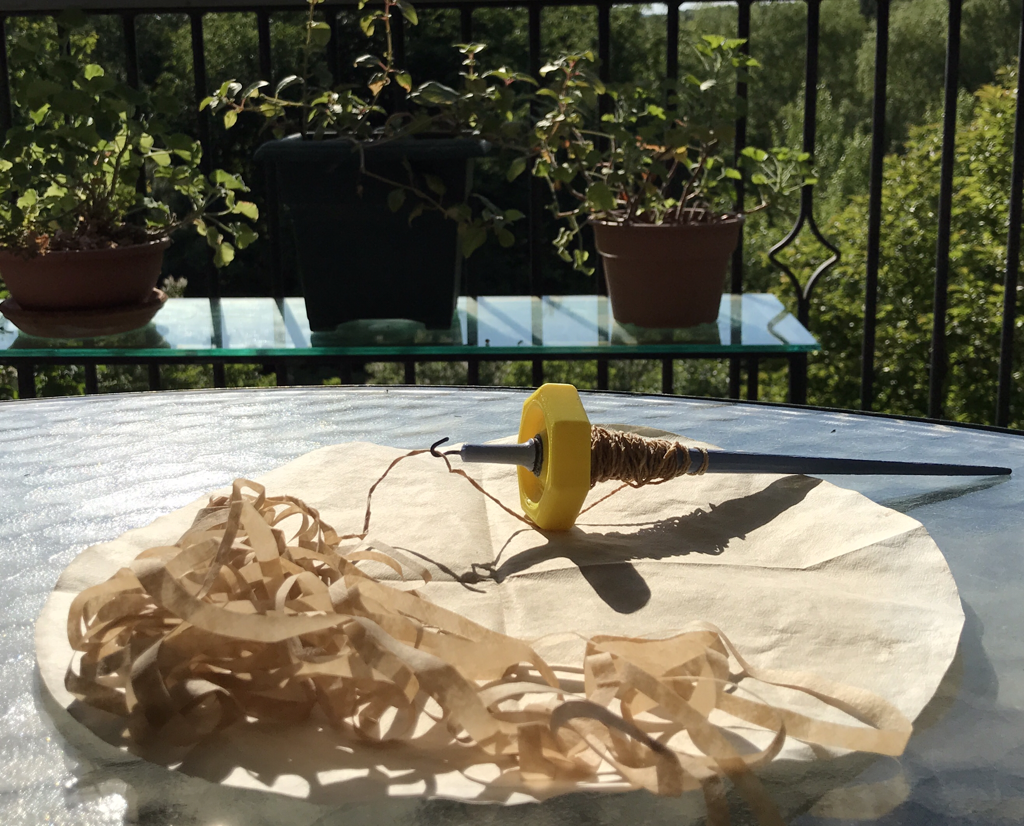
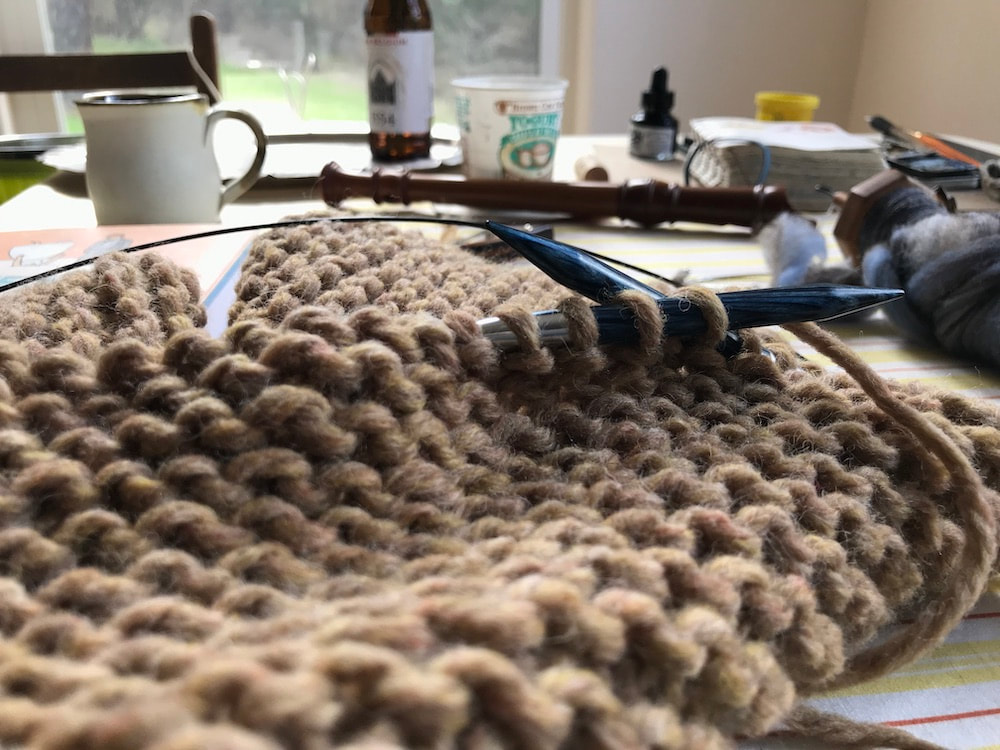
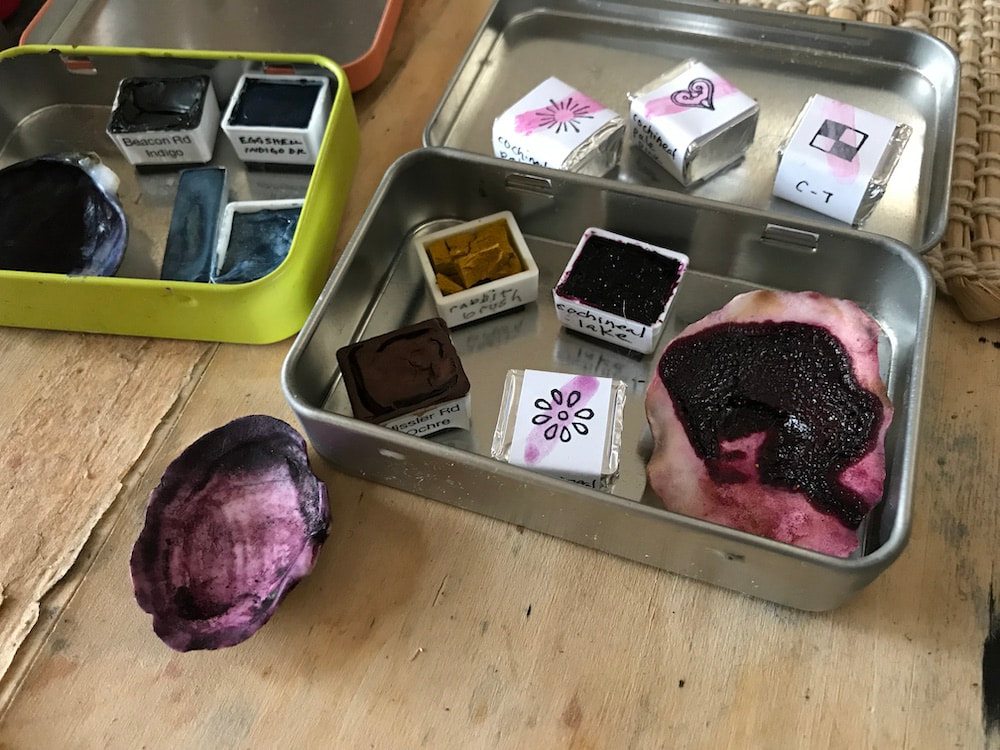
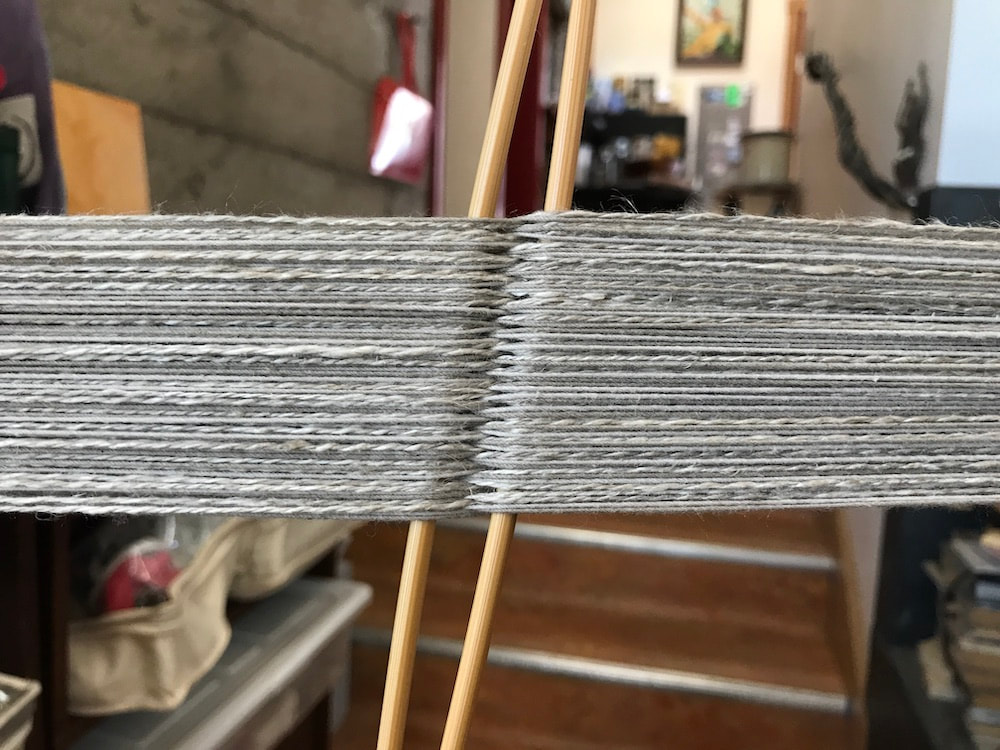
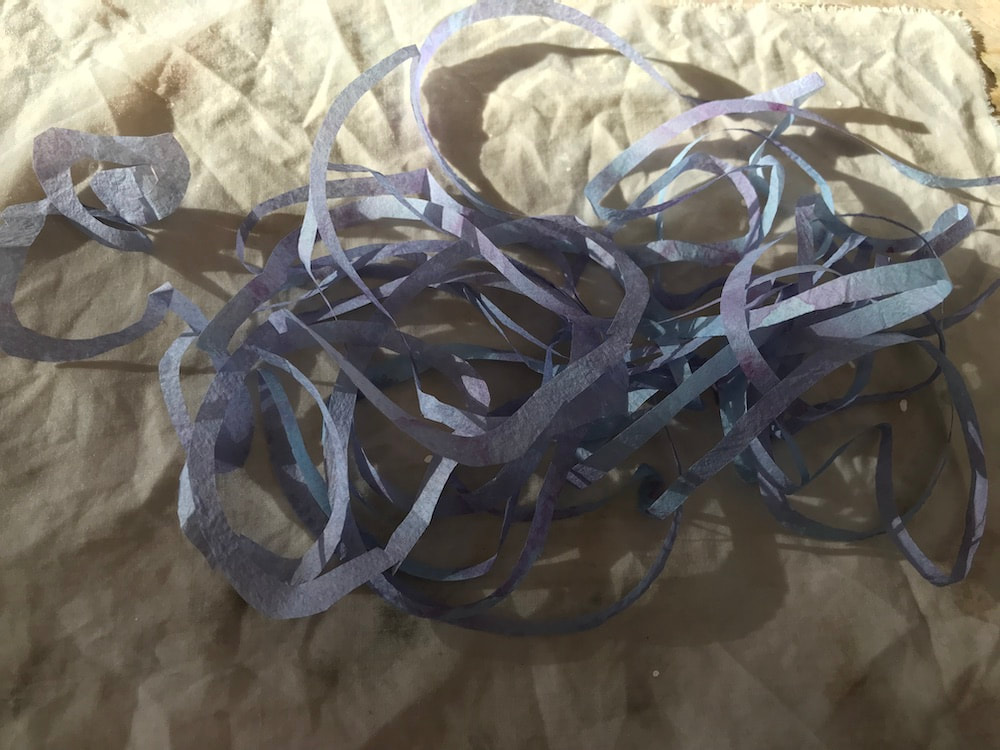
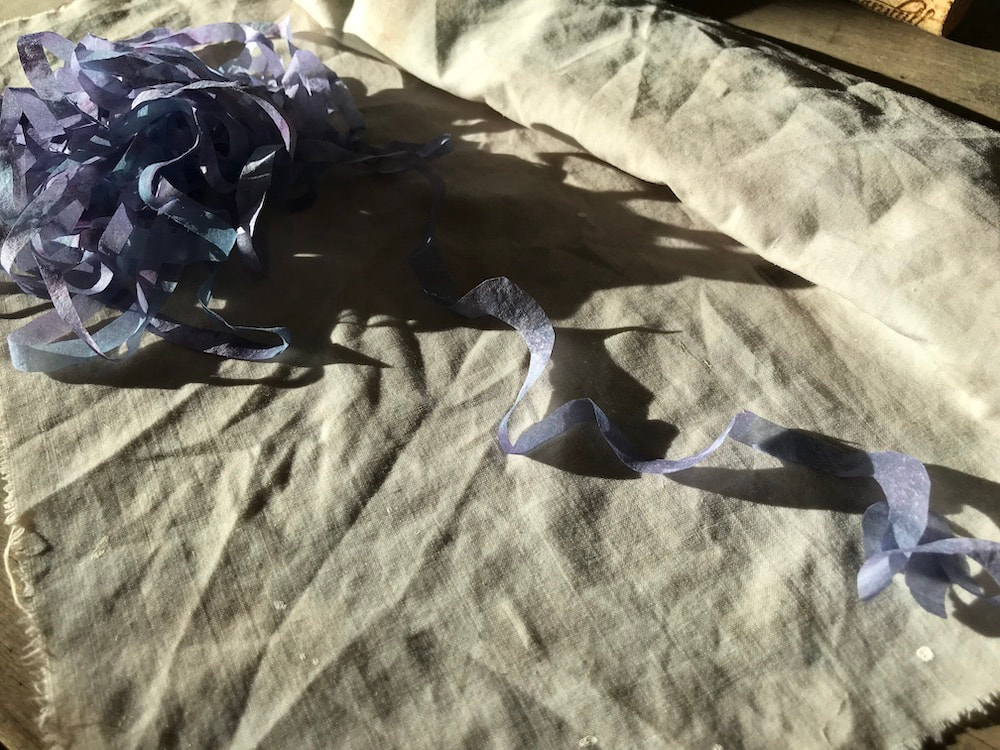
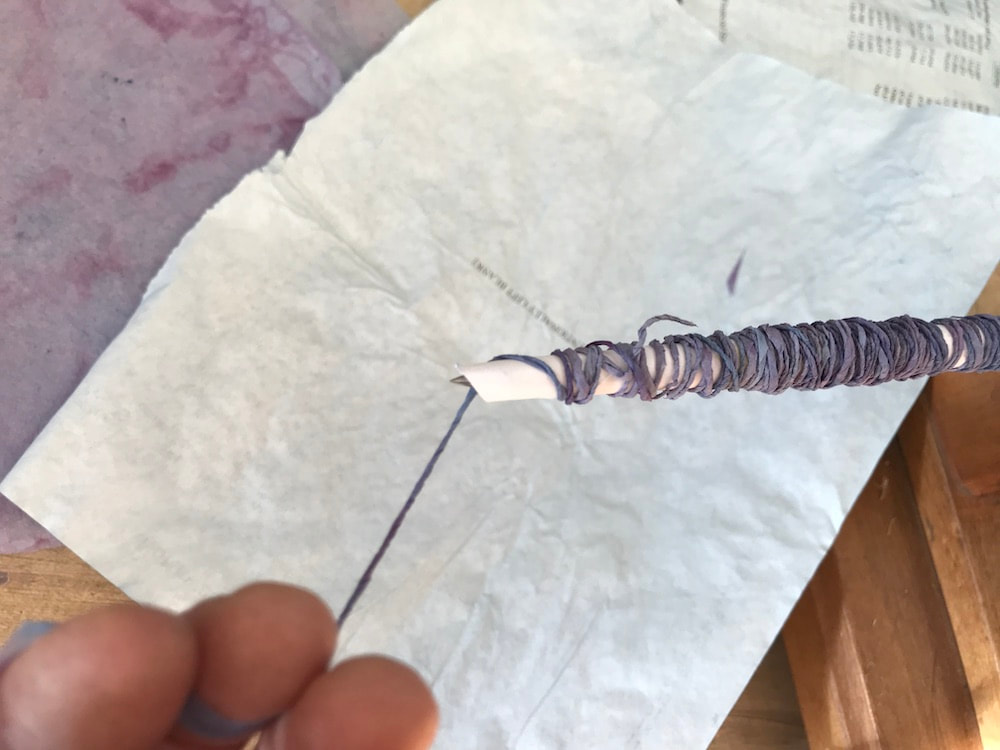
The project has been
a great companion these many months--
the process of bringing it to you
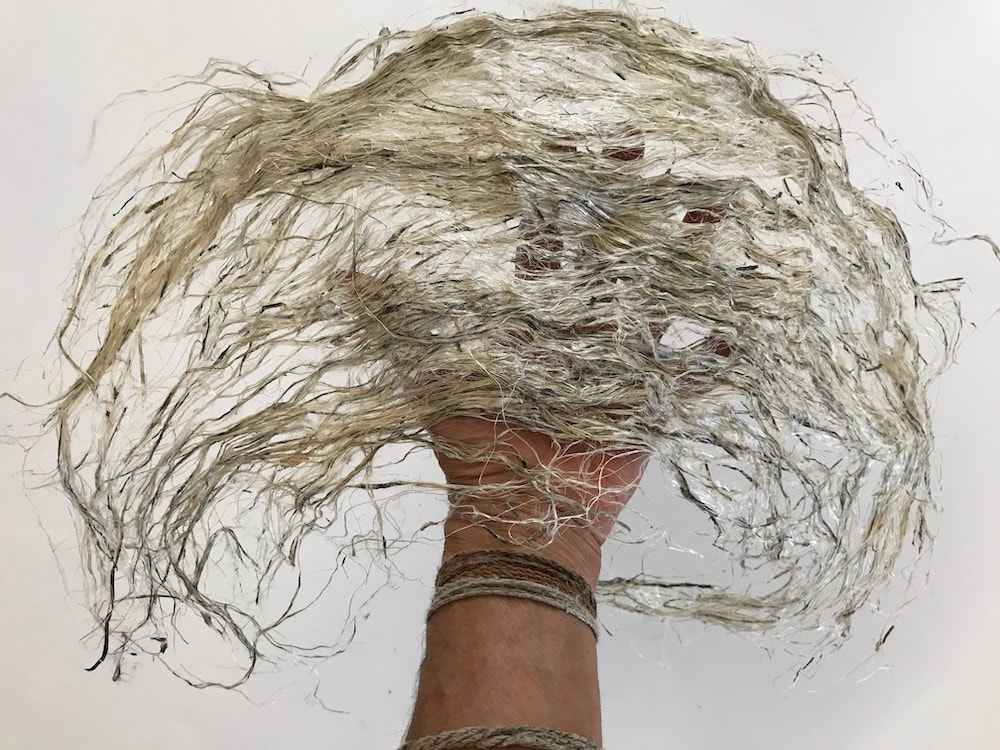
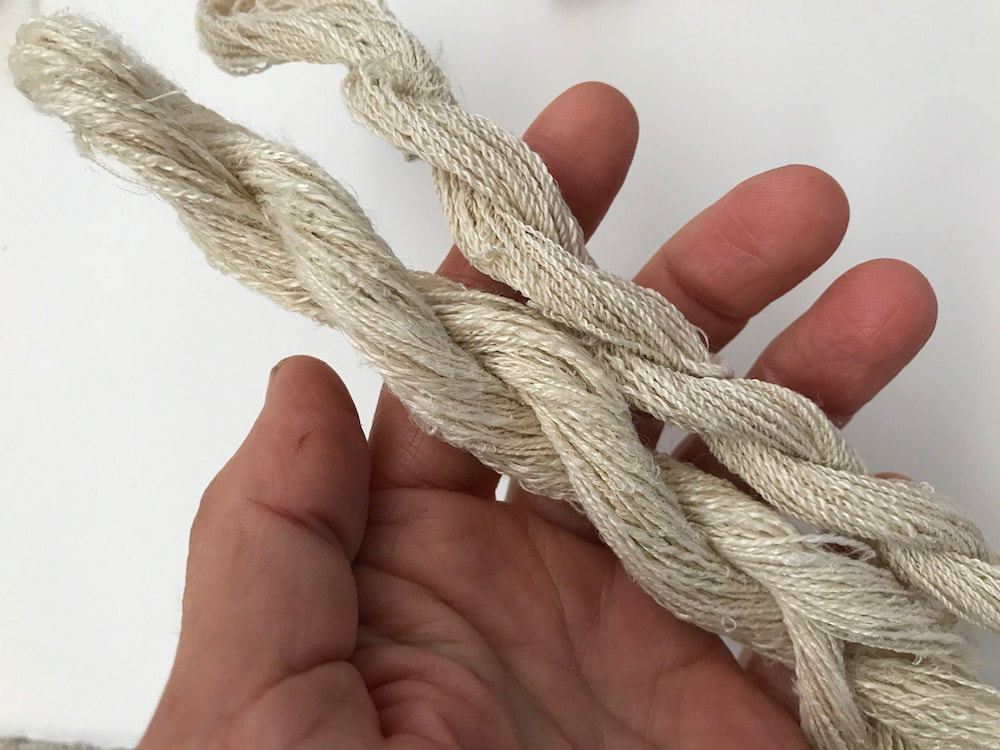
as beguiling as the coffee filter yarn itself.
How lucky can I get?
a great companion these many months--
the process of bringing it to you
as beguiling as the coffee filter yarn itself.
How lucky can I get?
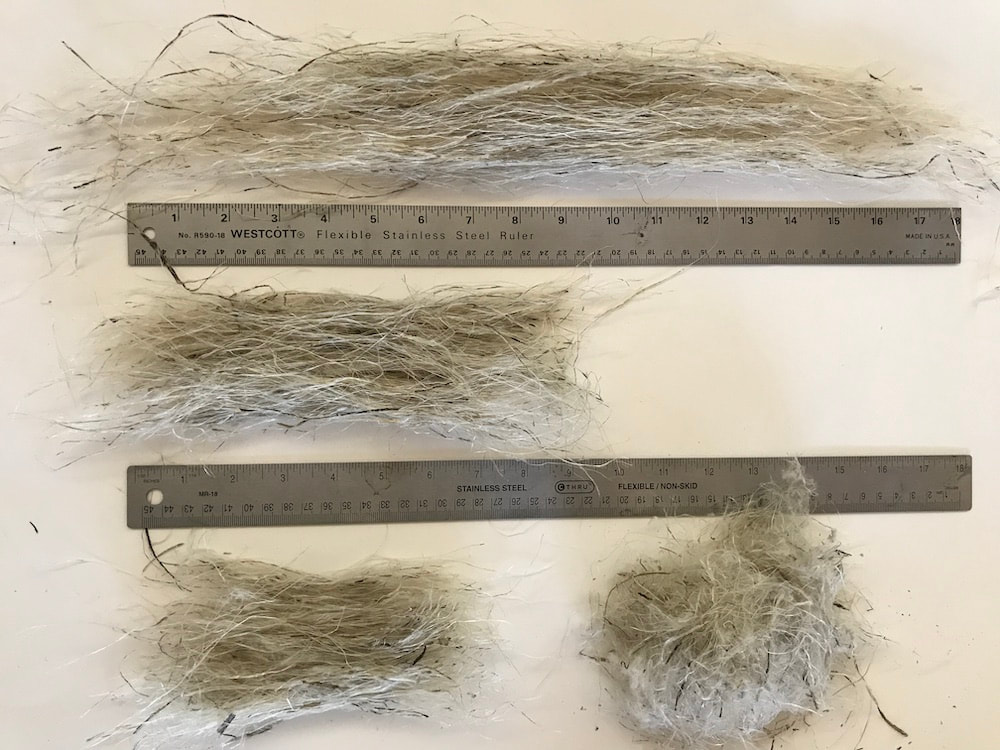
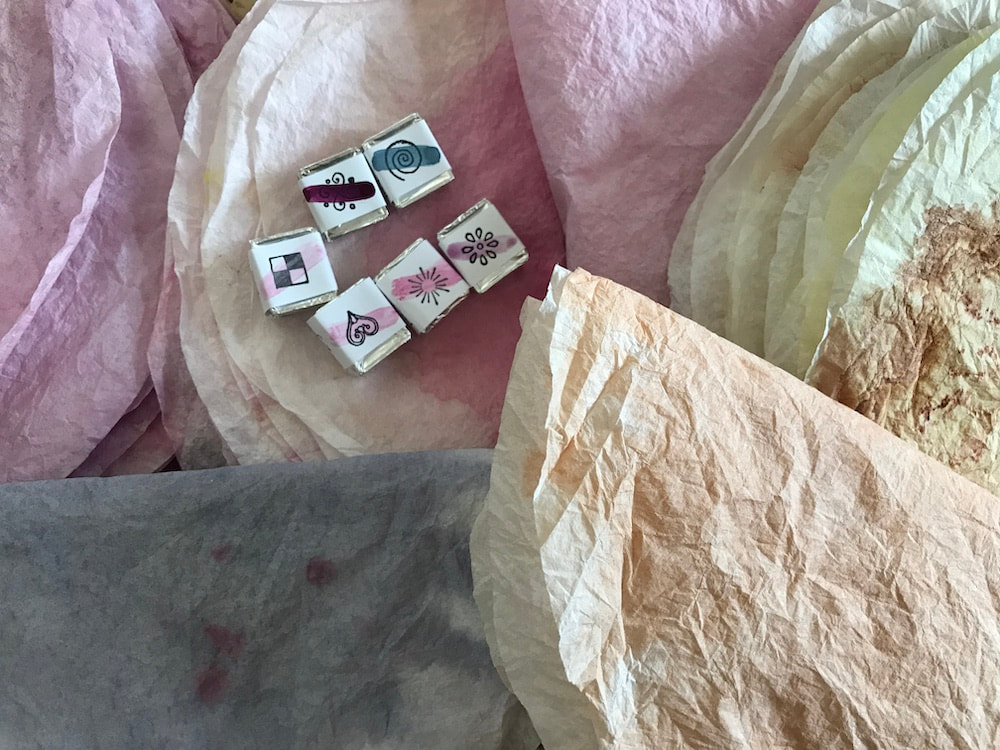
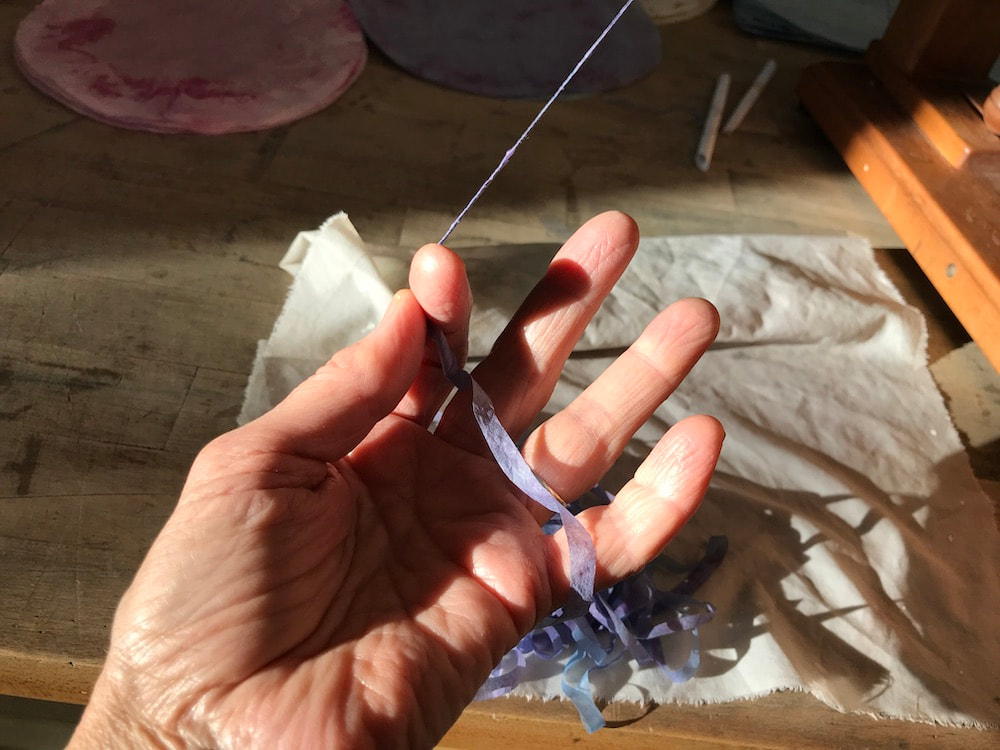
Luckier still, of course,
is that I also truly enjoy revising--
drawing, re-drawing,
getting feedback,
thinking of a new approach,
writing and re-writing--
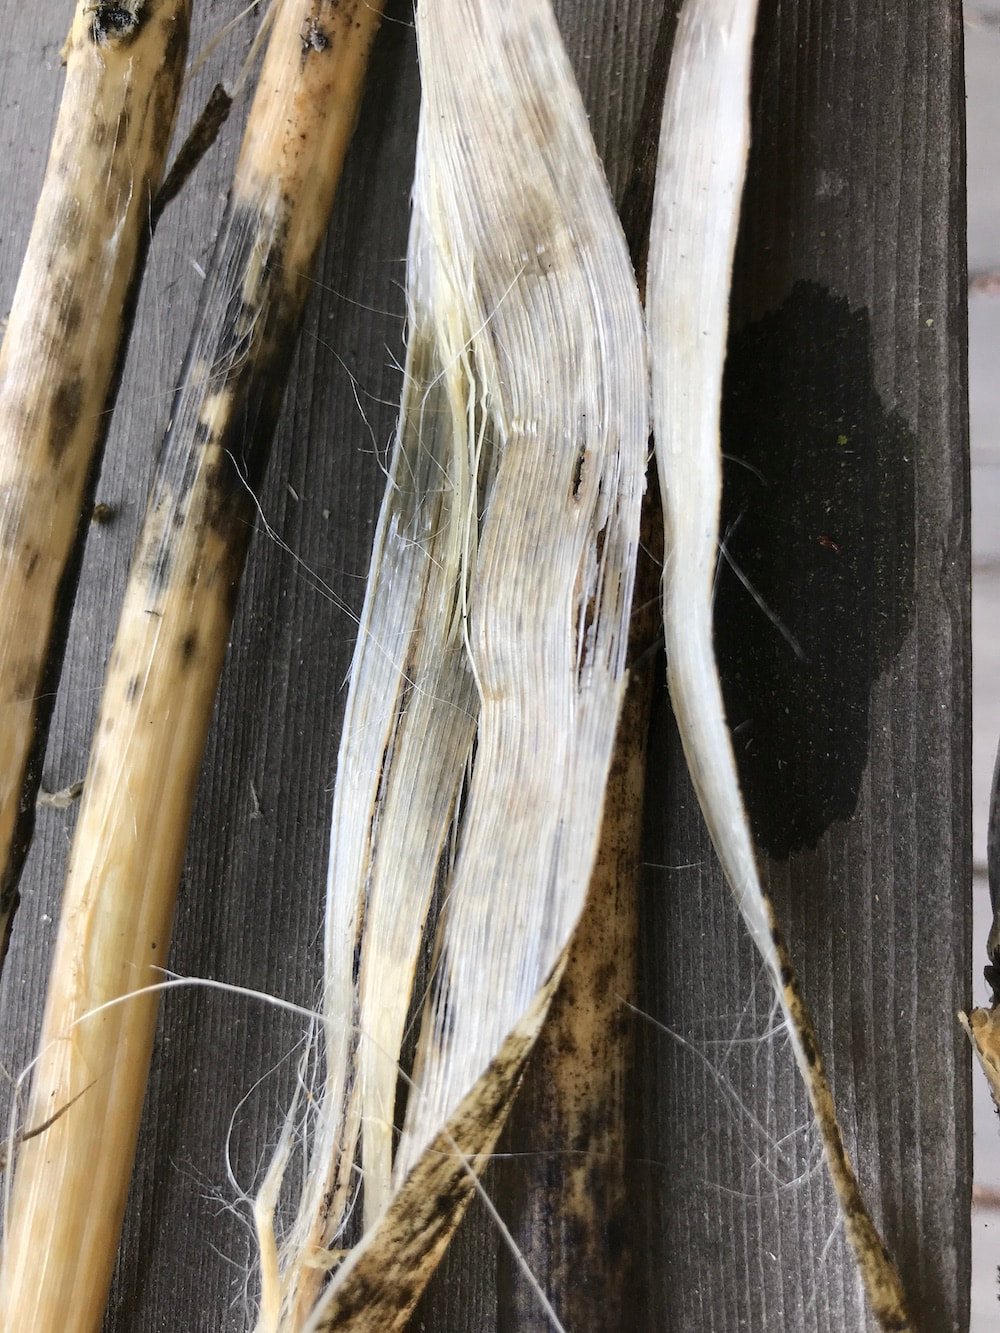
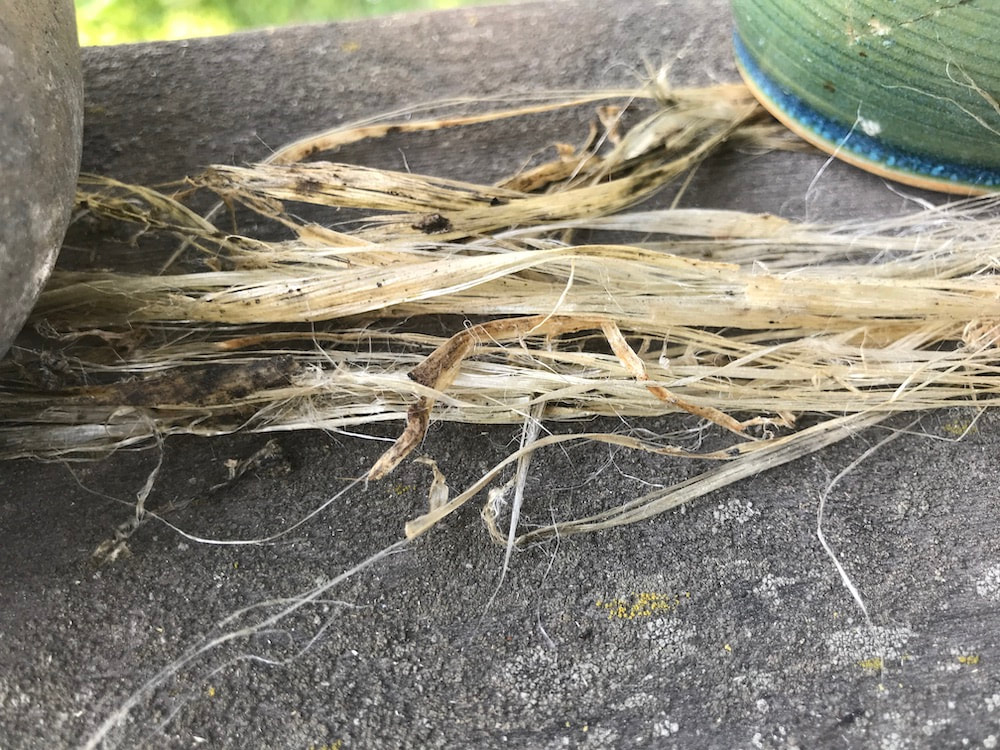
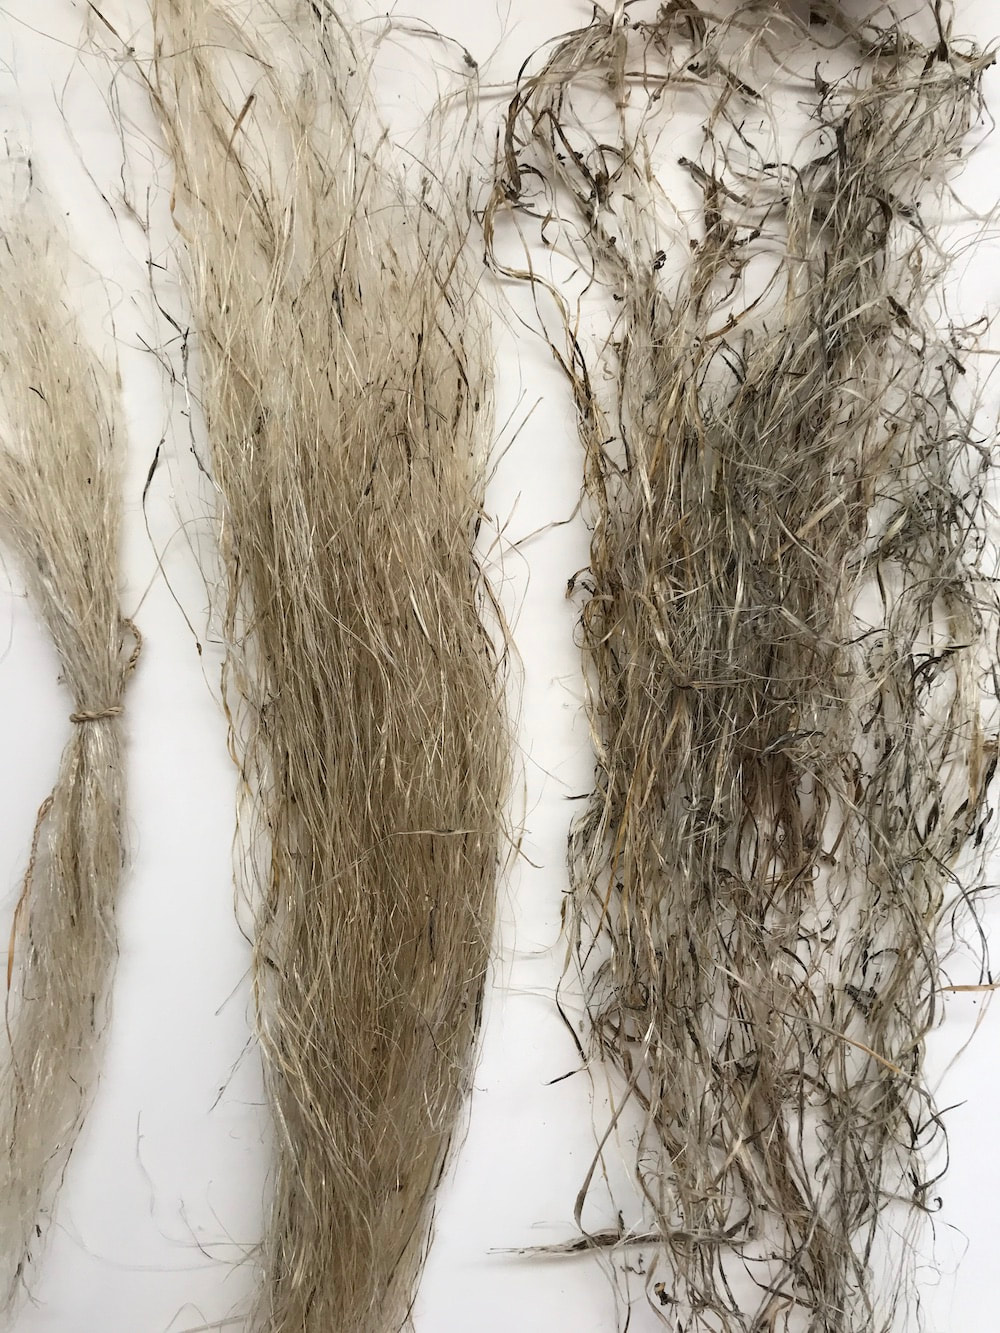
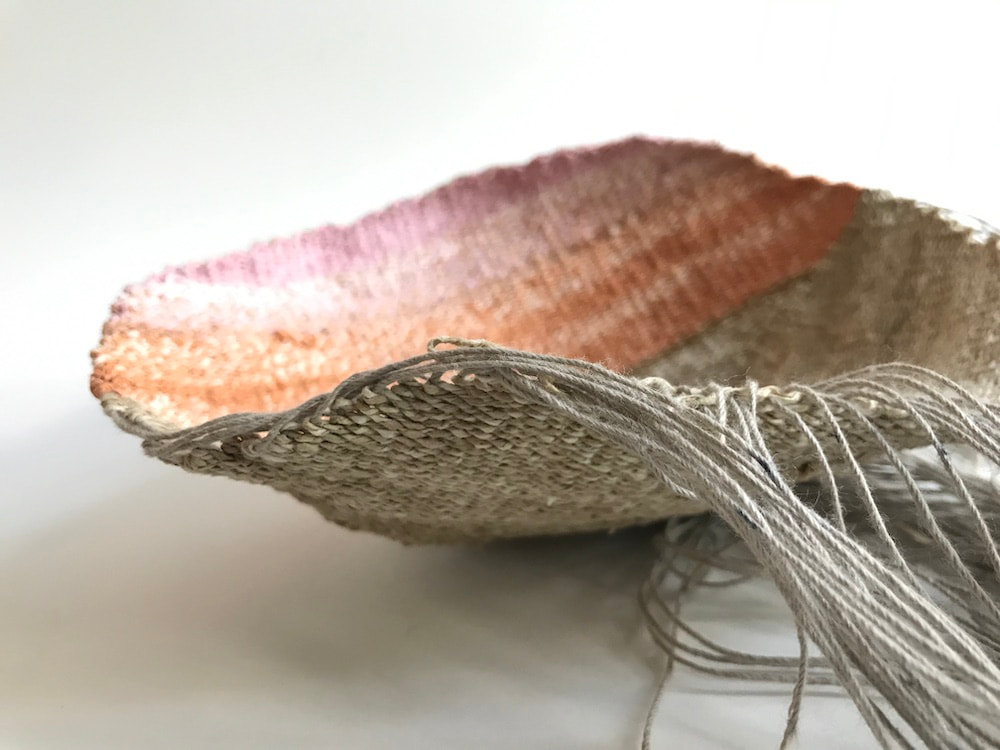
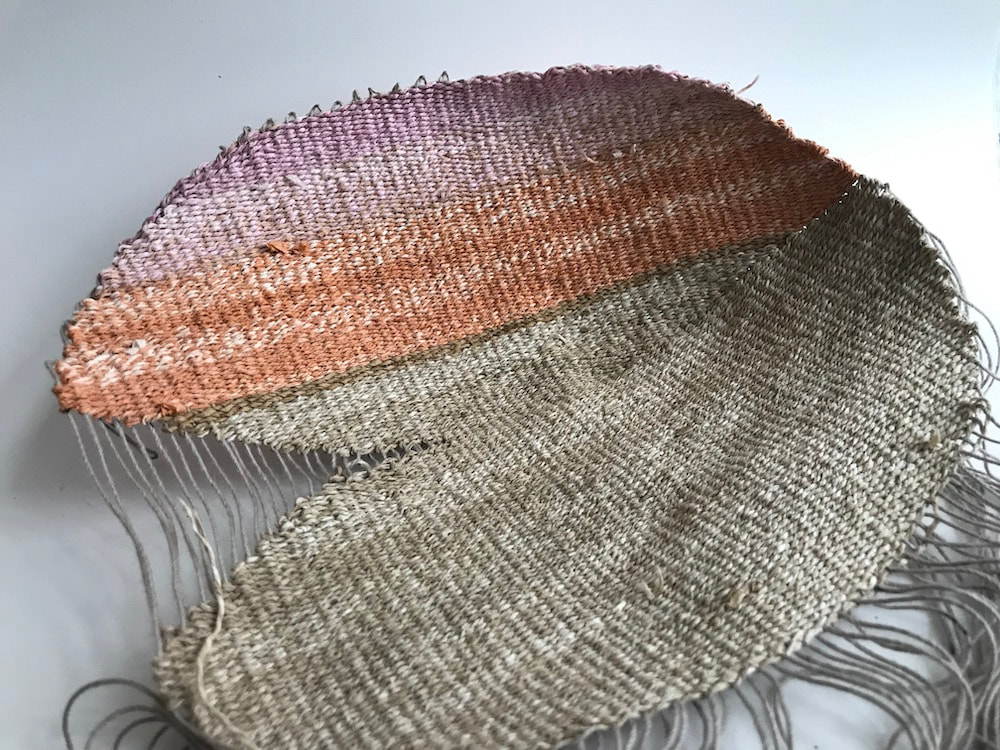
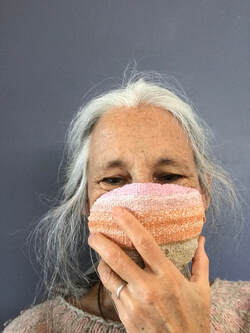
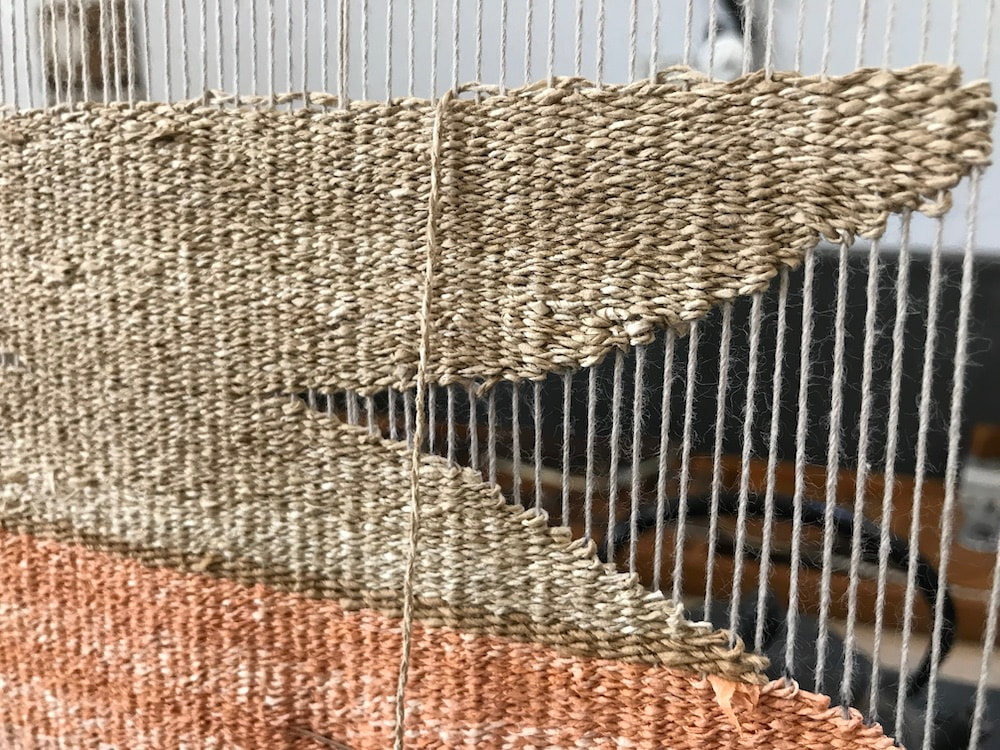
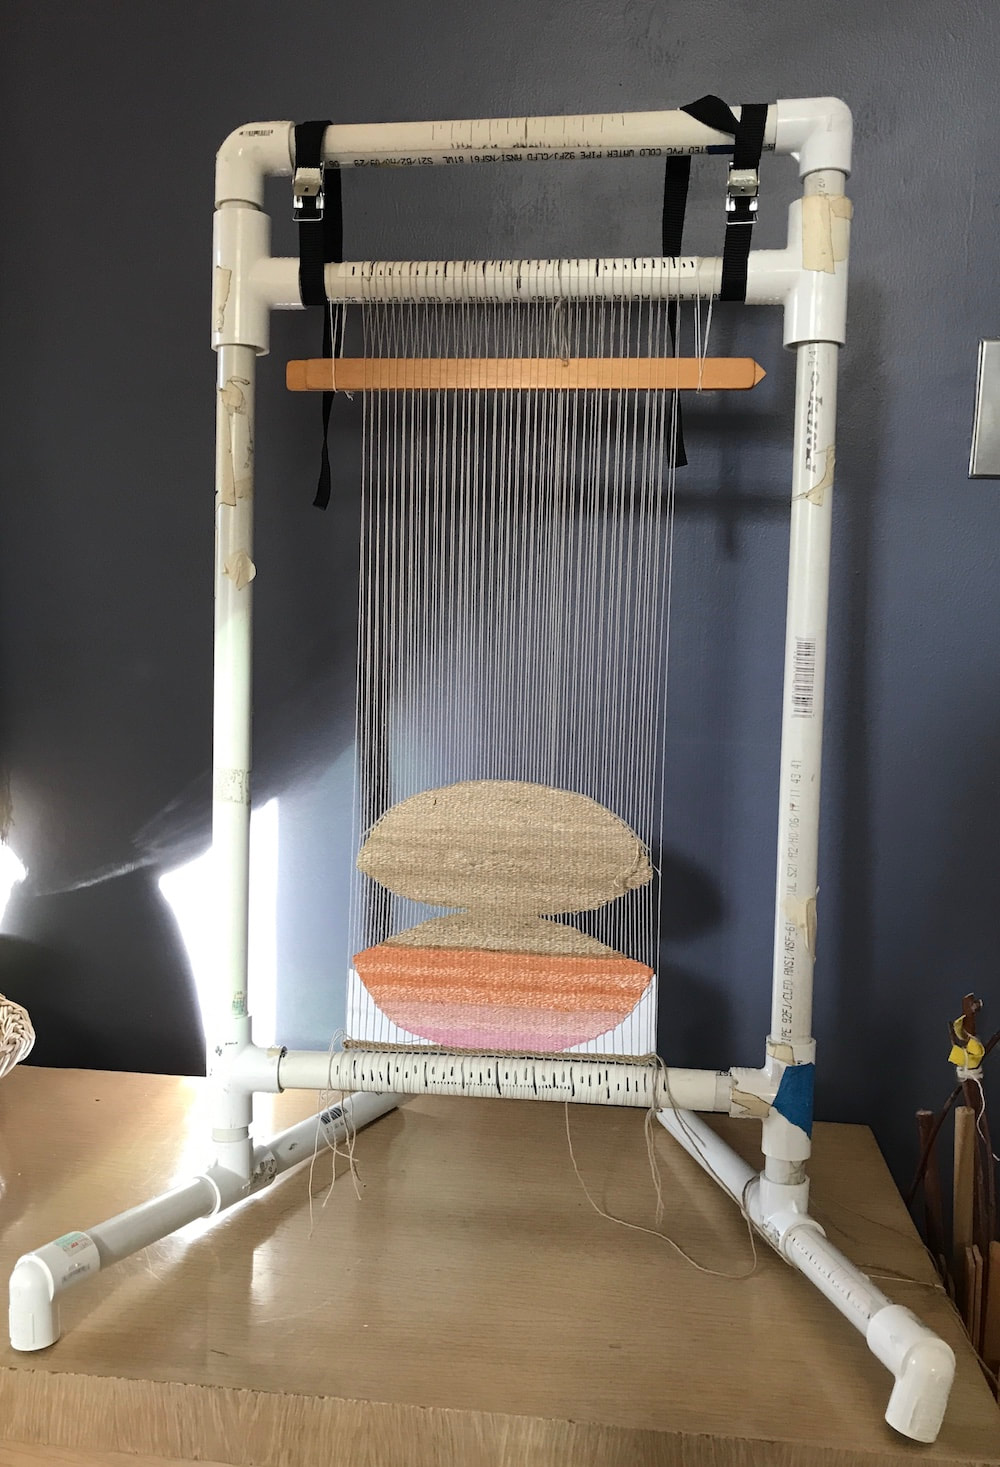
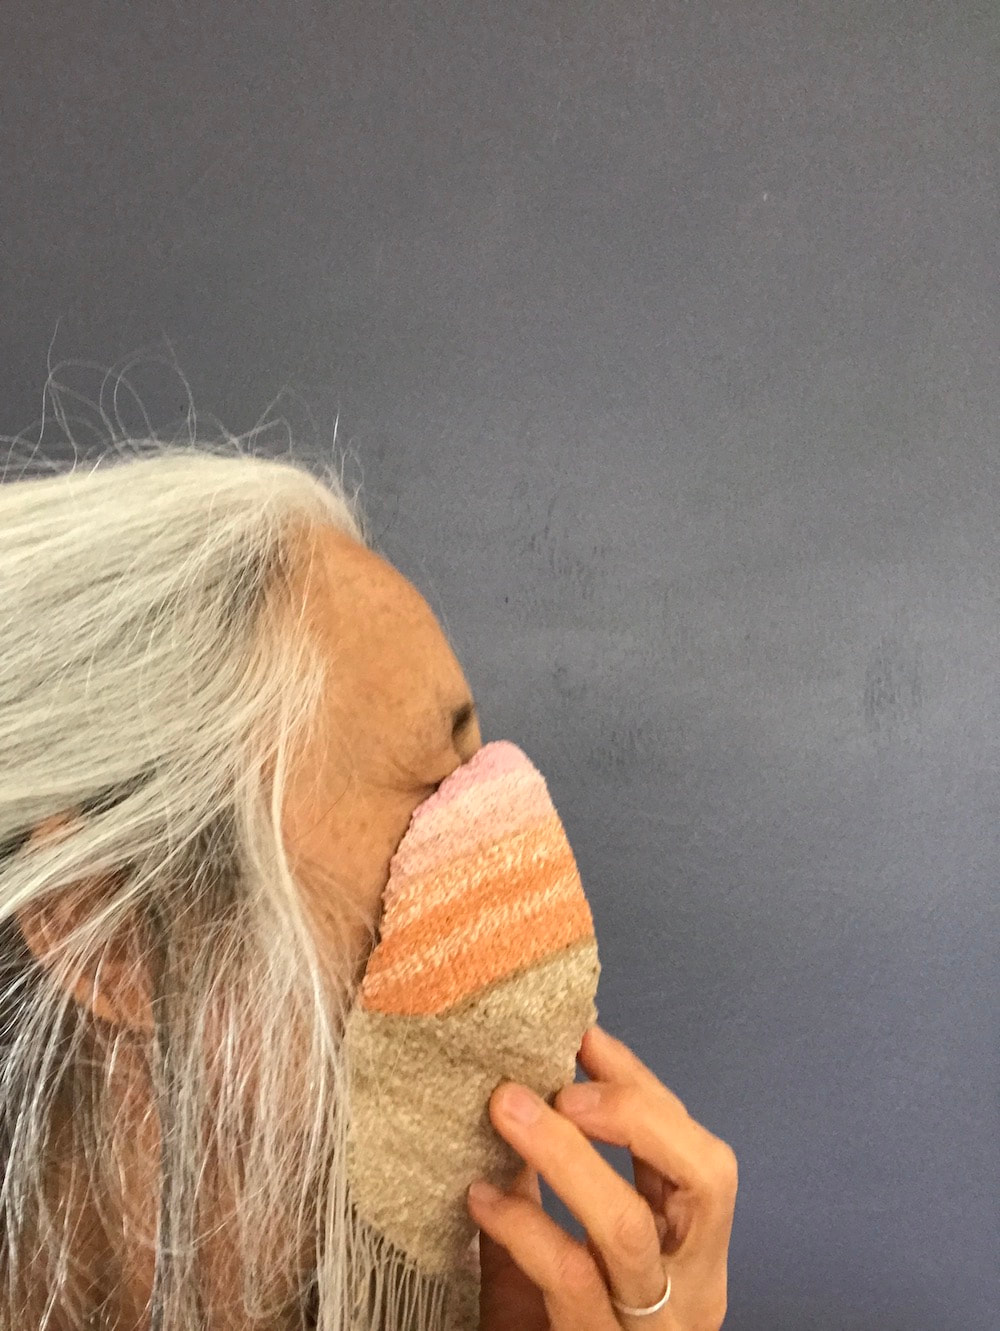
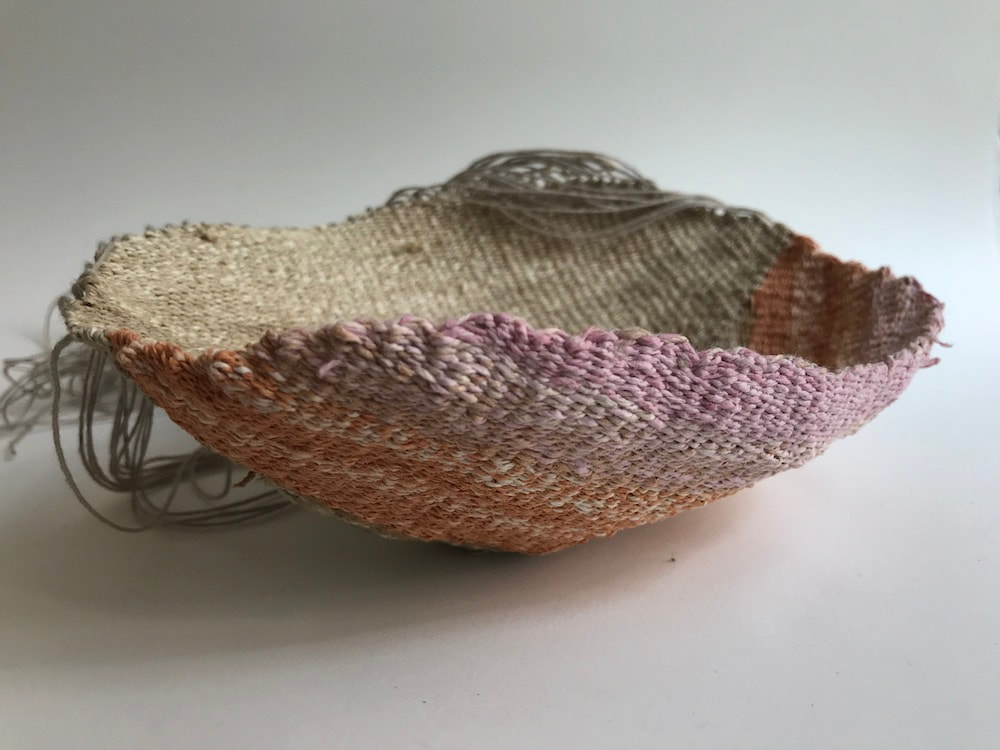
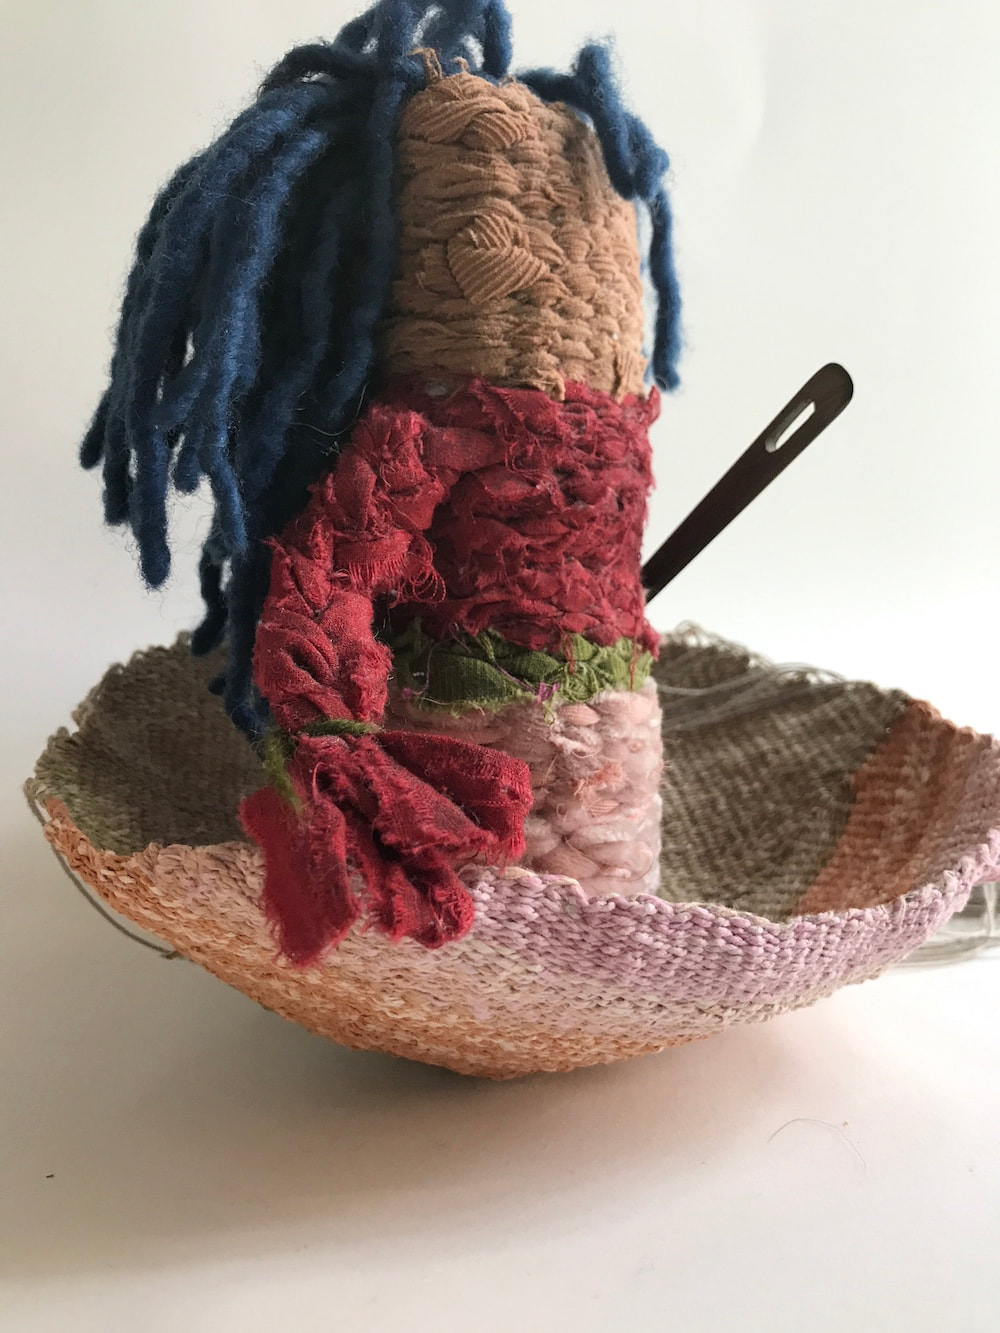
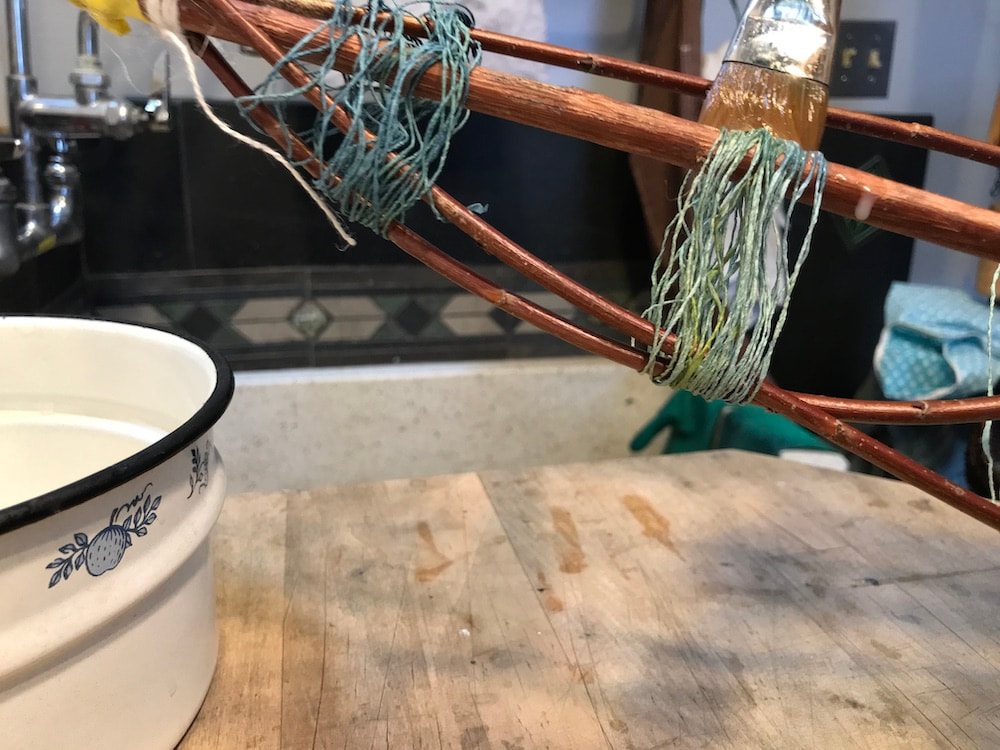
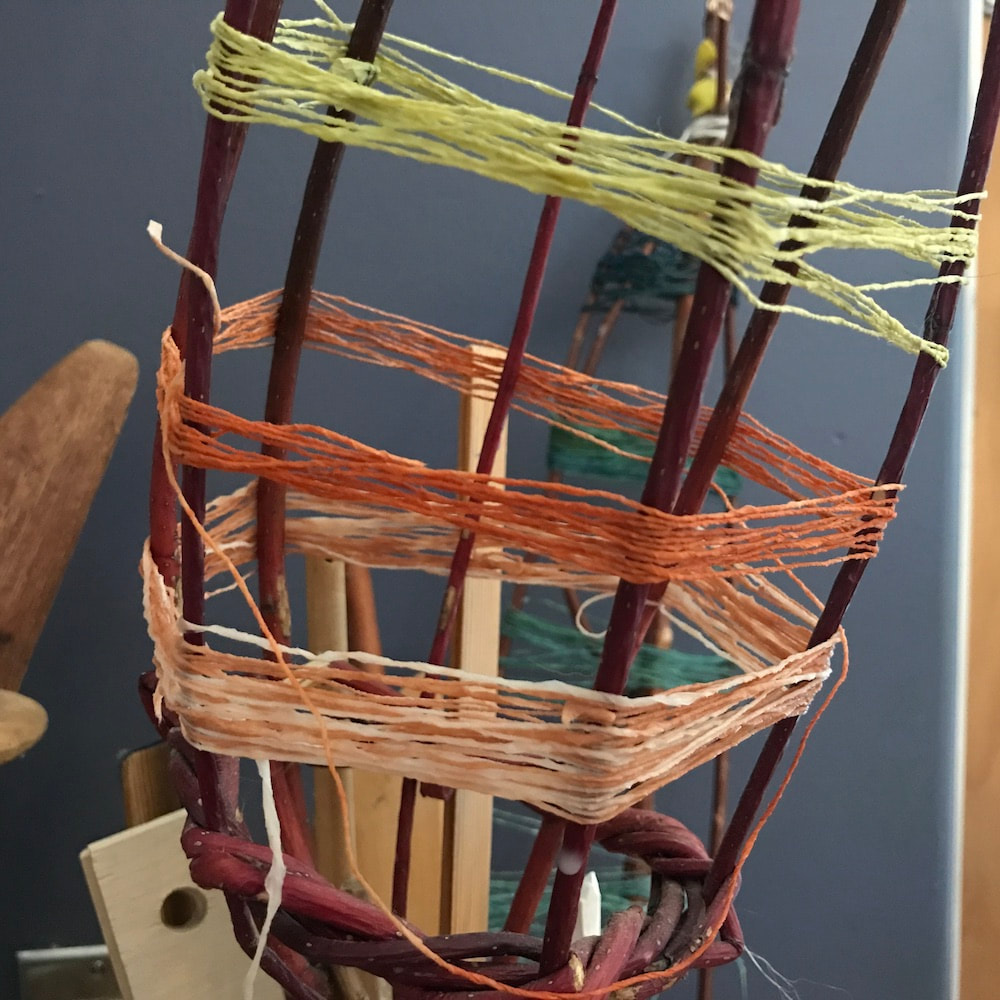
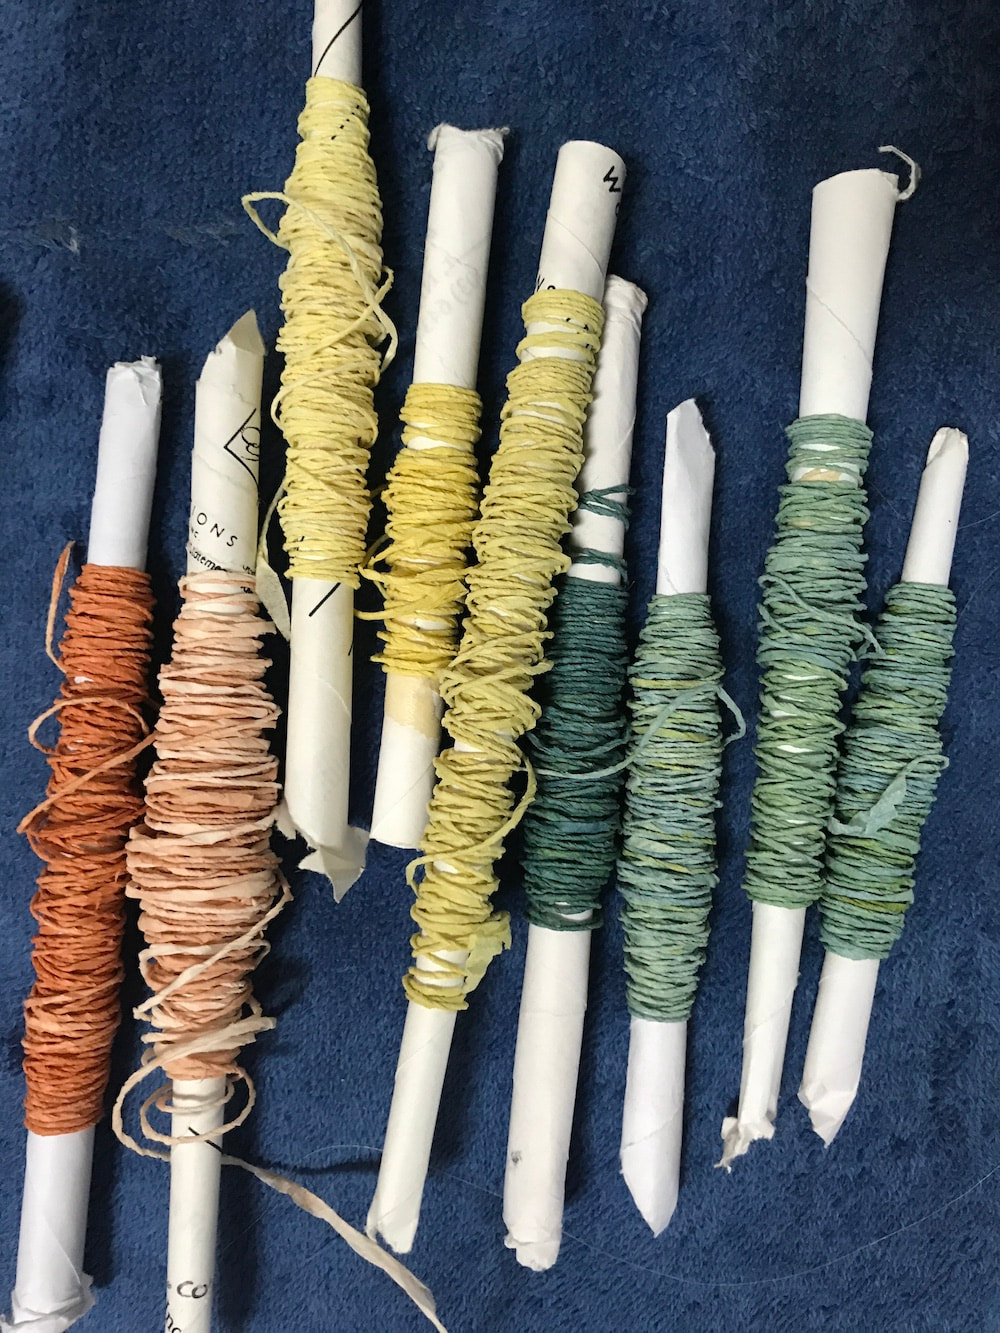
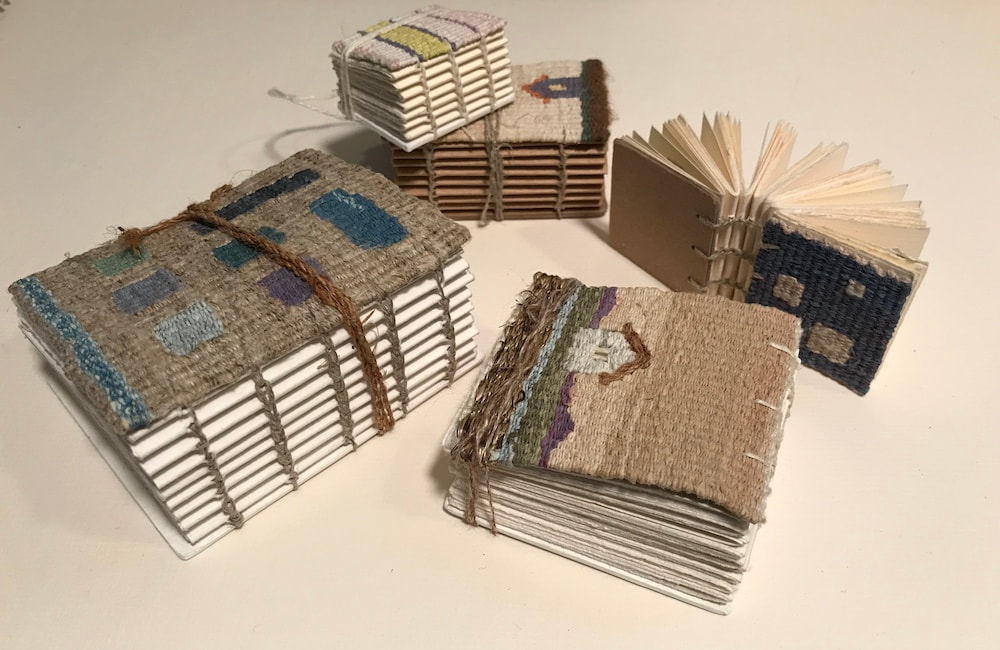
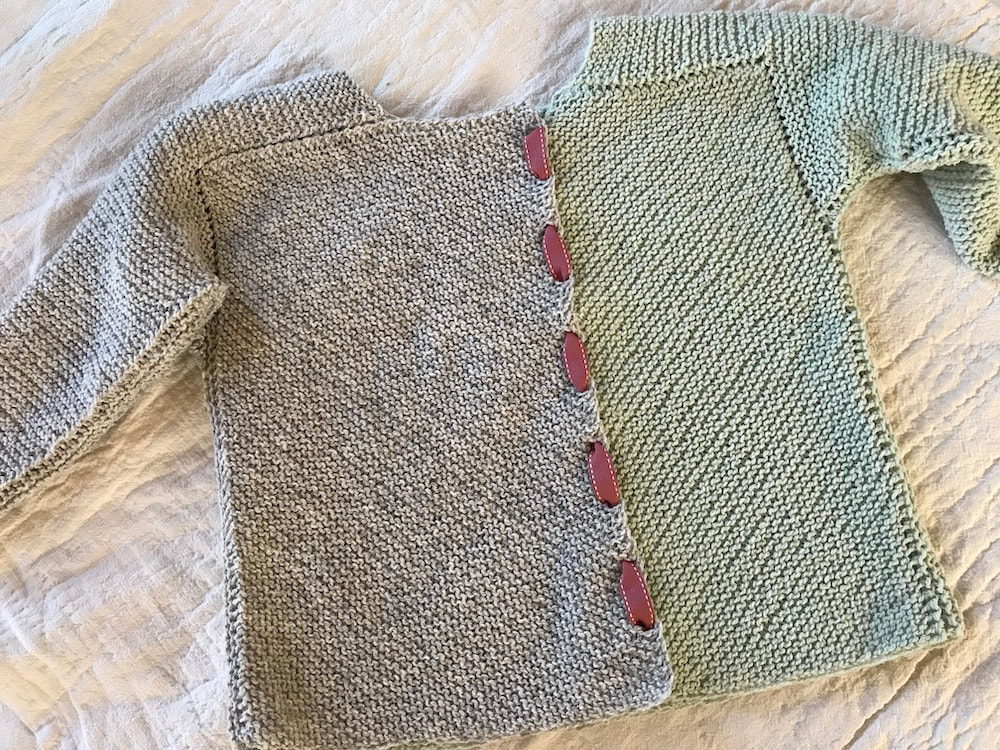
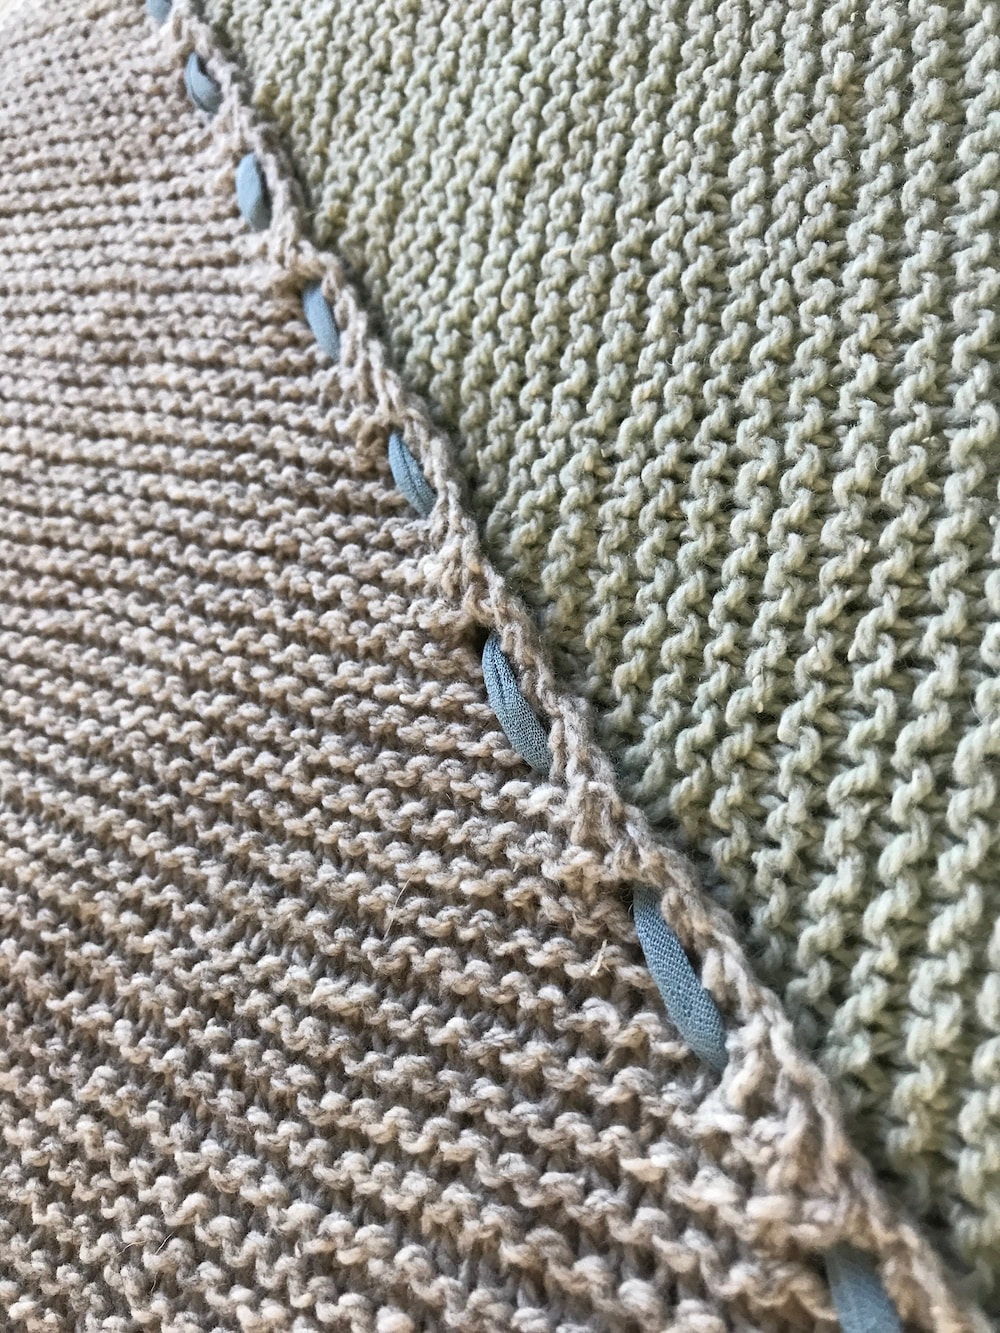
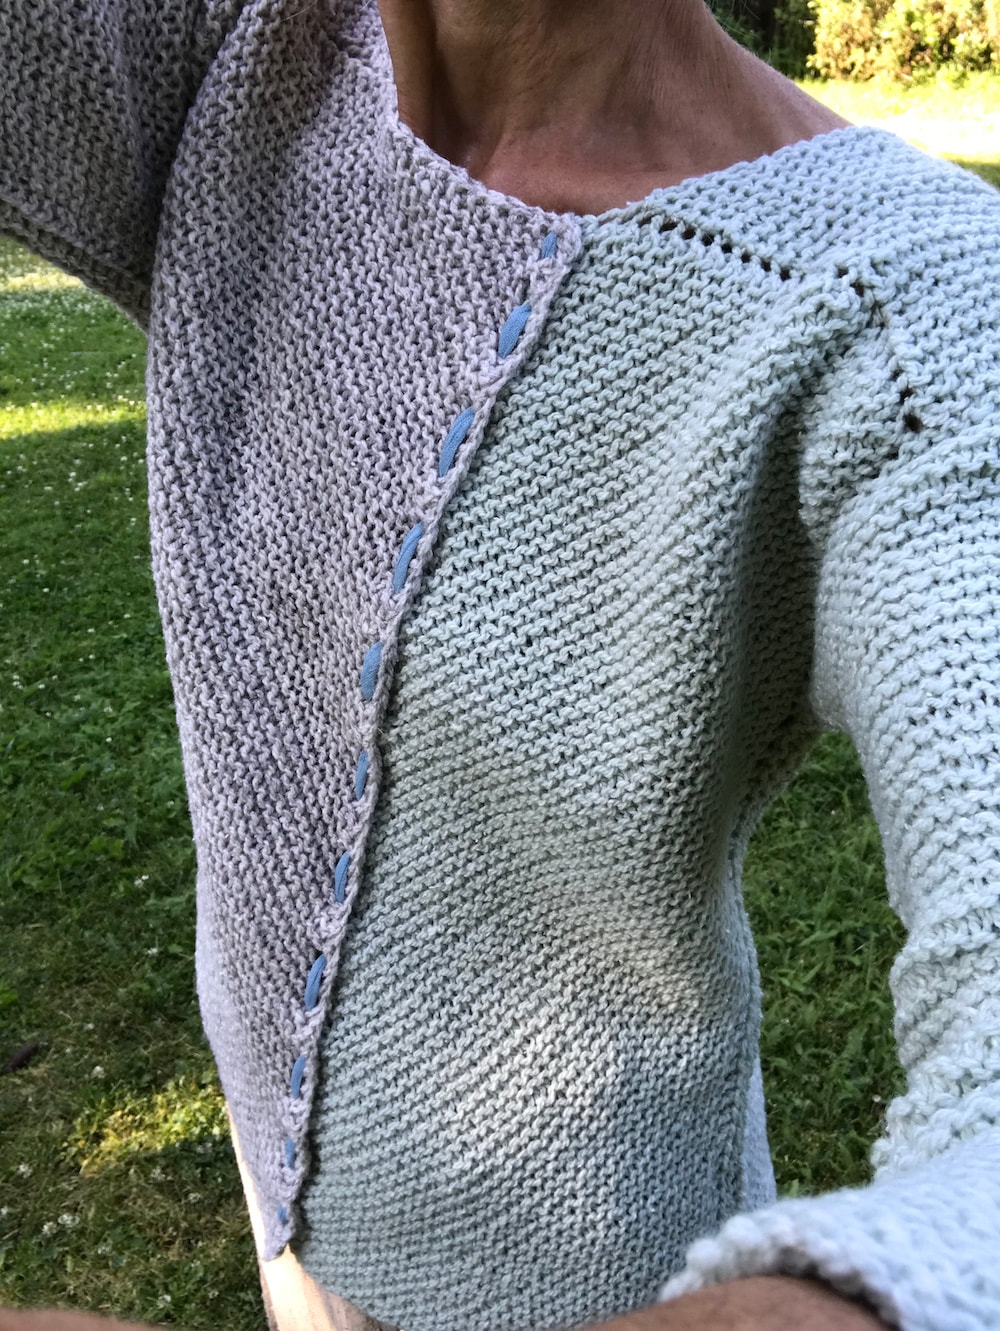
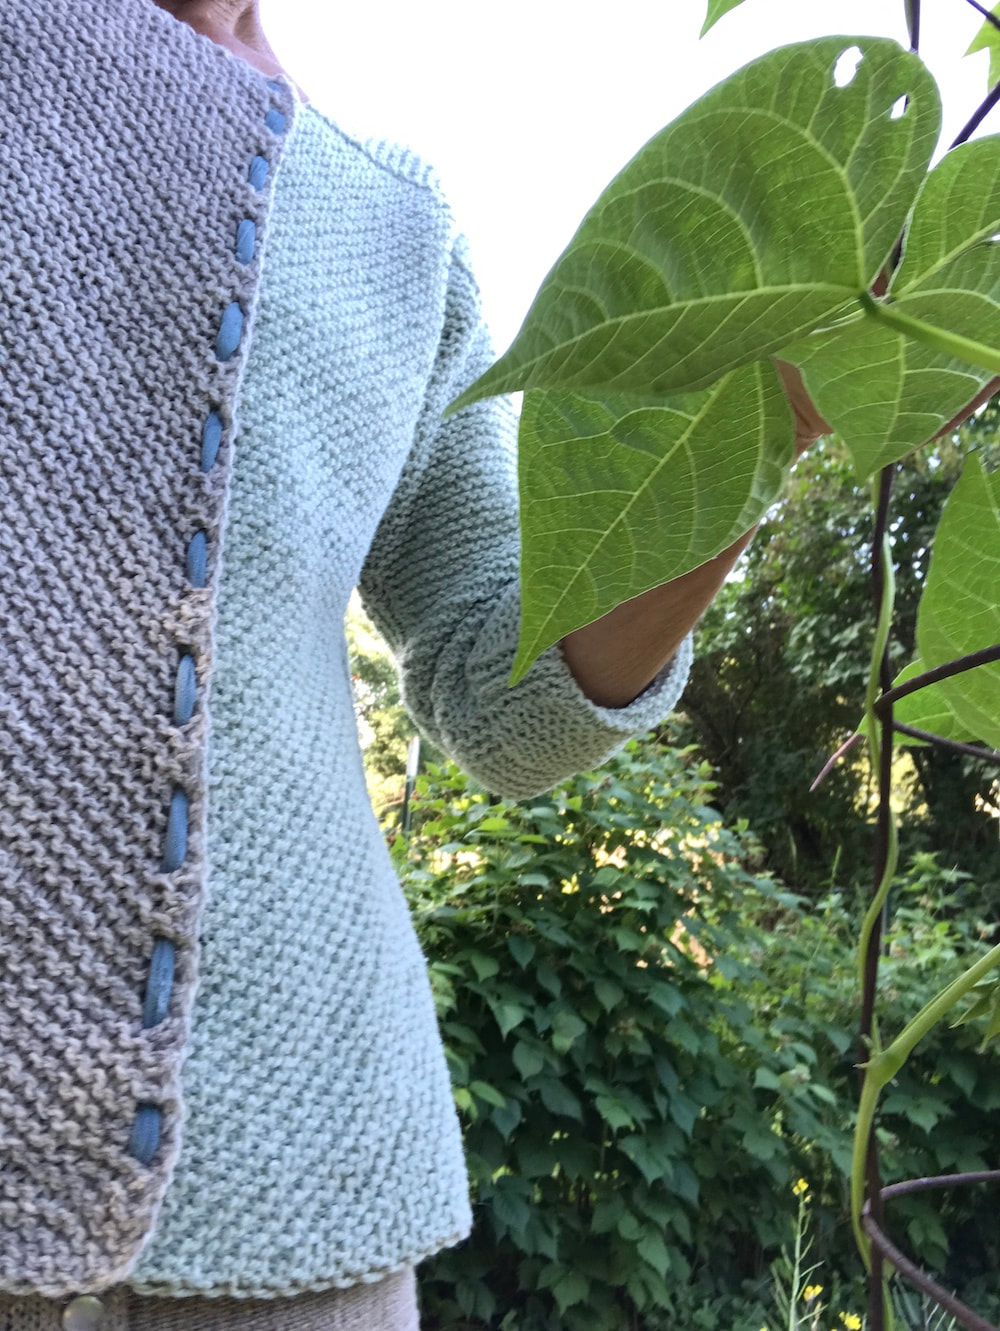
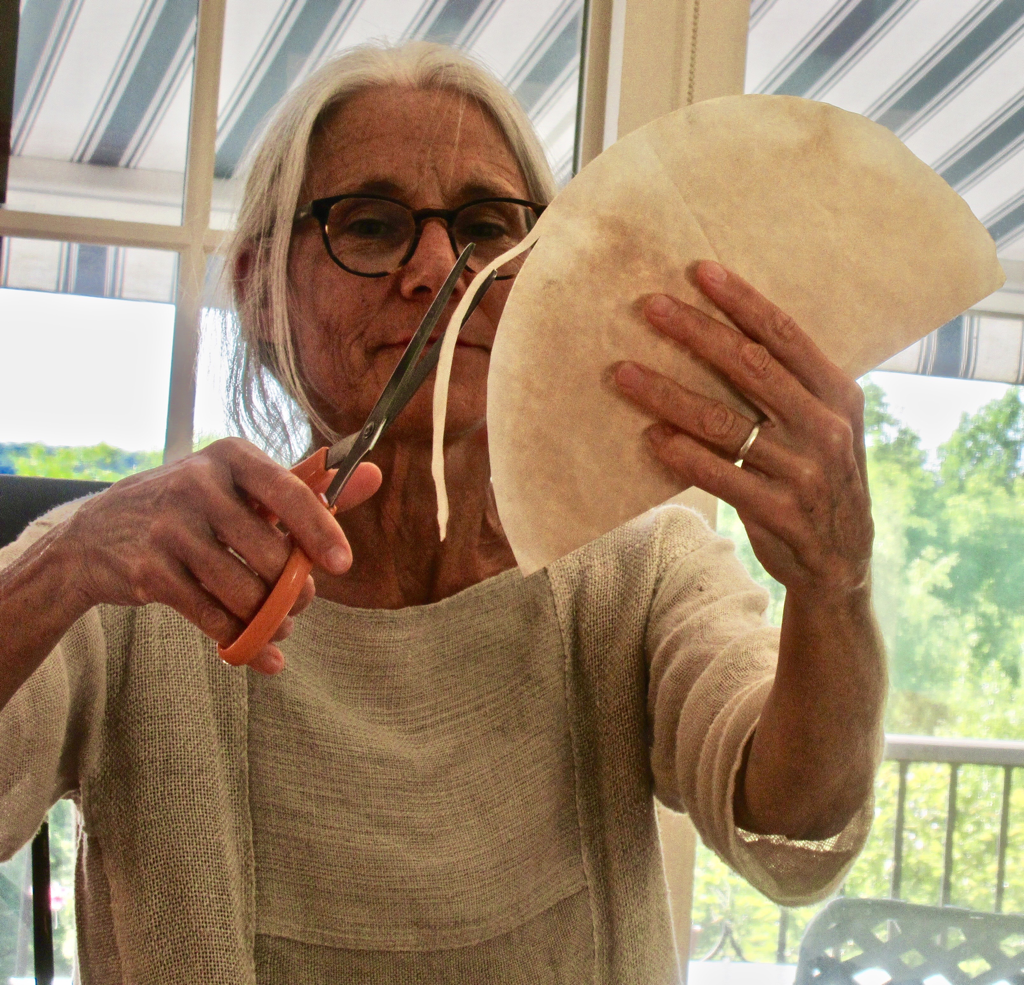
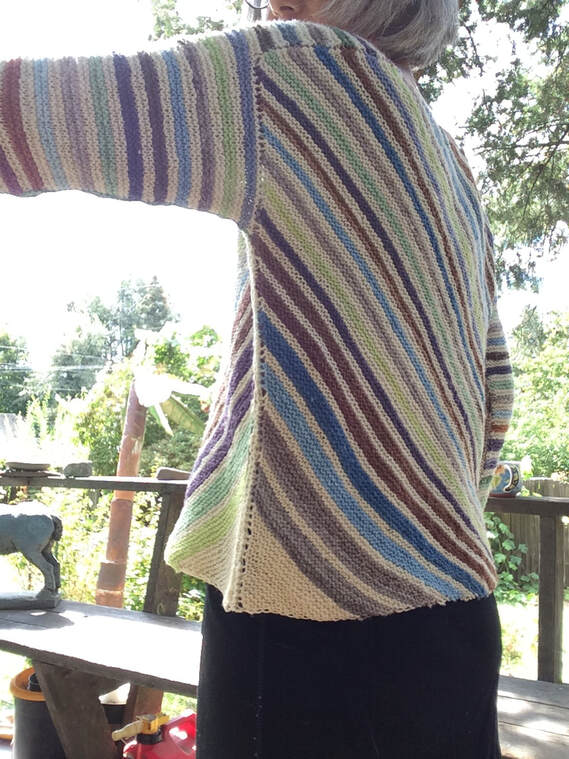
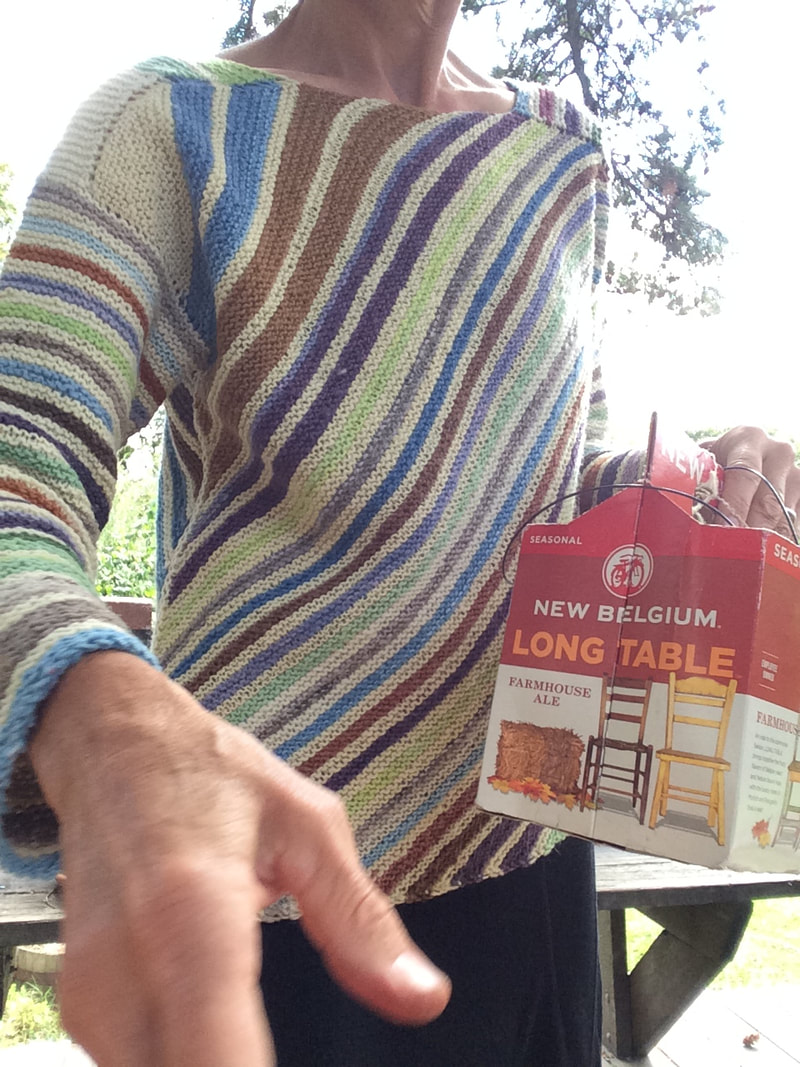
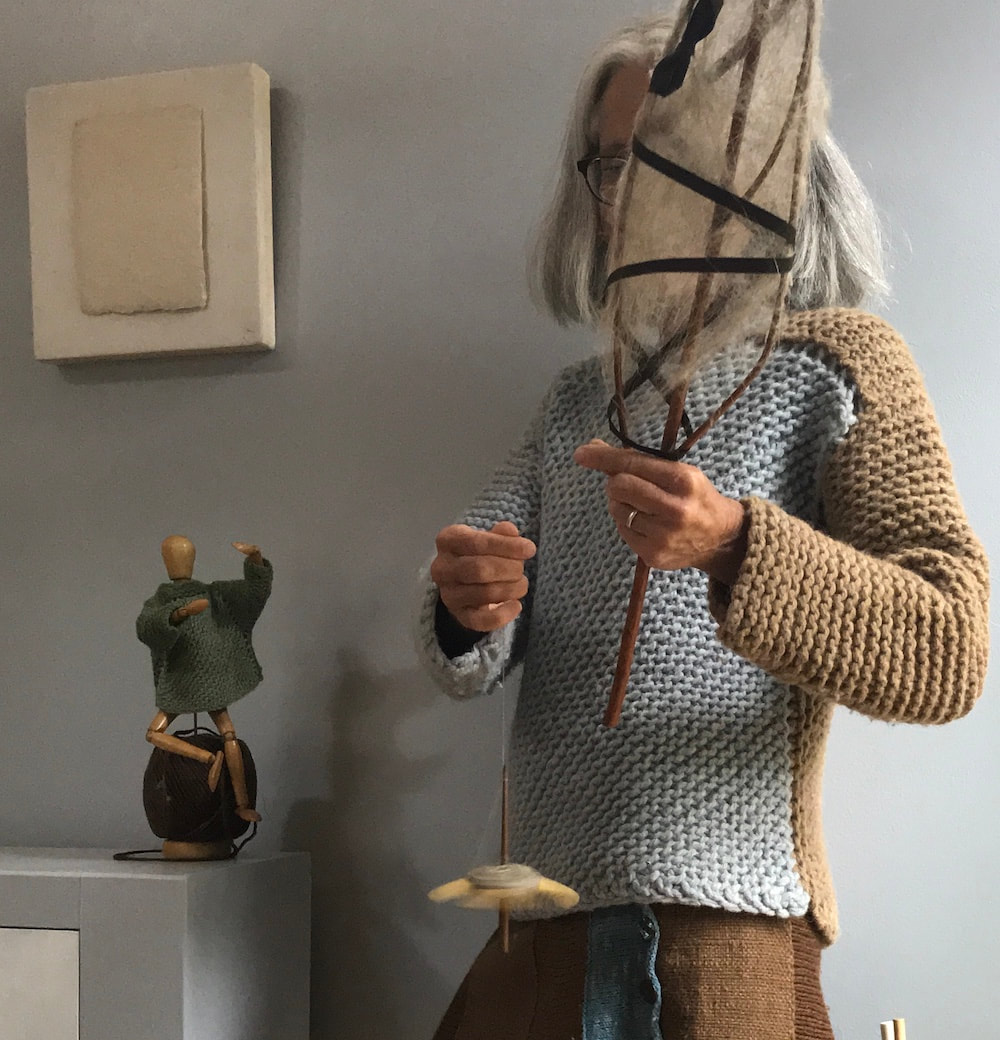
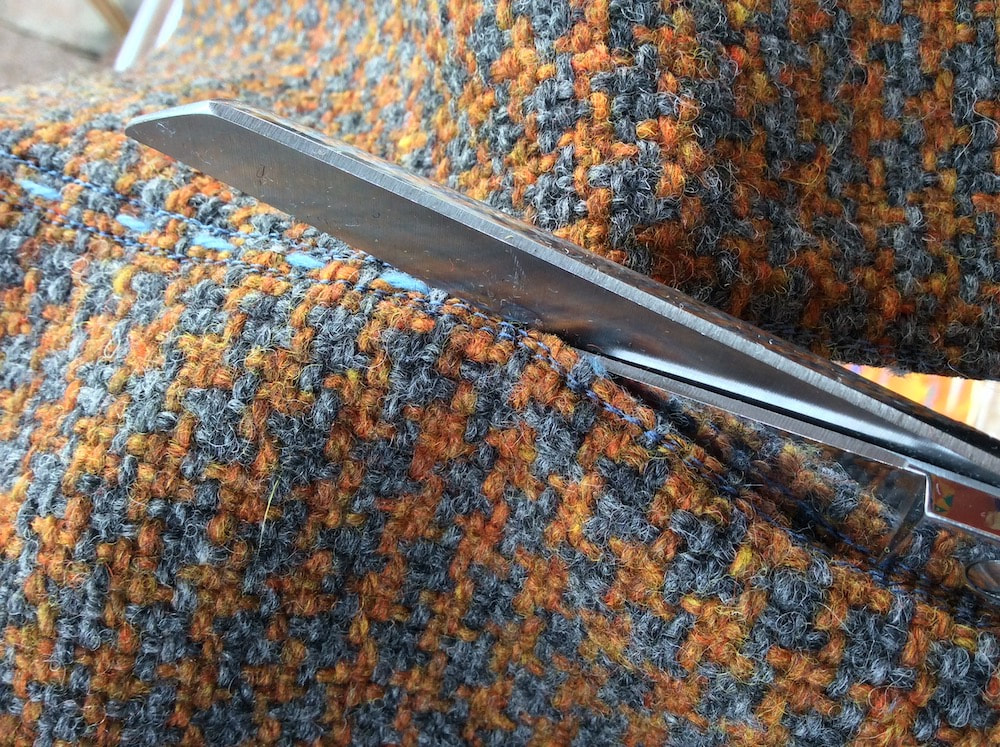
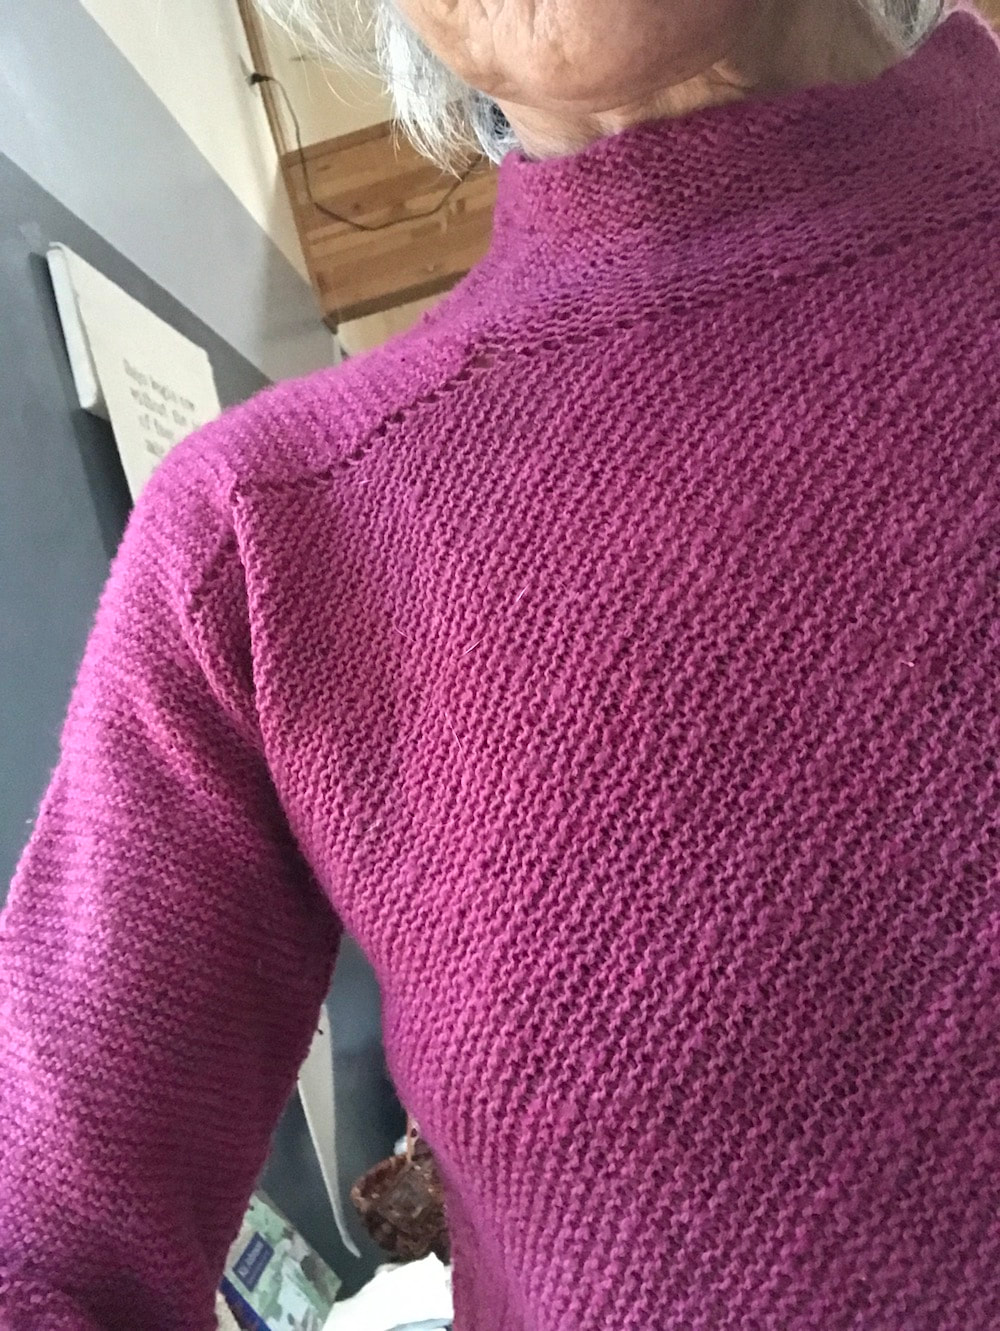
just as I adore transforming the filters themselves
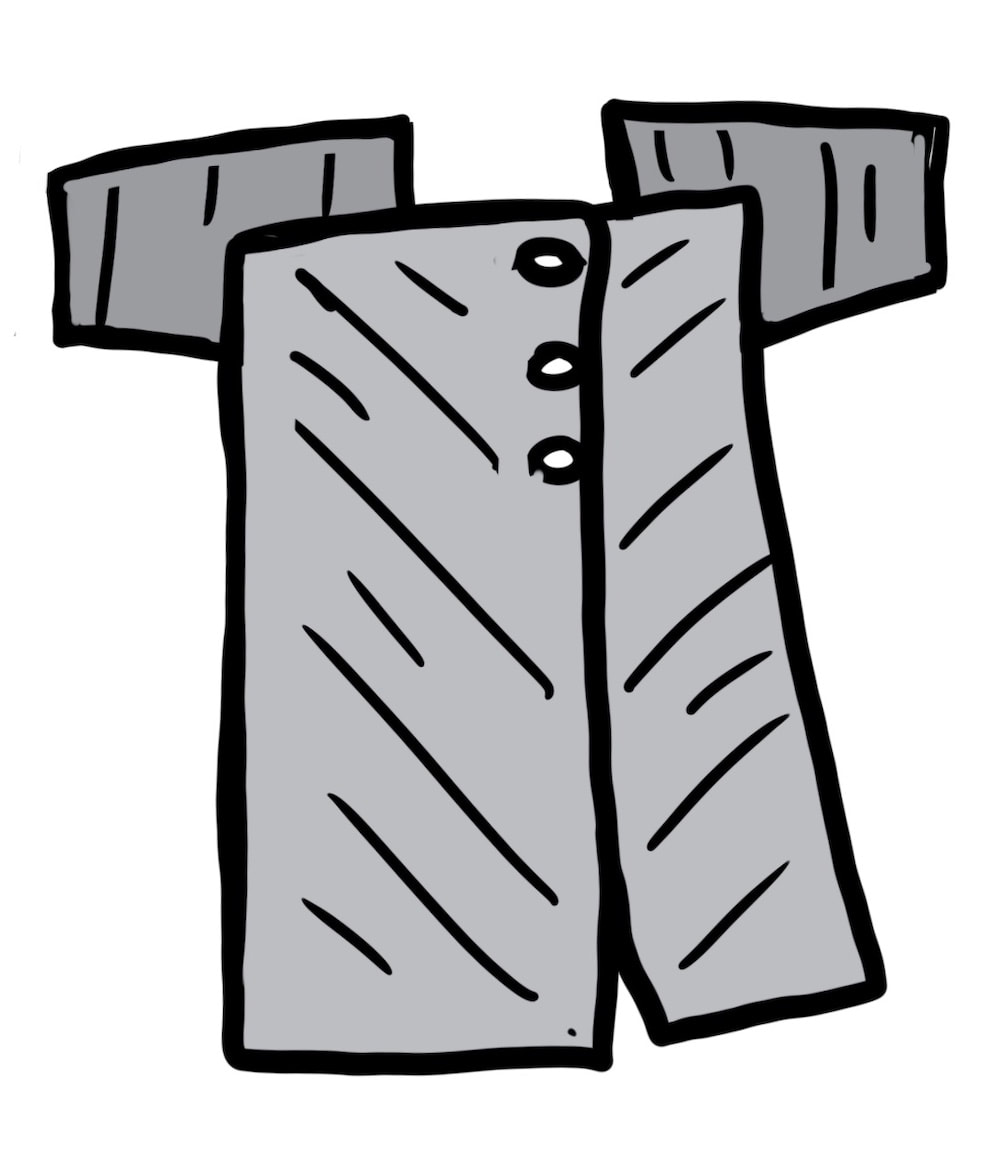
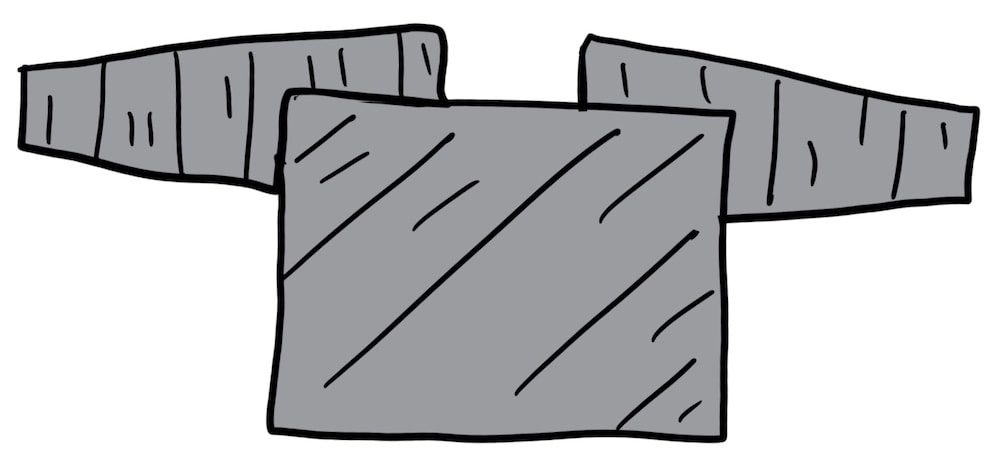
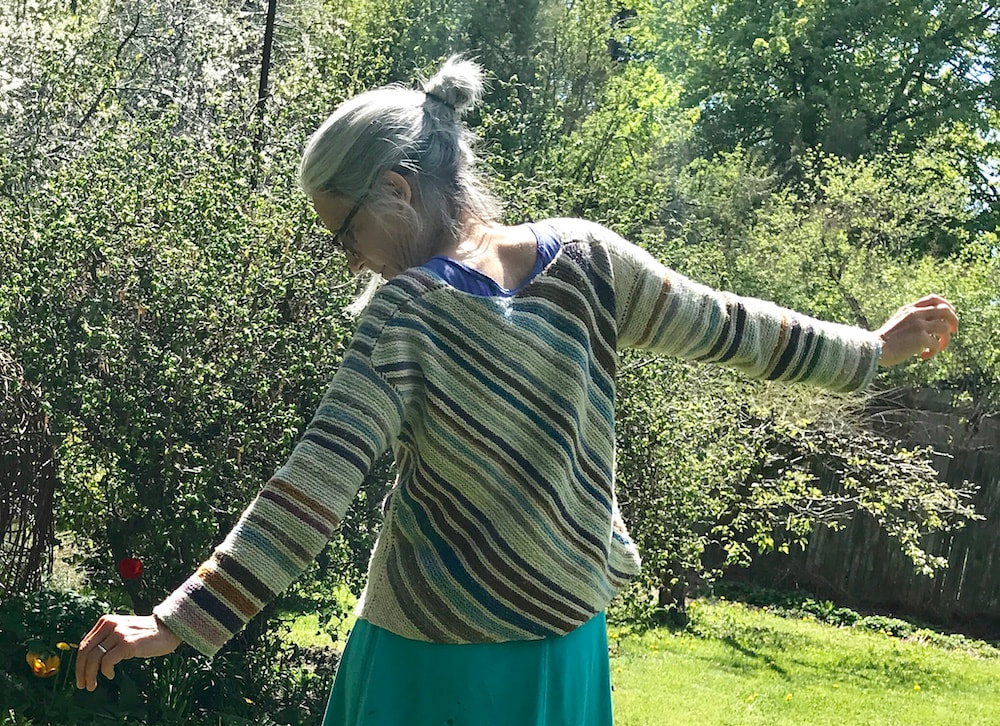
into tapestries and sweater and baskets and imaginary future garments.
is that I also truly enjoy revising--
drawing, re-drawing,
getting feedback,
thinking of a new approach,
writing and re-writing--
just as I adore transforming the filters themselves
into tapestries and sweater and baskets and imaginary future garments.
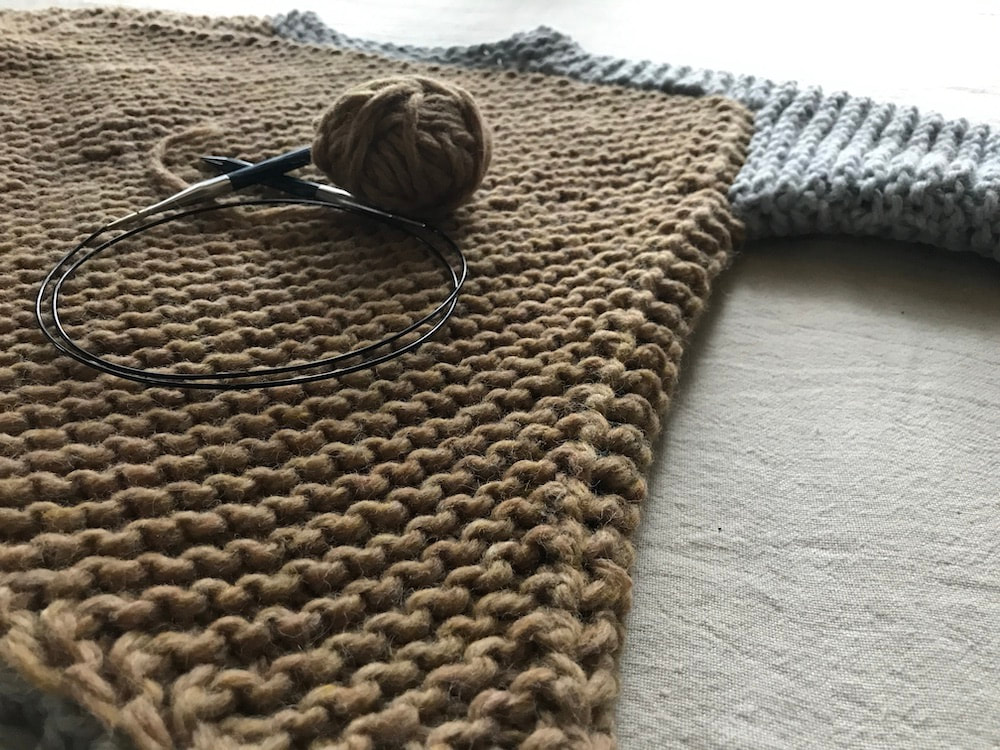
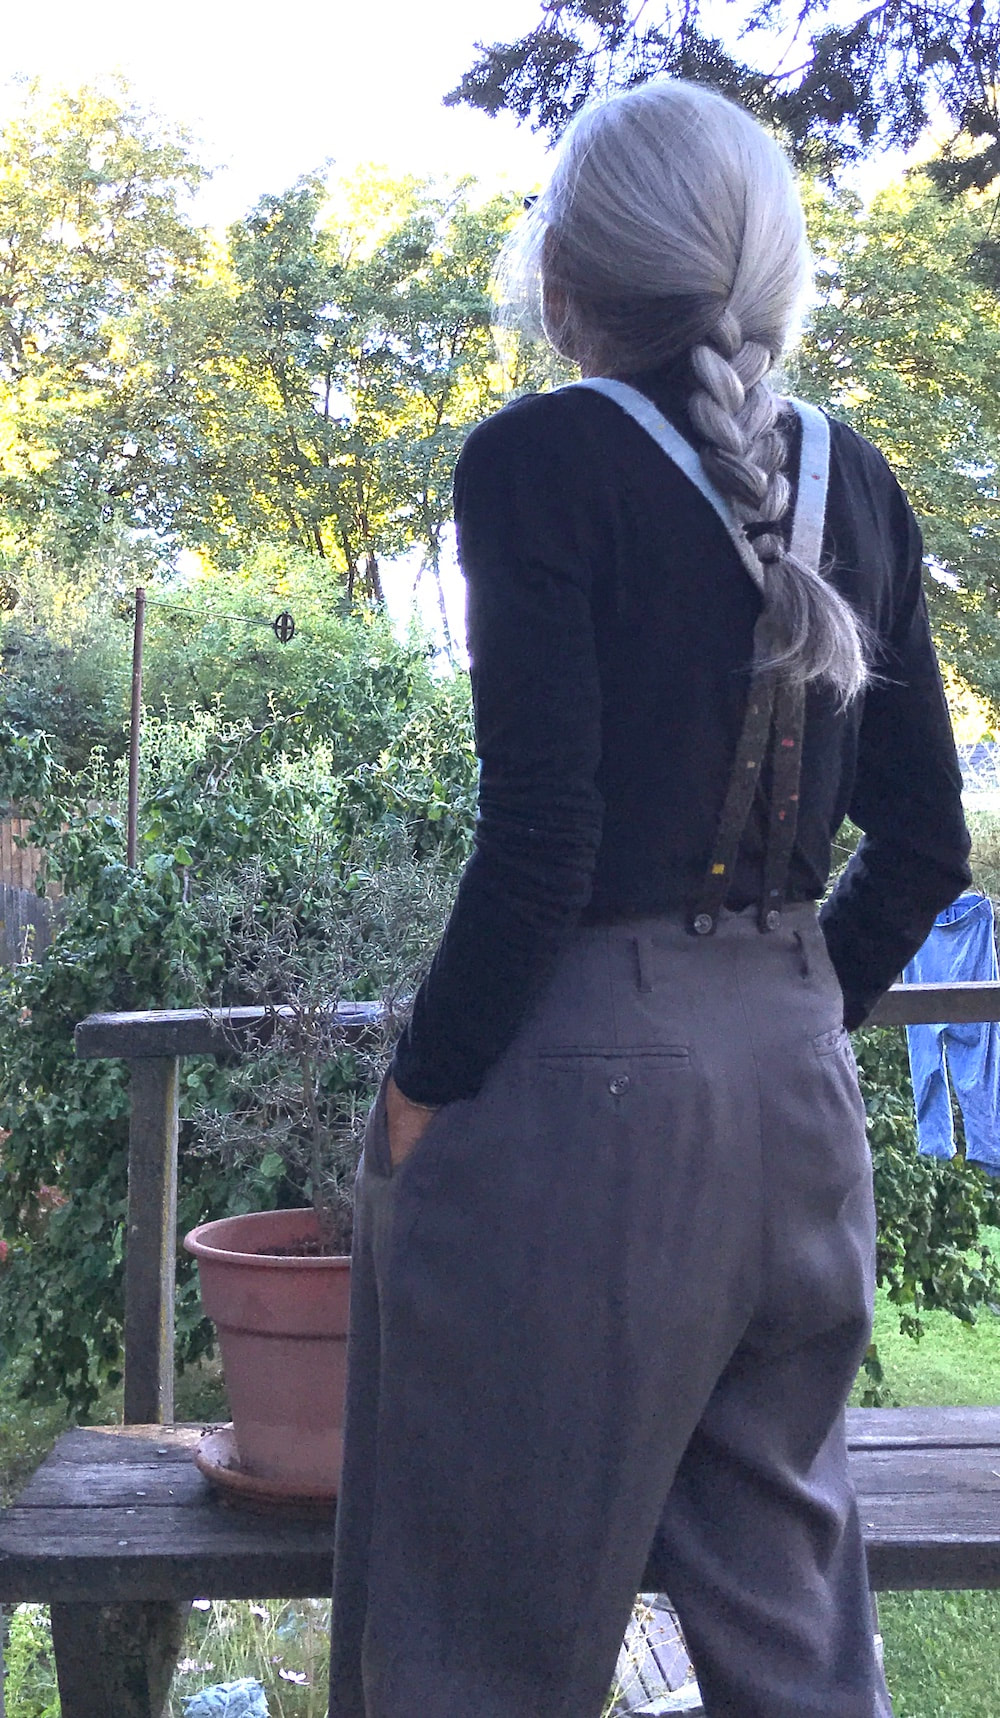
Not that I am doing any of the latter.
My arm/hand stuff is massively better
thanks to endless stretches and exercises and support
and rest from all those beloved activities--
but I remain careful and cautious.
I mean, why risk a relapse?
My arm/hand stuff is massively better
thanks to endless stretches and exercises and support
and rest from all those beloved activities--
but I remain careful and cautious.
I mean, why risk a relapse?
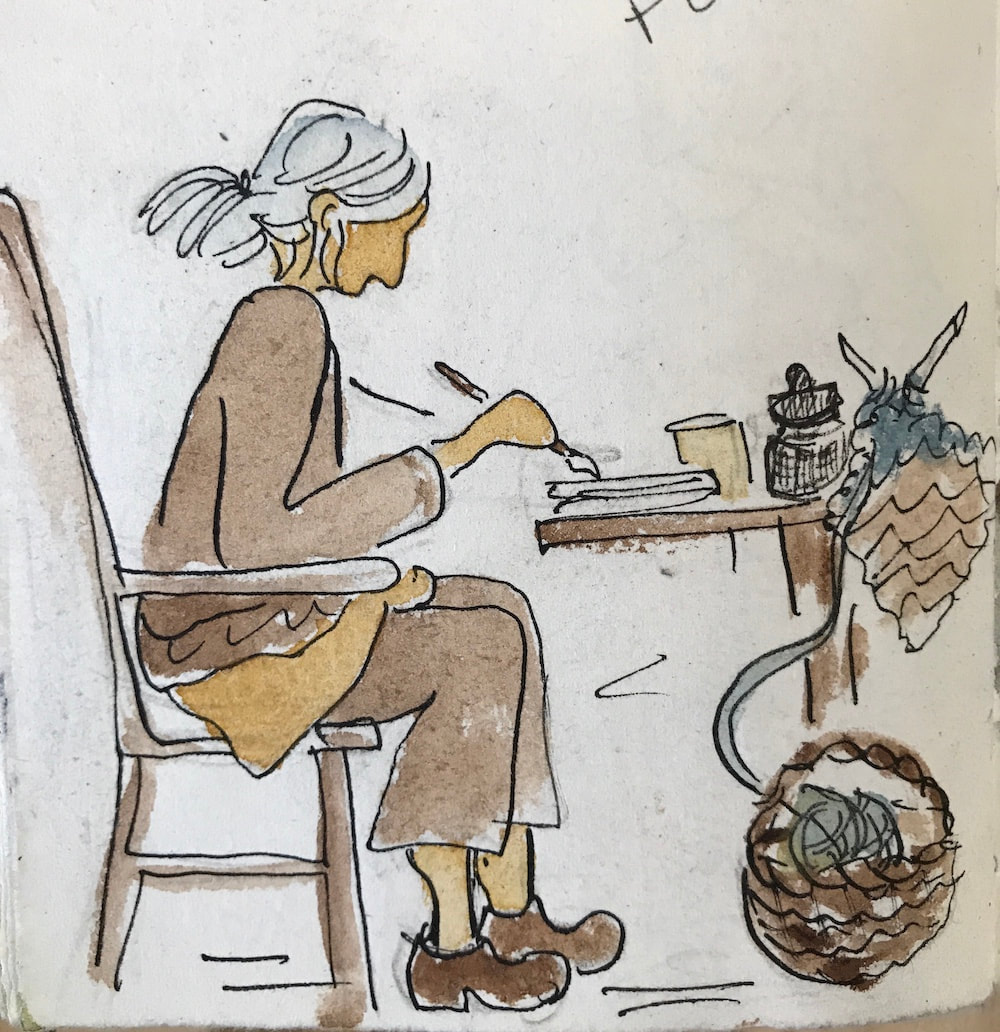
And truly,
drawing and writing and thinking about making things
is pretty darned satisfying in itself--
especially once the arm/hand/neck issues
improved enough
to hold pencils and pens
for longish periods of time.
drawing and writing and thinking about making things
is pretty darned satisfying in itself--
especially once the arm/hand/neck issues
improved enough
to hold pencils and pens
for longish periods of time.
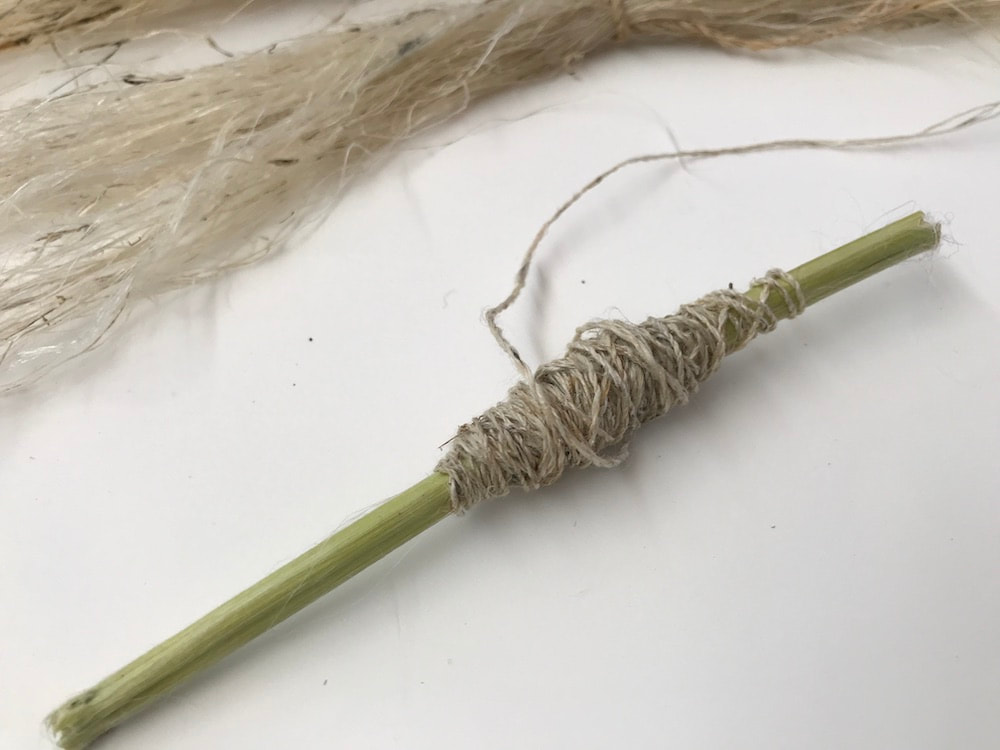
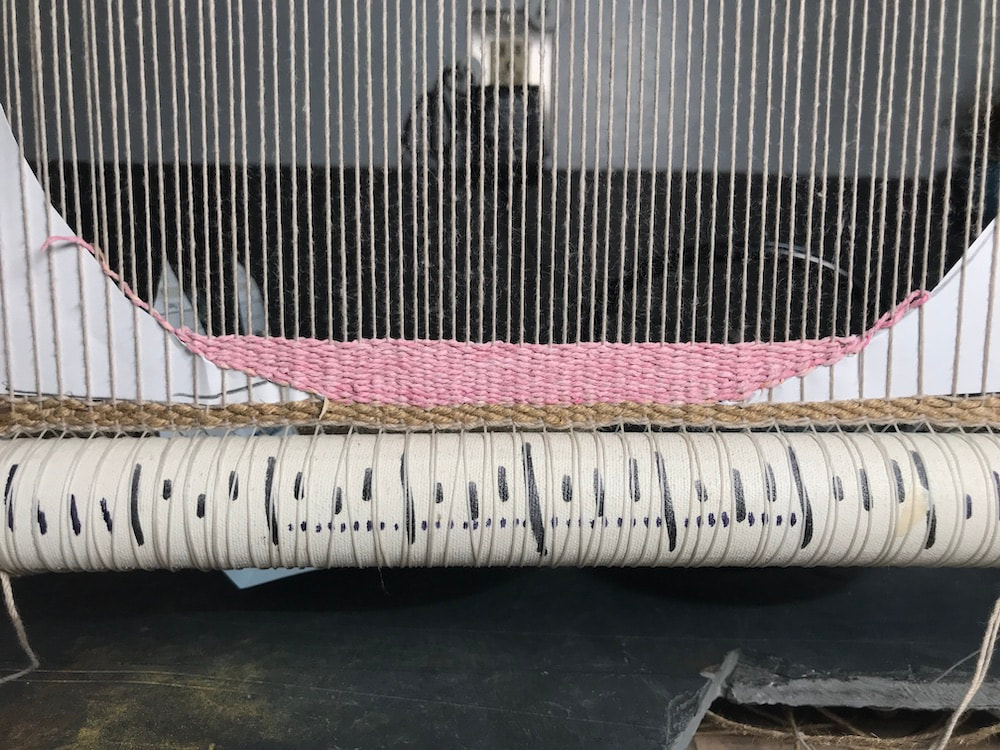
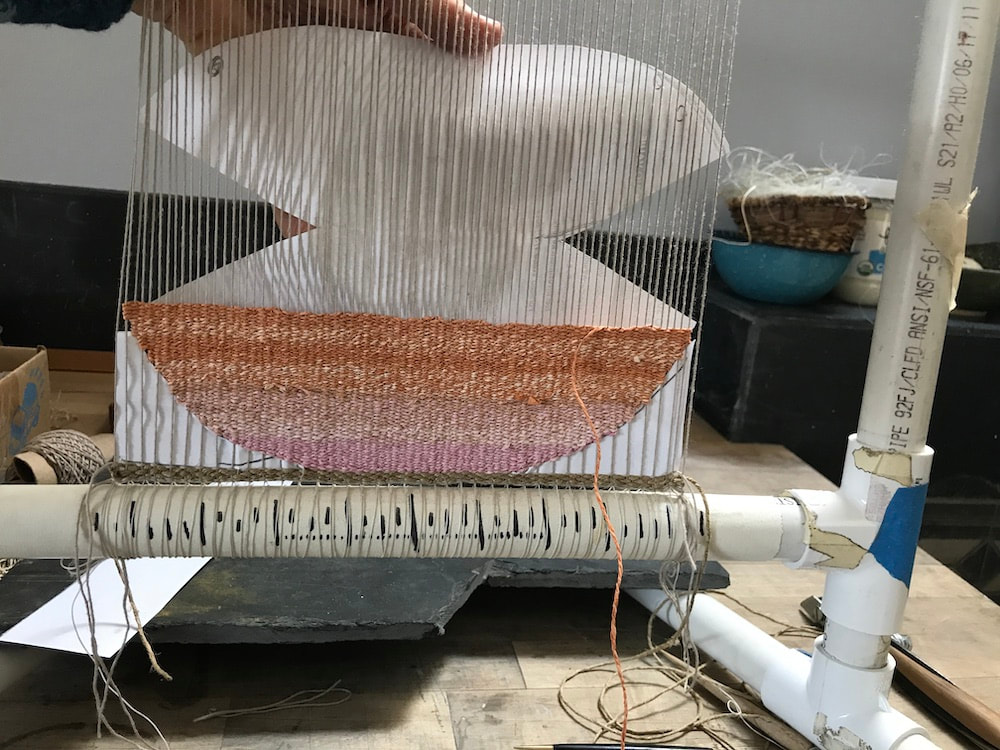
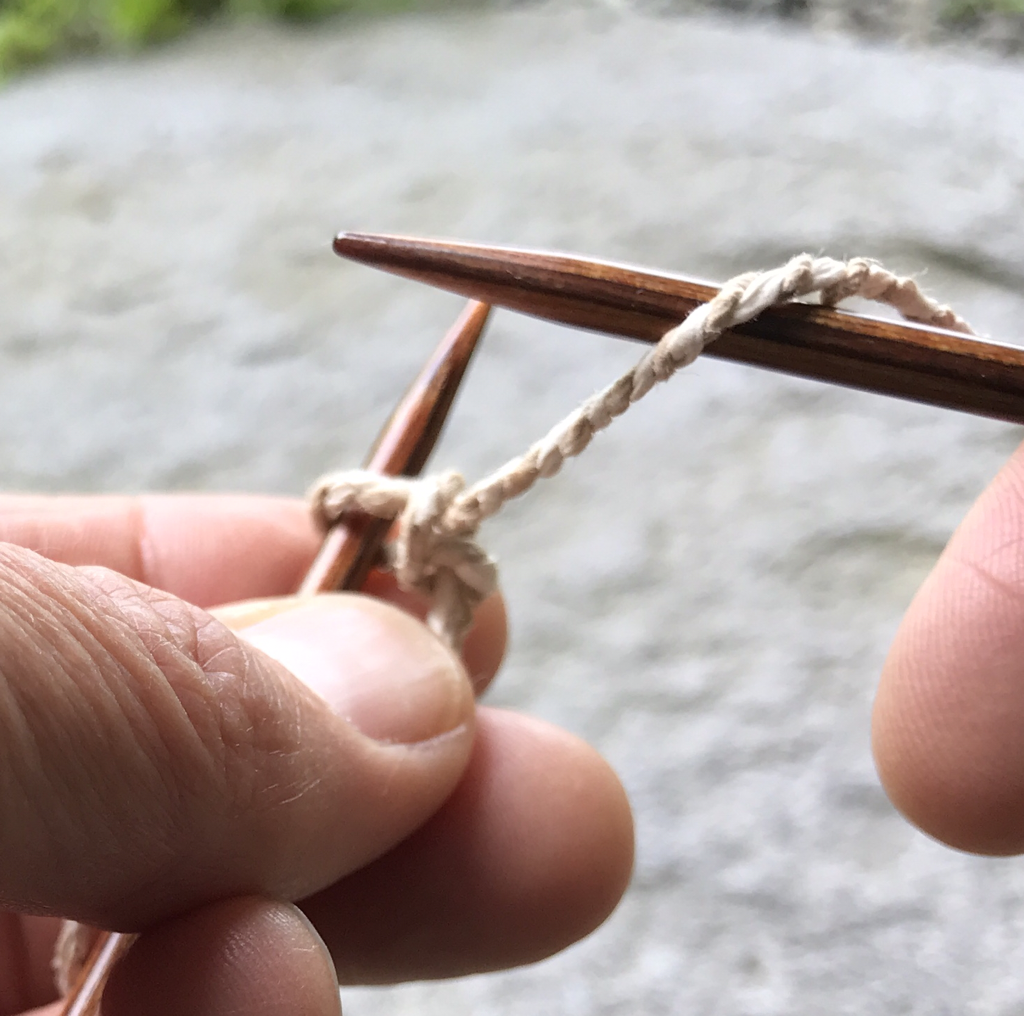
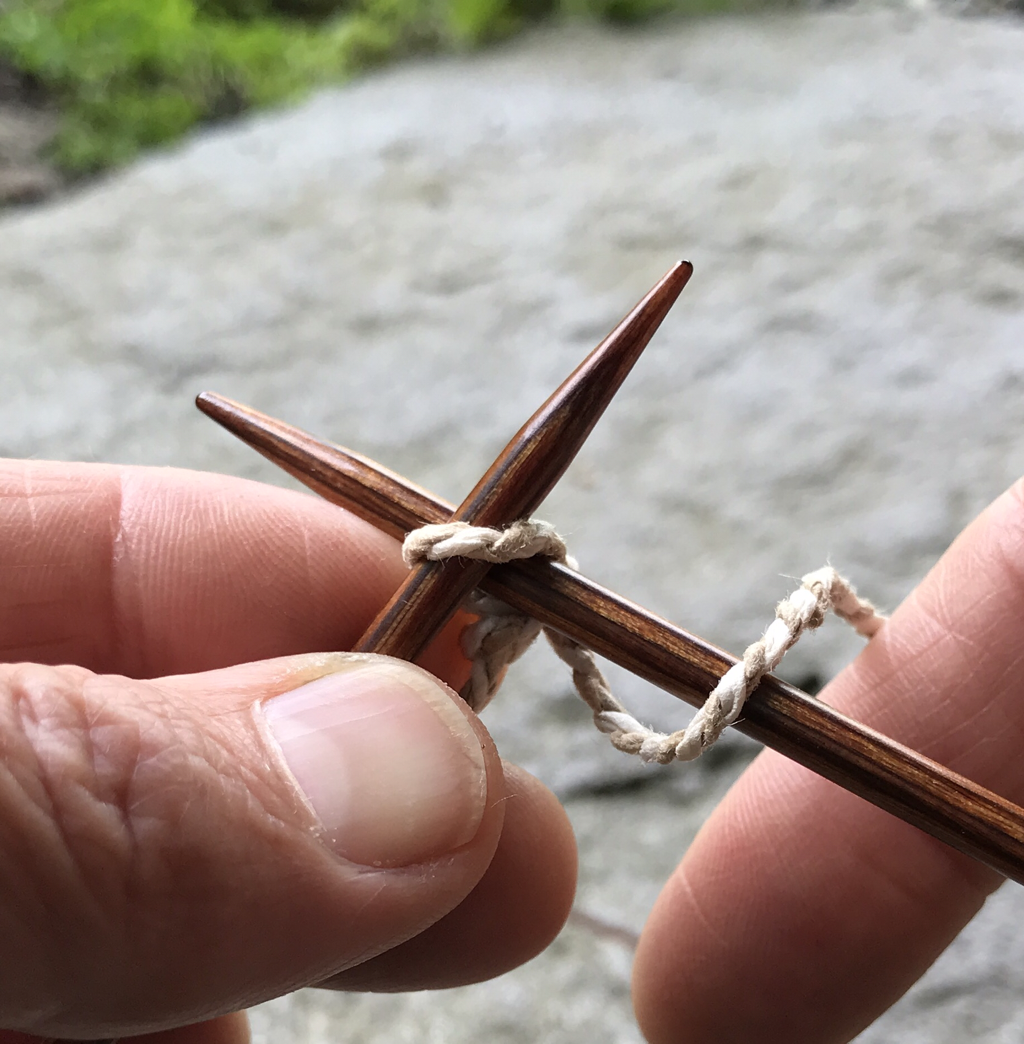
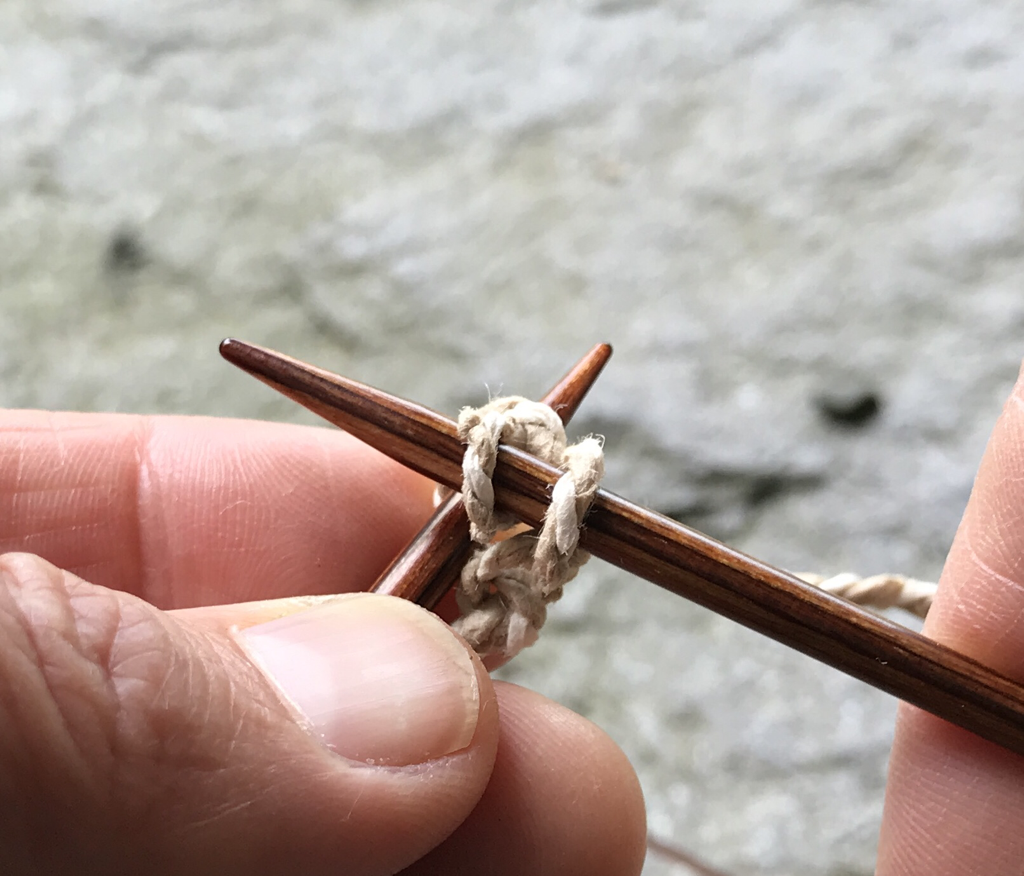
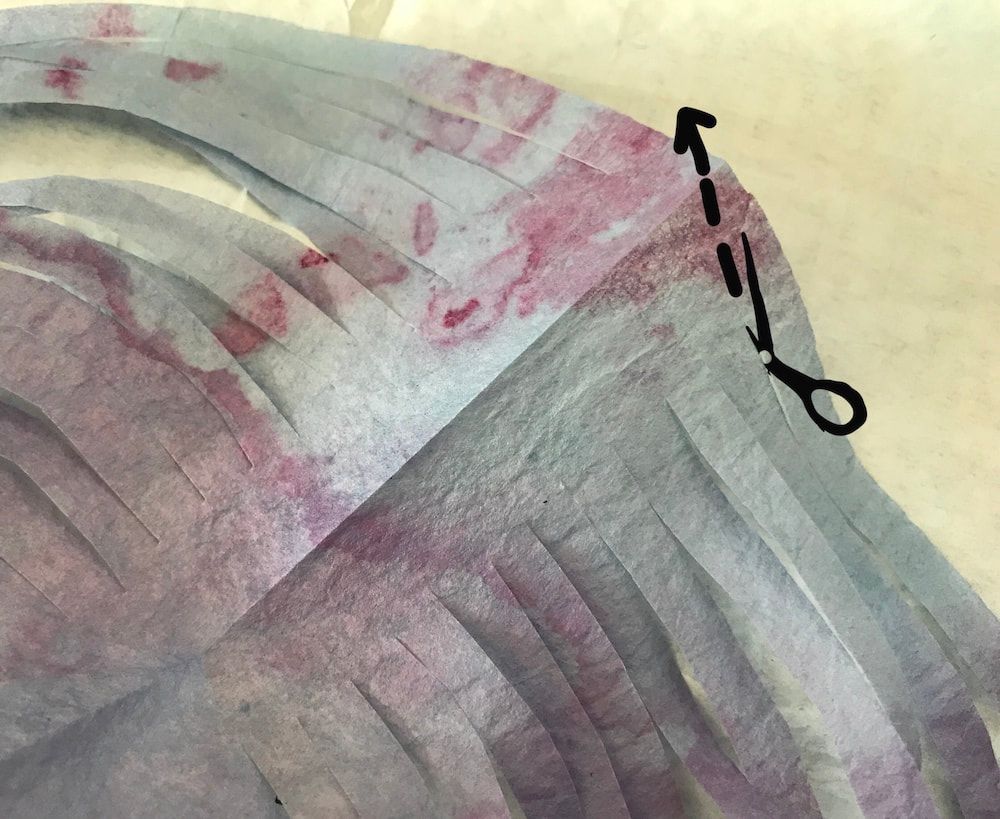
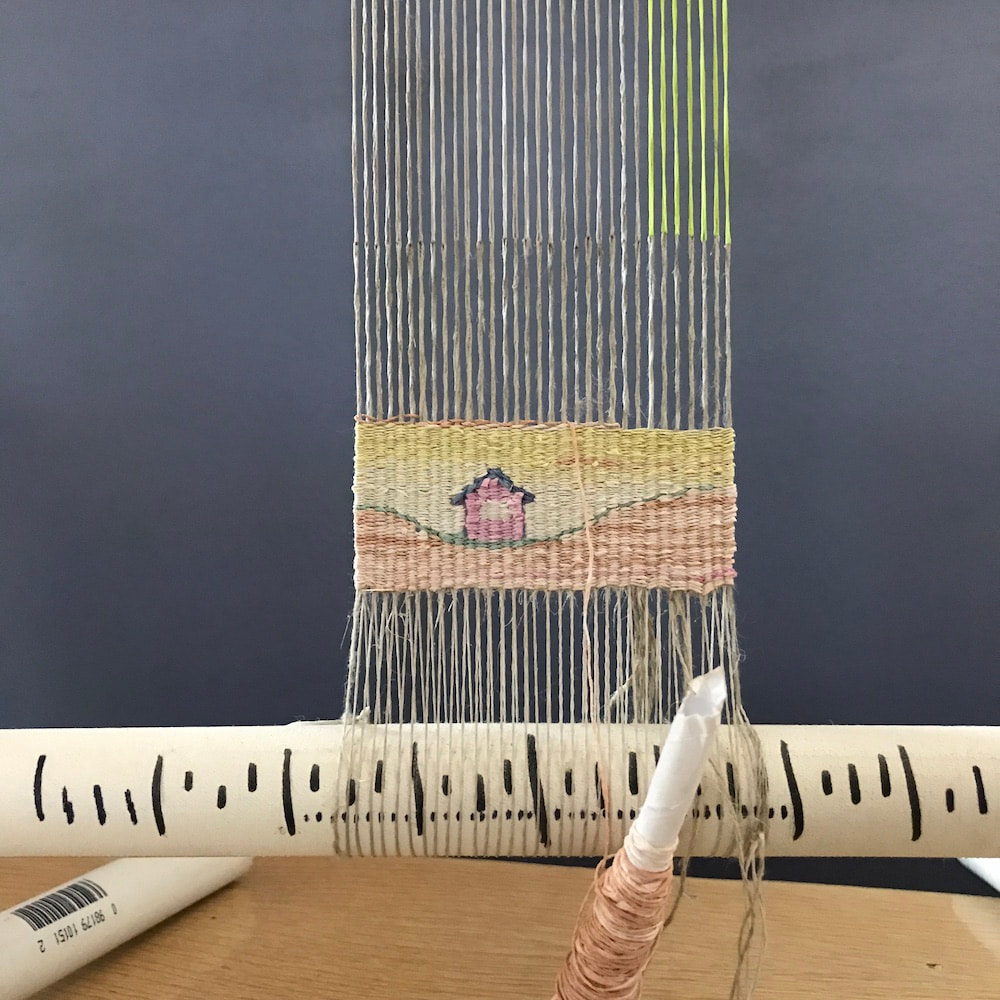
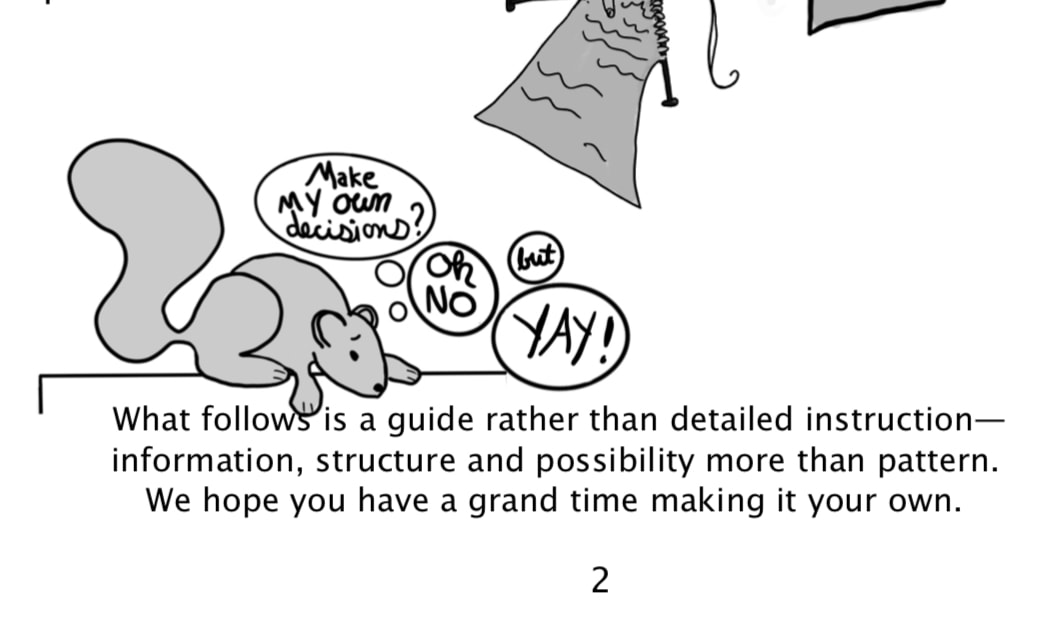
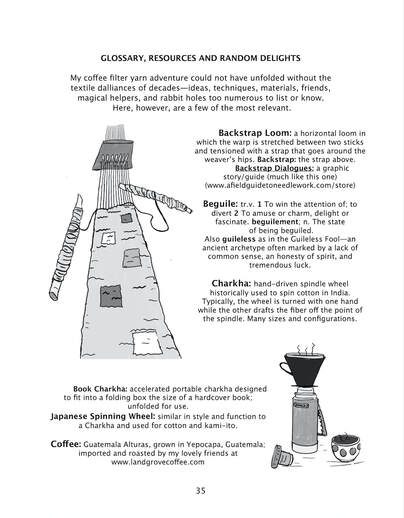
One of the interesting things about creating this guide
has been that even as it describes the process of making a particular yarn,
it also draws on all sorts of other ideas I've explored in the past--
indeed, it reminds me how very many rabbit holes
have enveloped me over the years--
far more than could possibly fit into one reasonably sized comic--
and for a time that felt like a bit of a problem.
"If I say that, I've got to explain how to do it!"
My solution was to add at the end
a four page Glossary/Resources section.
And what a blast that was!
Naturally it could have been far longer than it is
(who knew glossaries were addictive?)
but I think it will still provide a few pointers
in case you want to brush up on some technique,
or are yourself beguiled by the odd side passage
in this paper yarn making rabbit hole...
And if perchance you're newish to this blog and my work
and want to see/read more about
how this coffee filter yarn thing unfolded,
check out my Tapestry Archive for 2019, 2020, and 2021,
or click the coffee filter yarn button in the side bar,
or type coffee filter yarn into the search bar at the top of the page.
So here it is:
of coffee filters and rabbit holes
a 40 page black and white PDF
now in the webstore ready for you to download.
Note on downloading the PDF
(in case it isn't clear from the website )
Once the transaction is complete
you will get an email receipt with your download link.
Click on that and it should go onto whatever device you are using.
The downloads are not limited to one device,
so you can use that same link on several if you want
(also, in case one thingy works better than another).
If you have trouble, please let me know by replying to the receipt email.
I think that's about it,
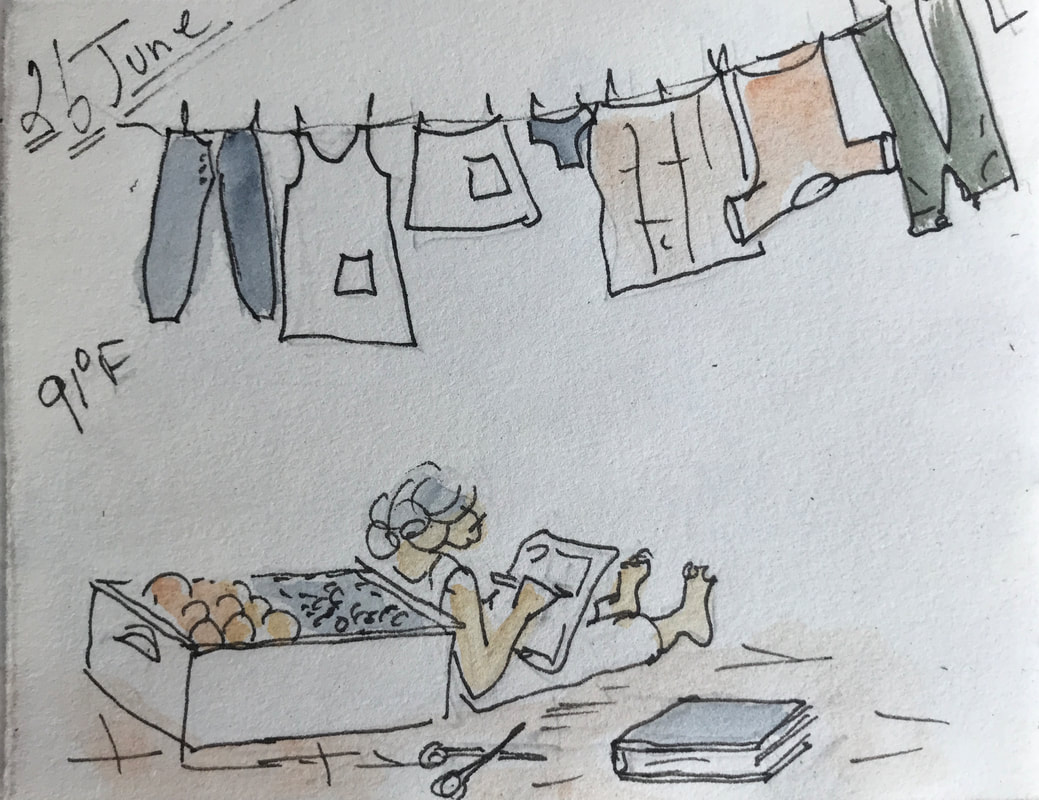
other than to note that one great thing about hot dry weather
is that laundry dries really really fast,
and the grass (actually mostly yarrow, dandelion, and bindweed truth to tell)
grows really really slowly.
Oh-- actually one MORE thing before I go--
well, maybe two--
other than to note that one great thing about hot dry weather
is that laundry dries really really fast,
and the grass (actually mostly yarrow, dandelion, and bindweed truth to tell)
grows really really slowly.
Oh-- actually one MORE thing before I go--
well, maybe two--
 |  |
One:
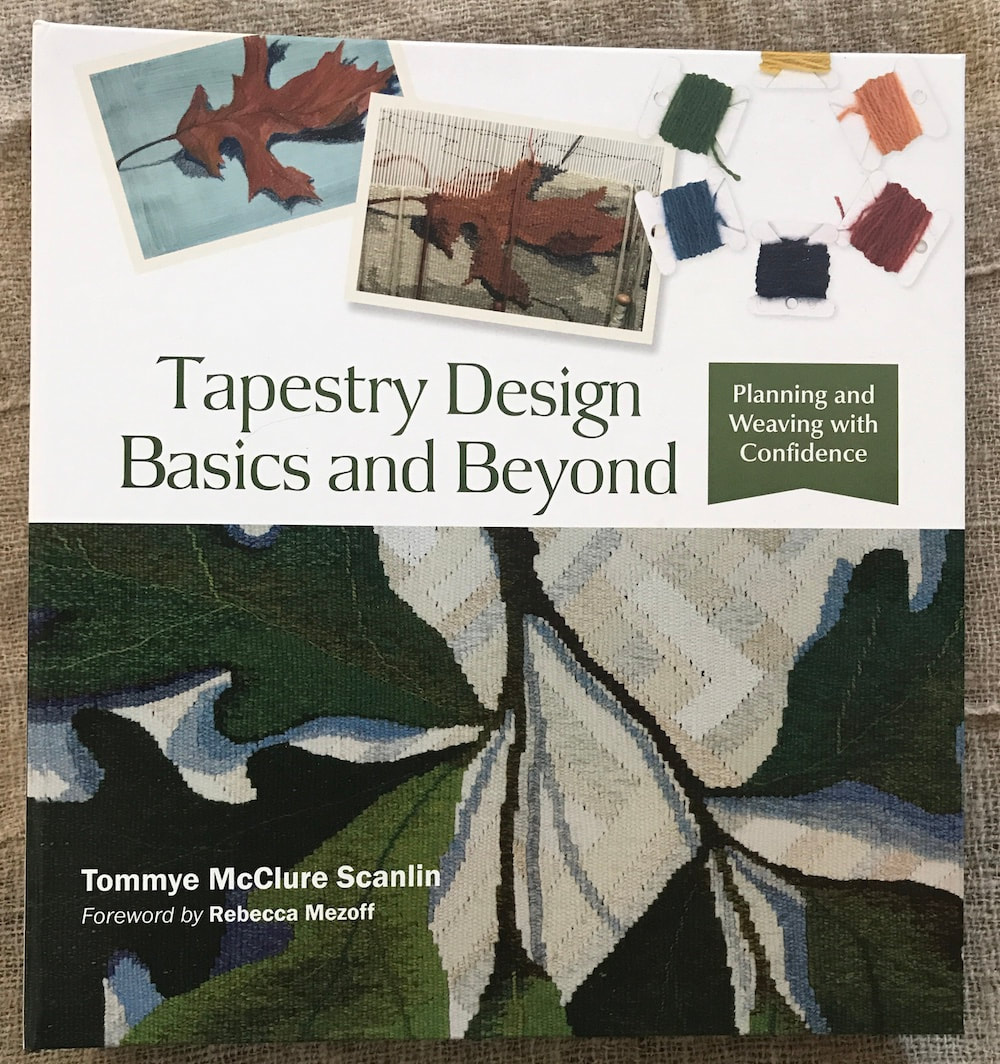
Tapestry Design: Basics and Beyond by Tommye McClure Scanlin
a beautiful, helpful and inspiring book
is now out in the world filled with tapestry goodness and support.
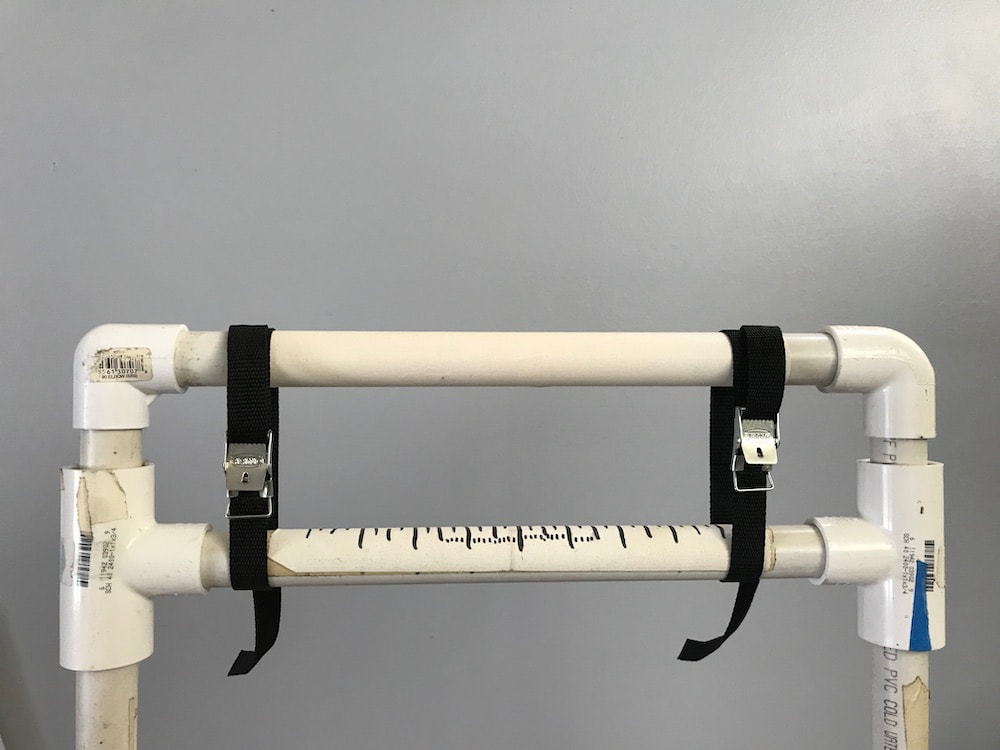
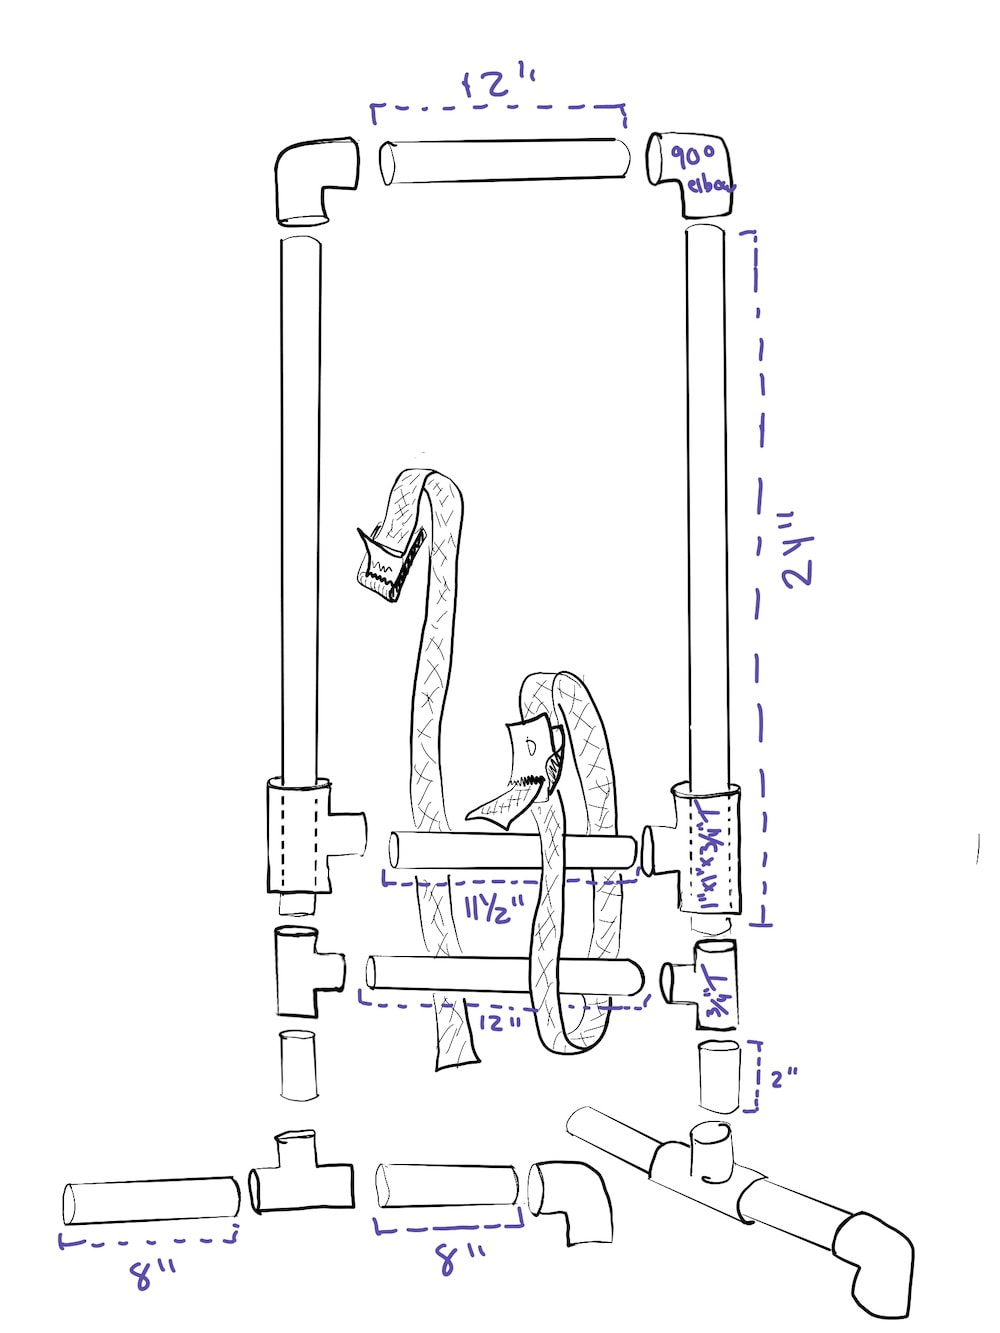
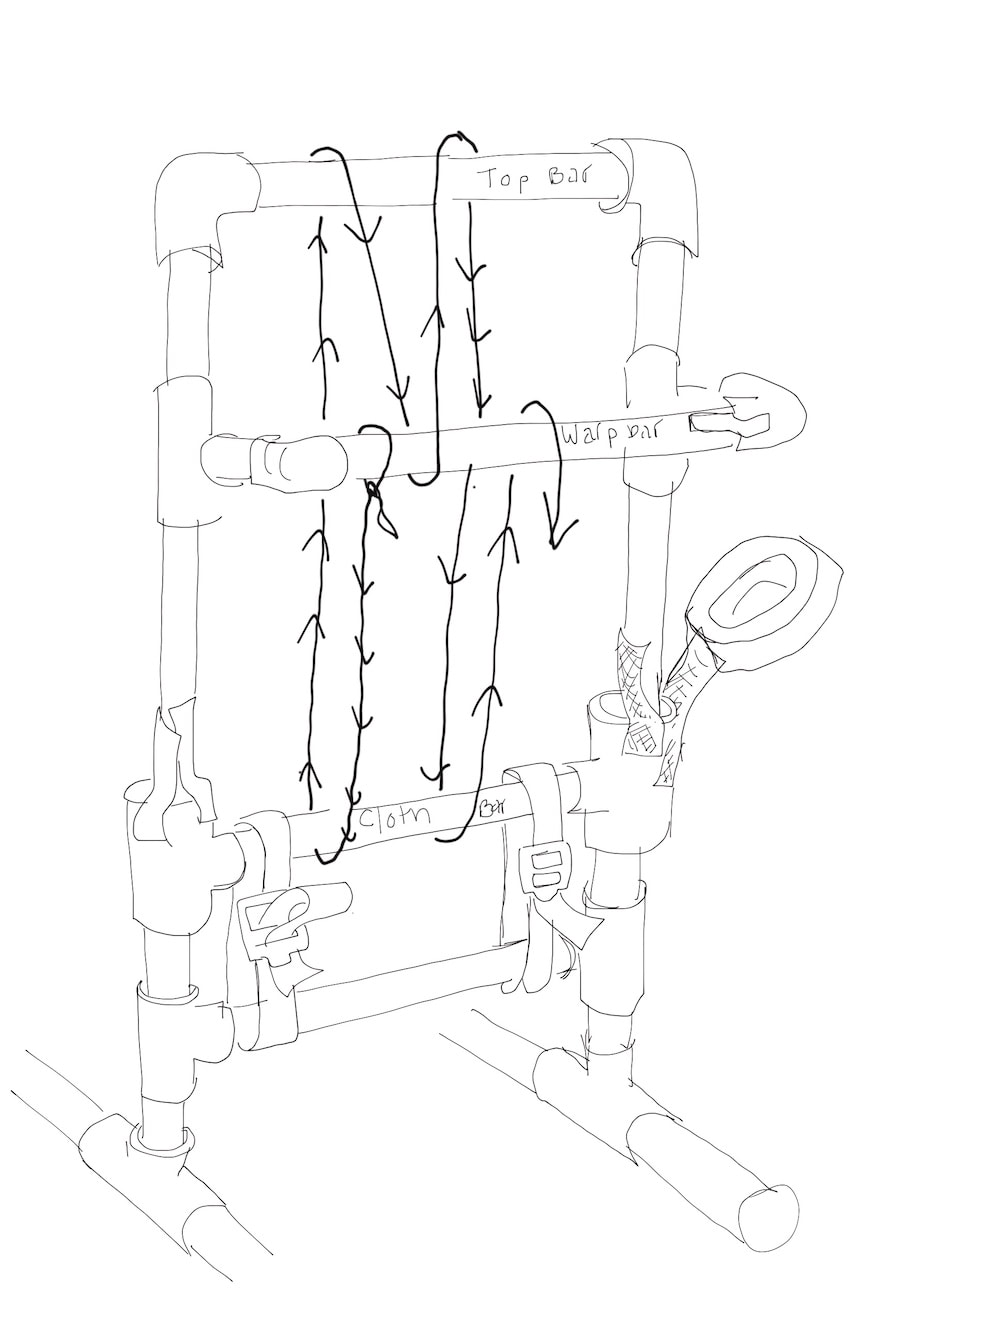
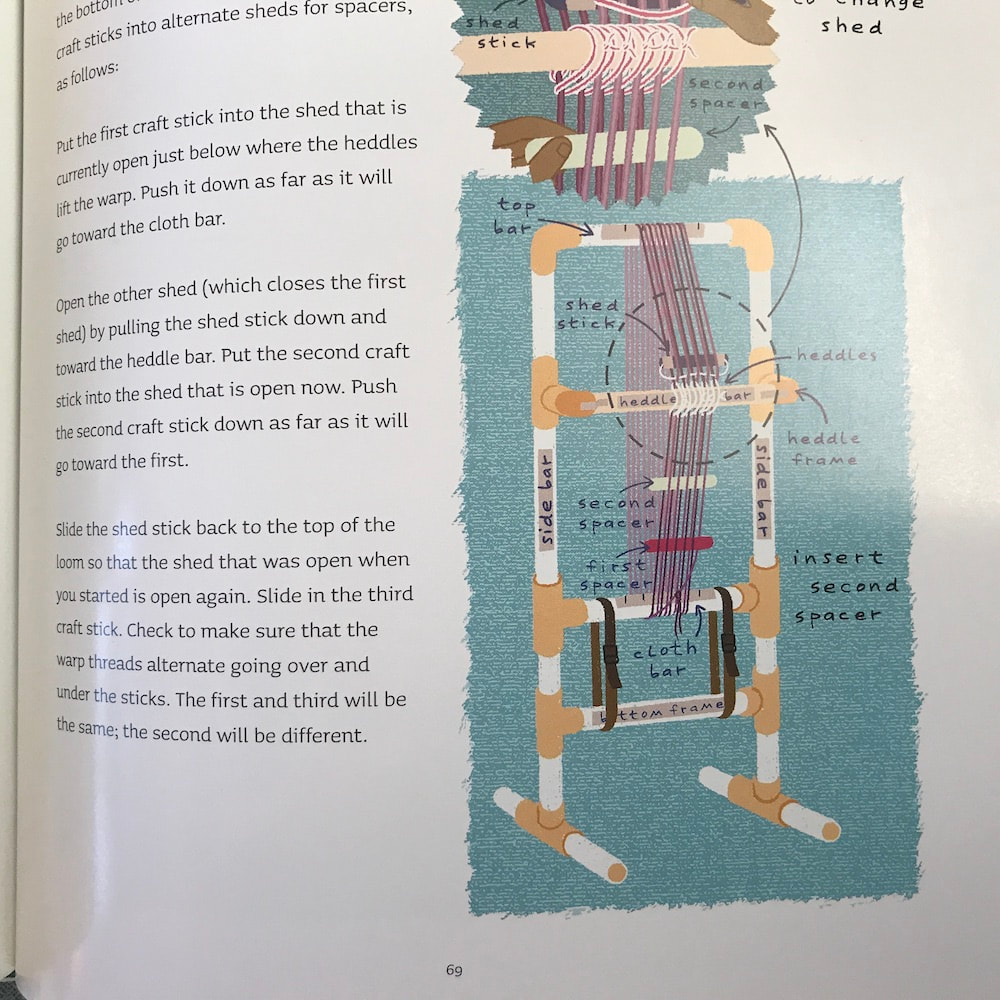
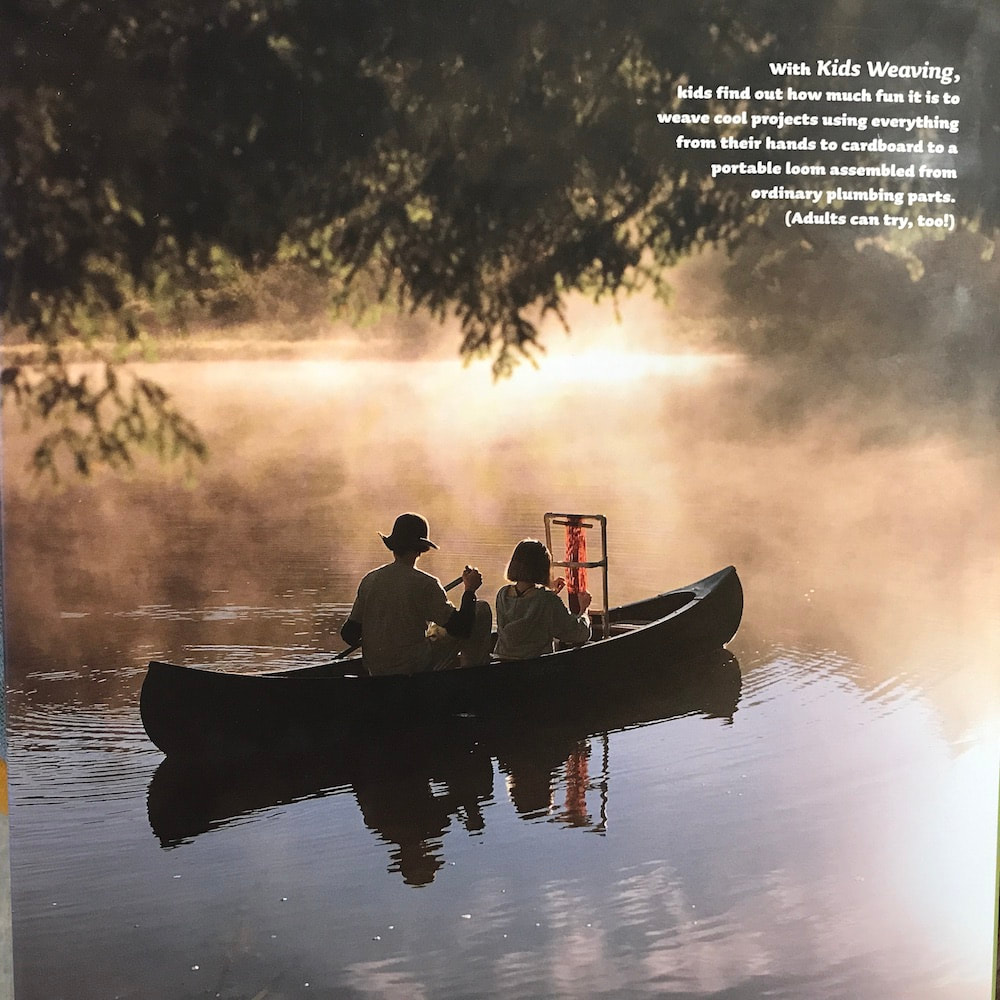
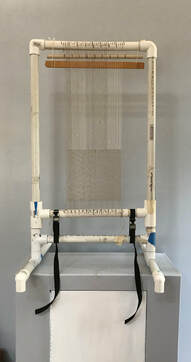
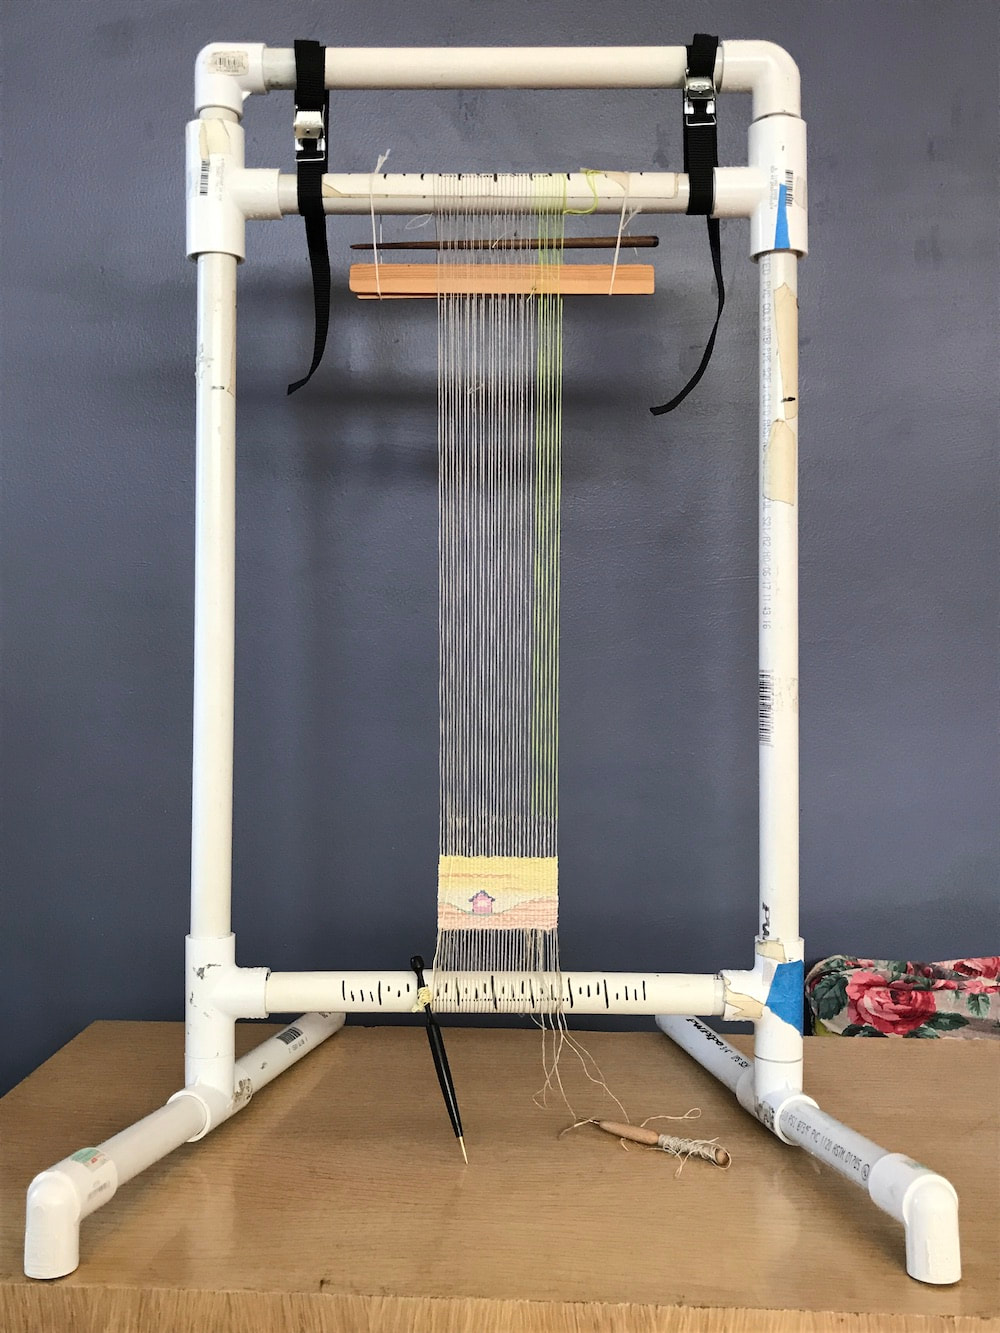
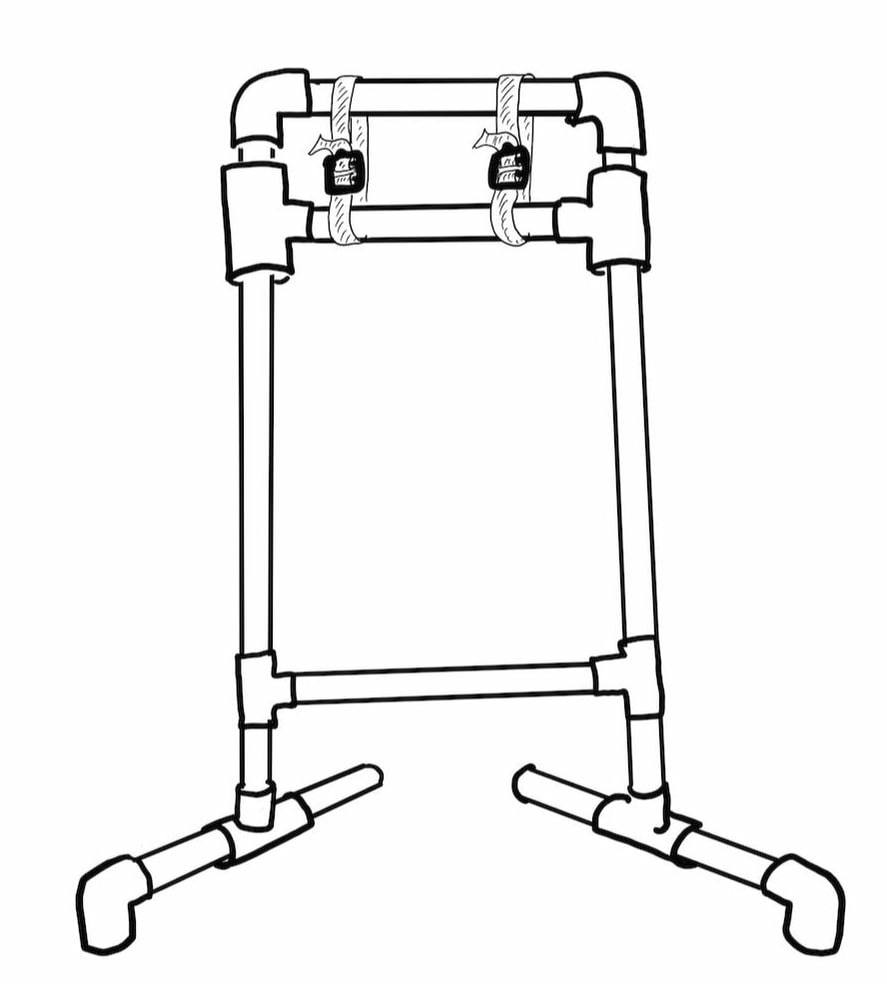
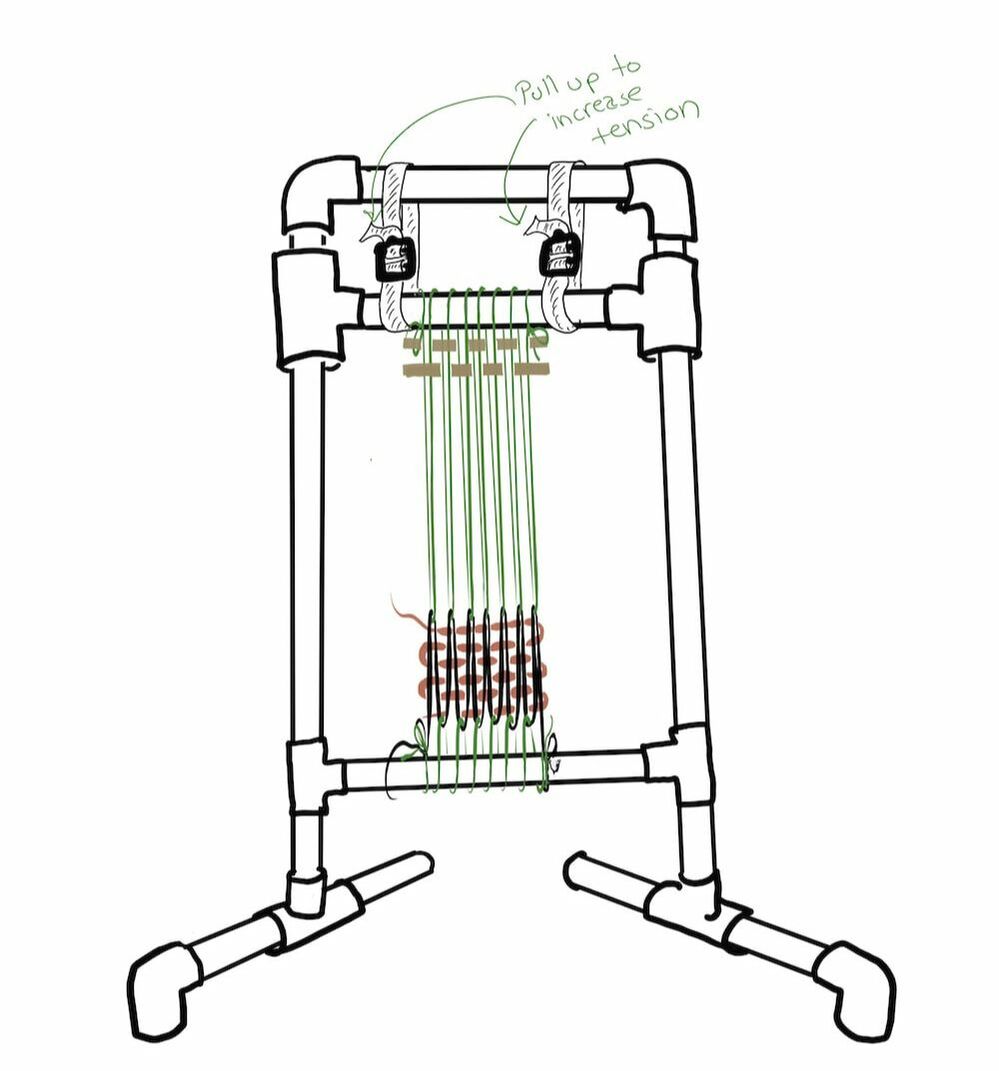
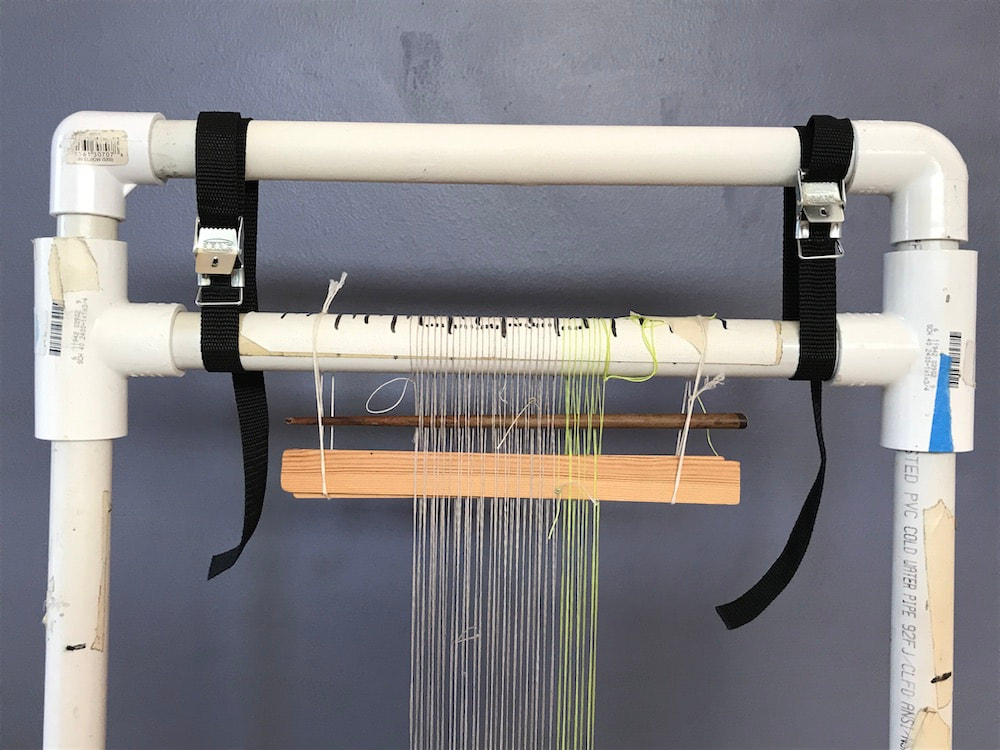
There are even instructions on how to build
one of my favorite portable tapestry looms --
the tiny Archie Brennan style galvanized pipe loom.
I'm also lucky enough have a tapestry included in its pages.
Truly, a lovely supportive book --
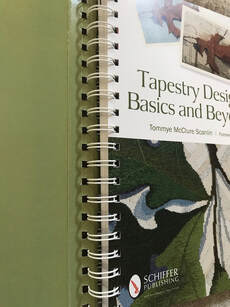
with a spiral binding no less so that like
Jean Pierre and Yadin LaRochette's wonderful Anatomy of a Tapestry
it will stay open on the page you are reading.
So very thoughtful.
Here is a review by the ever amazing Rebecca Mezoff,
What a time this is for tapestry books
and, indeed, full on tapestry immersion.
Tommye's other book, The Nature Of Things
Rebecca Mezoff's The Art of Tapestry Weaving
and Micala Sidore's The Art is the Cloth
and online classes galore.
Time to warp those looms.
Tapestry Design: Basics and Beyond by Tommye McClure Scanlin
a beautiful, helpful and inspiring book
is now out in the world filled with tapestry goodness and support.
There are even instructions on how to build
one of my favorite portable tapestry looms --
the tiny Archie Brennan style galvanized pipe loom.
I'm also lucky enough have a tapestry included in its pages.
Truly, a lovely supportive book --
with a spiral binding no less so that like
Jean Pierre and Yadin LaRochette's wonderful Anatomy of a Tapestry
it will stay open on the page you are reading.
So very thoughtful.
Here is a review by the ever amazing Rebecca Mezoff,
What a time this is for tapestry books
and, indeed, full on tapestry immersion.
Tommye's other book, The Nature Of Things
Rebecca Mezoff's The Art of Tapestry Weaving
and Micala Sidore's The Art is the Cloth
and online classes galore.
Time to warp those looms.
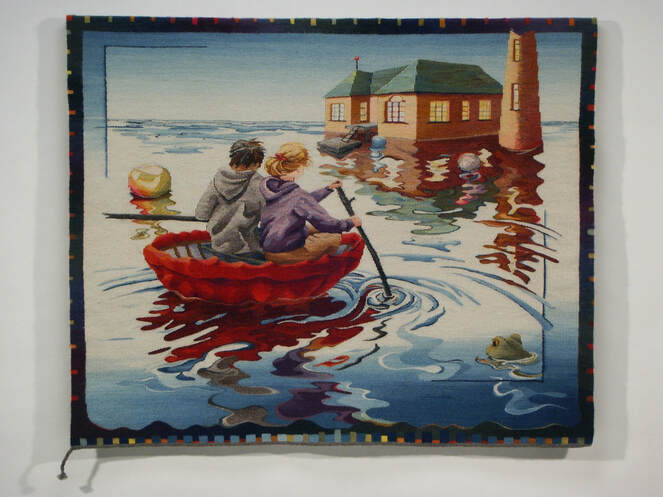
Hut On The Rock; hand woven tapestry; 40" x 48"; wool, natural dyes ©Sarah C. Swett 2004
Two:
I wanted to share a link to this
delightful and soothing video
that my son Henry made,
showing the re-skinning of (and then fishing from),
a little coracle that I helped him make
with willow wands about ten years ago,
a wee craft he has since used hard enough
that this is its third cloth covering!
The first one we built when he was 10 or 11 years old
and not surprisingly, it ended up
in a couple of tapestries,
and an egg tempera painting.
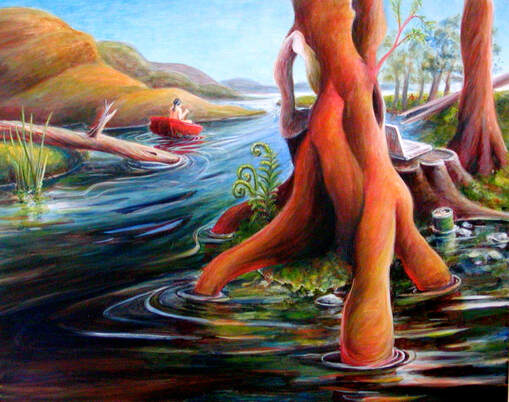
Messing Around In Boats; egg tempera on gessoed board; 16" x 18"; ©Sarah C Swett 2005
Life is so weird and curious sometimes, isn't it?
And speaking of weird
(cuz who knew I'd ever make coracles
much less weave and knit with coffee filters)
I should probably to put another link
here at the bottom:
So friends, I give you...
of coffee filters and rabbit holes!
And speaking of weird
(cuz who knew I'd ever make coracles
much less weave and knit with coffee filters)
I should probably to put another link
here at the bottom:
So friends, I give you...
of coffee filters and rabbit holes!