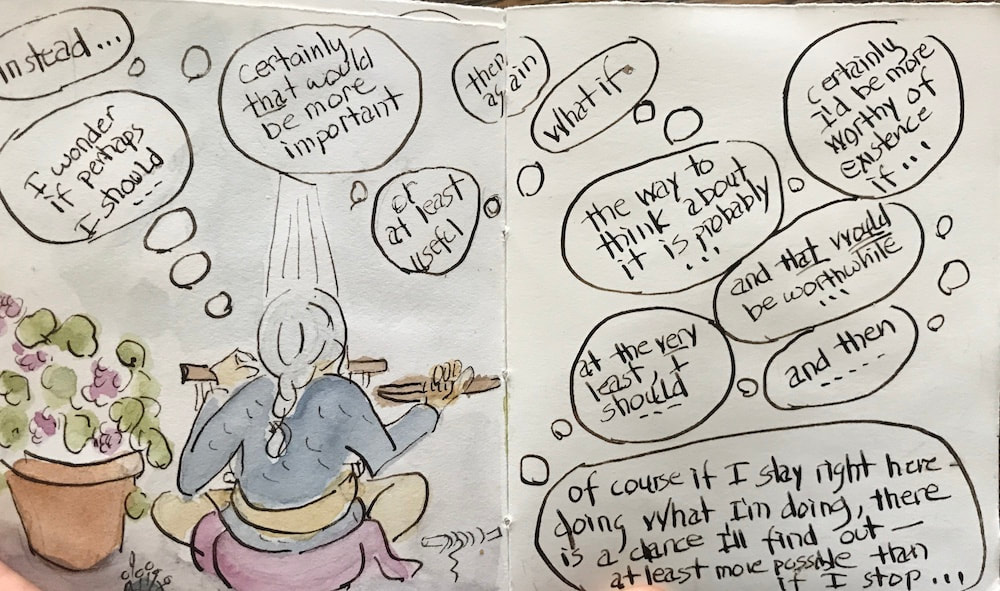
and had forgotten
how delightful
it can be
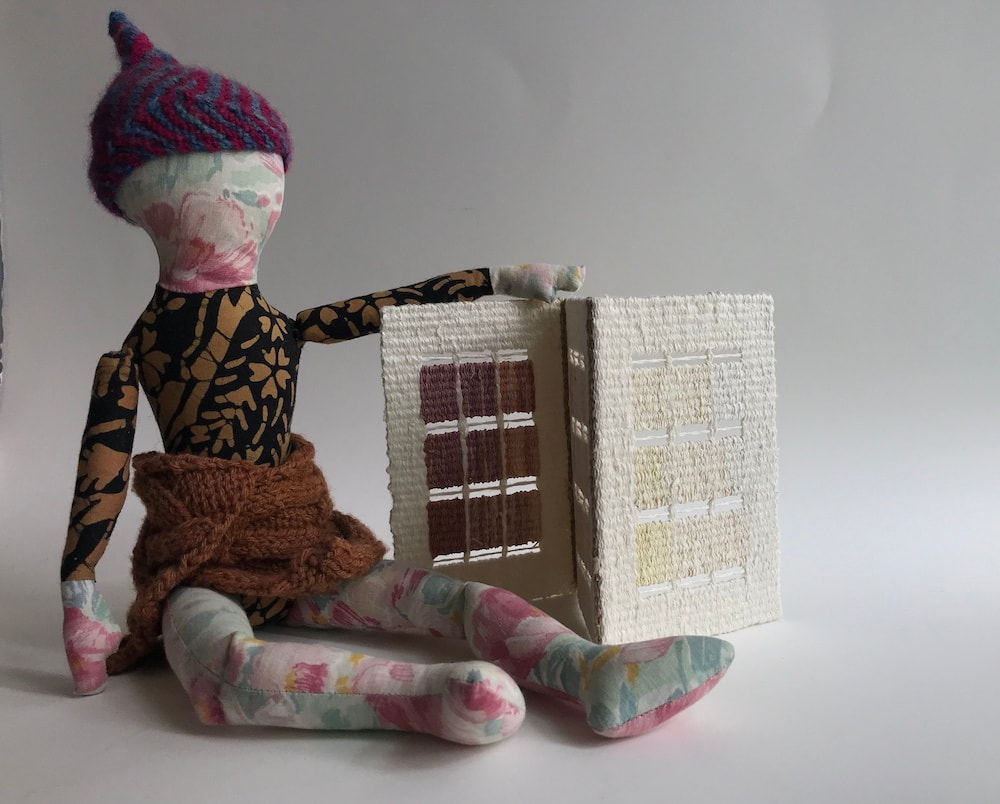
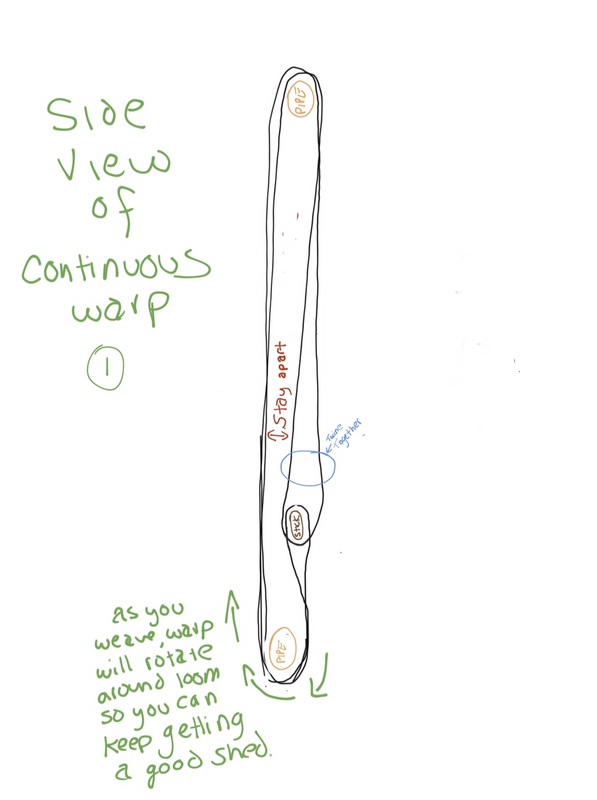
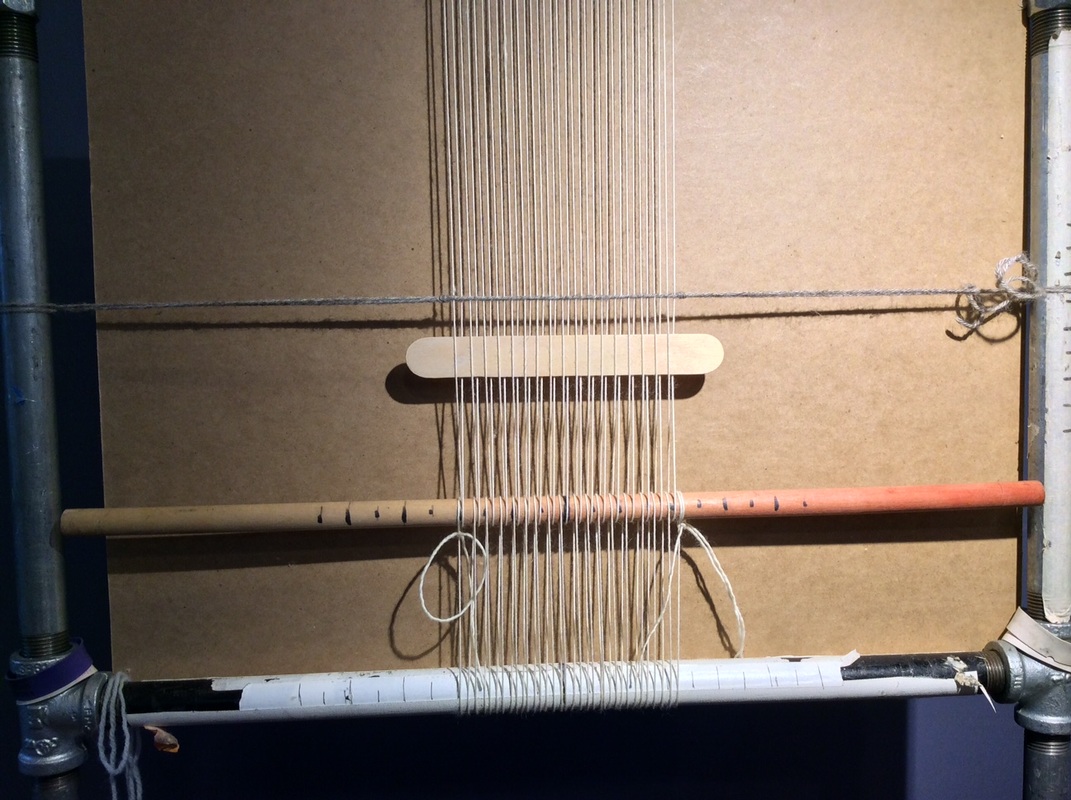
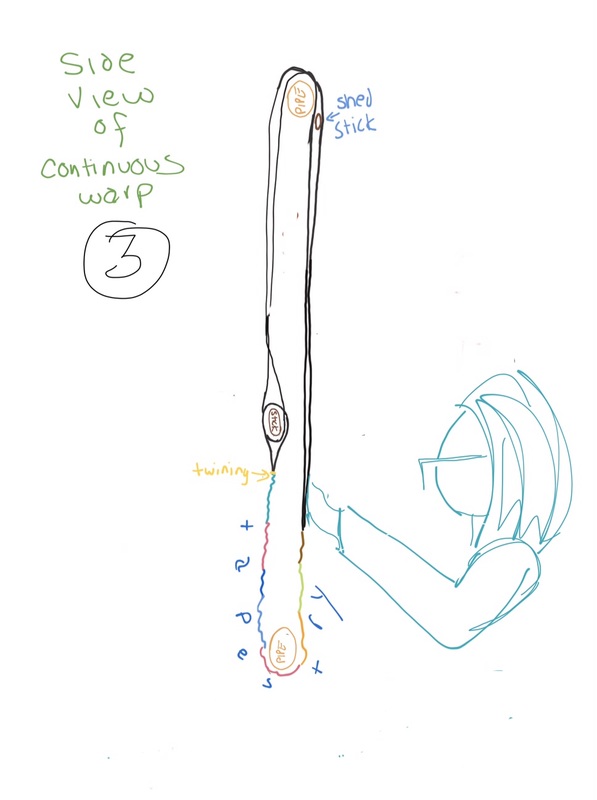
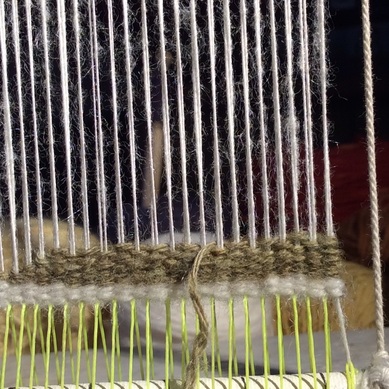
to slowly swirl
an emerging tapestry
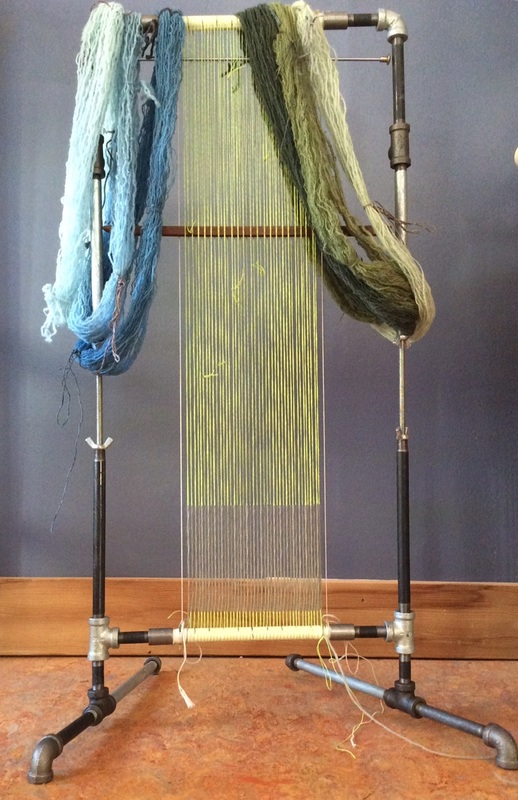
around the top and bottom beams
how delightful
it can be
to slowly swirl
an emerging tapestry
around the top and bottom beams
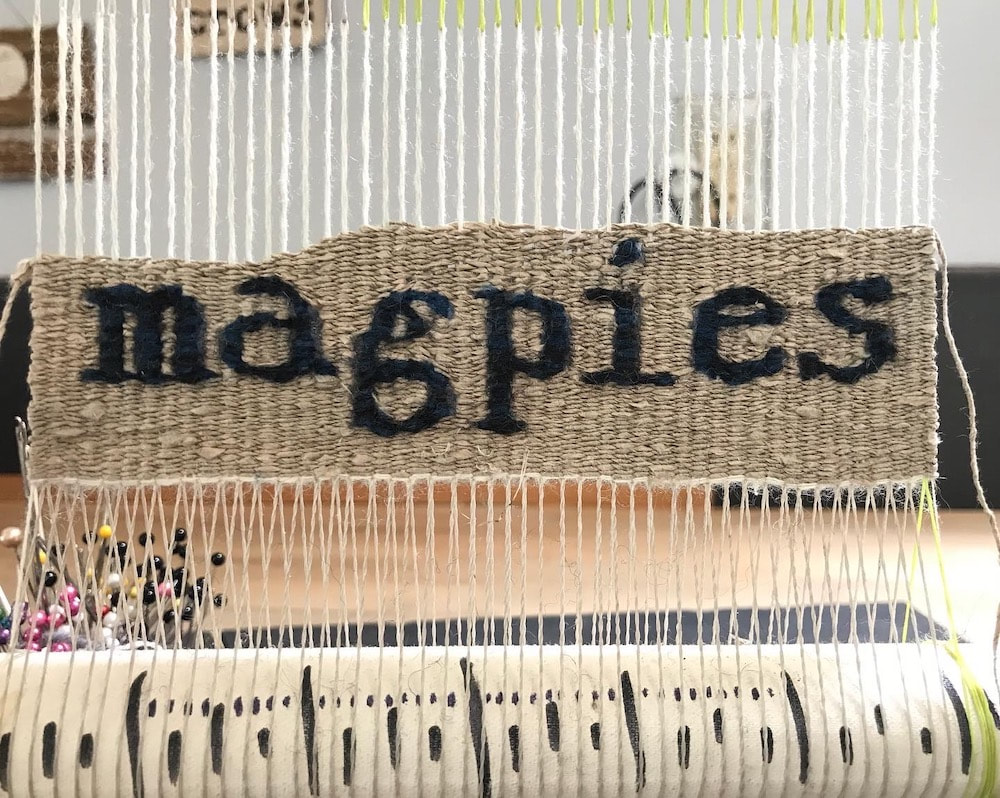
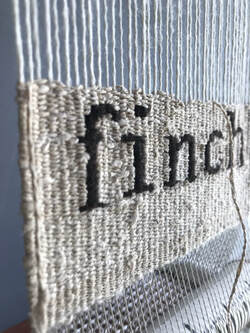
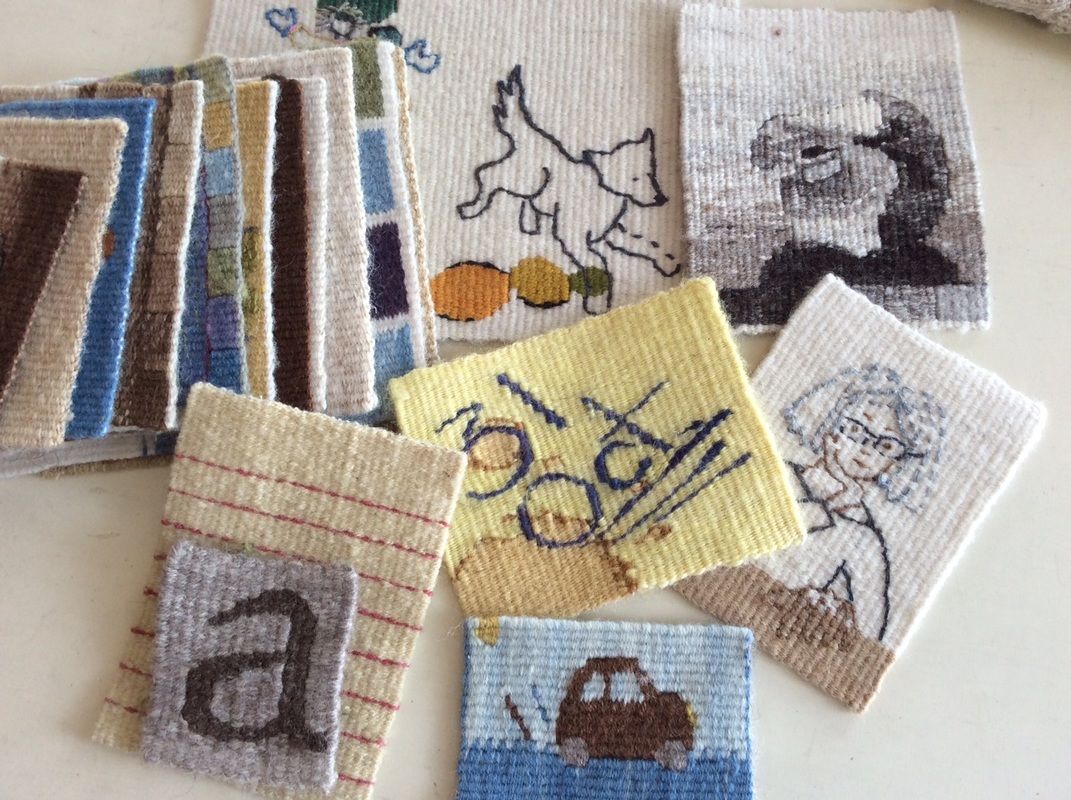
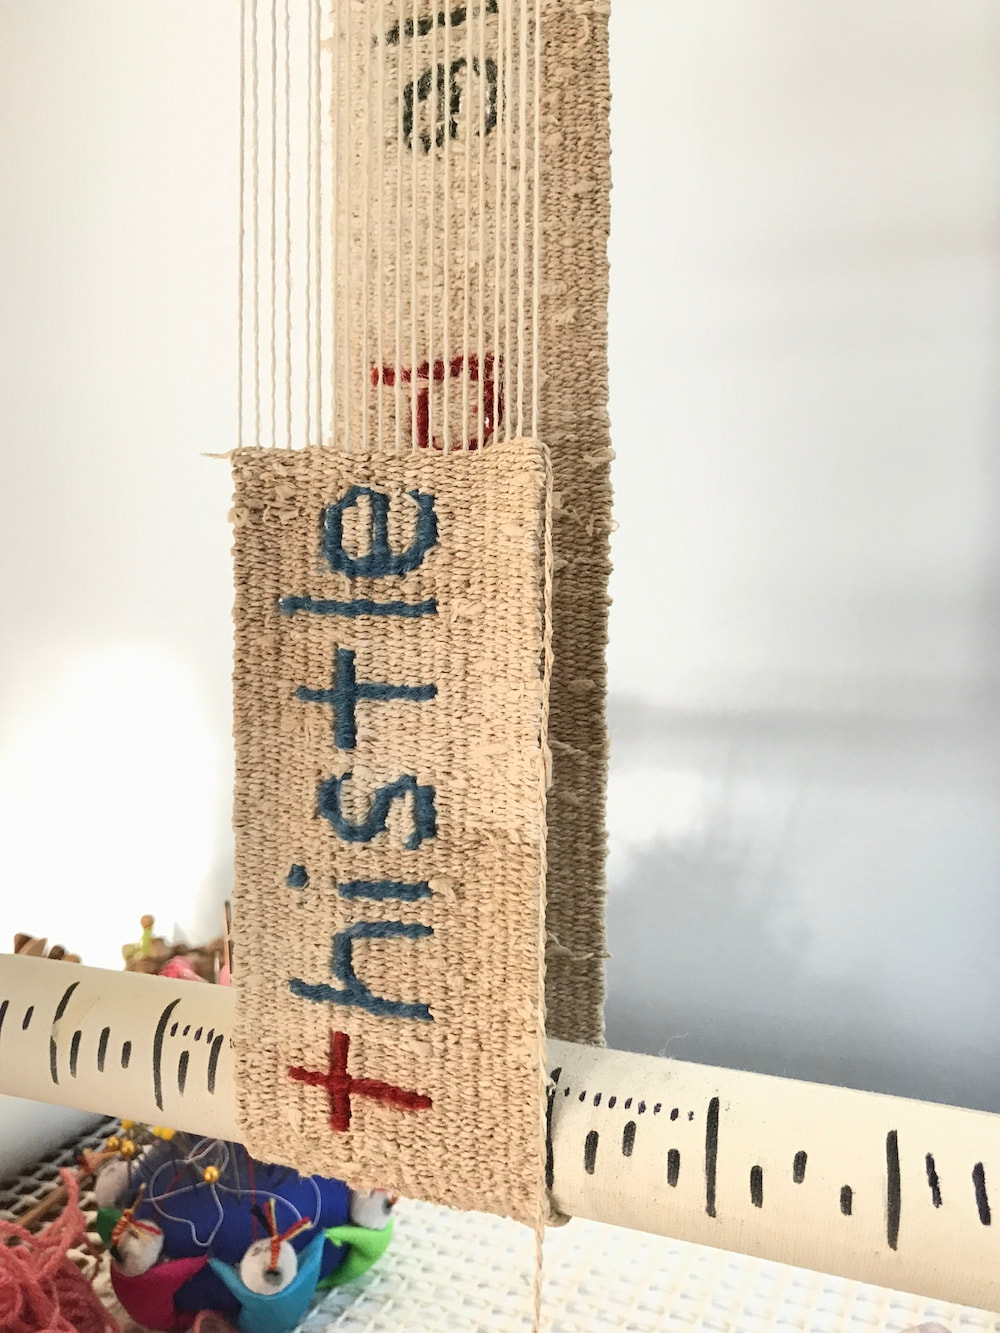
as the prickly plants
gradually emerge,
a letter at a time.
(The names I use for the plants, that is,
since I do not know what they call themselves).
gradually emerge,
a letter at a time.
(The names I use for the plants, that is,
since I do not know what they call themselves).
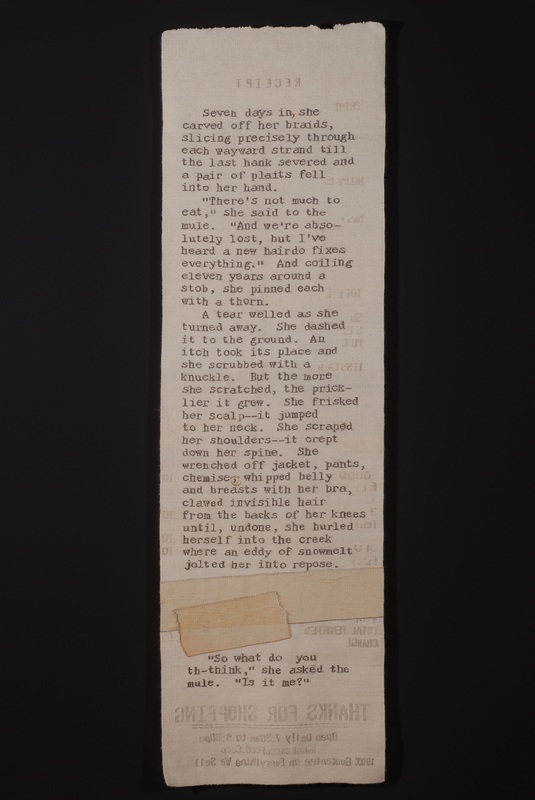
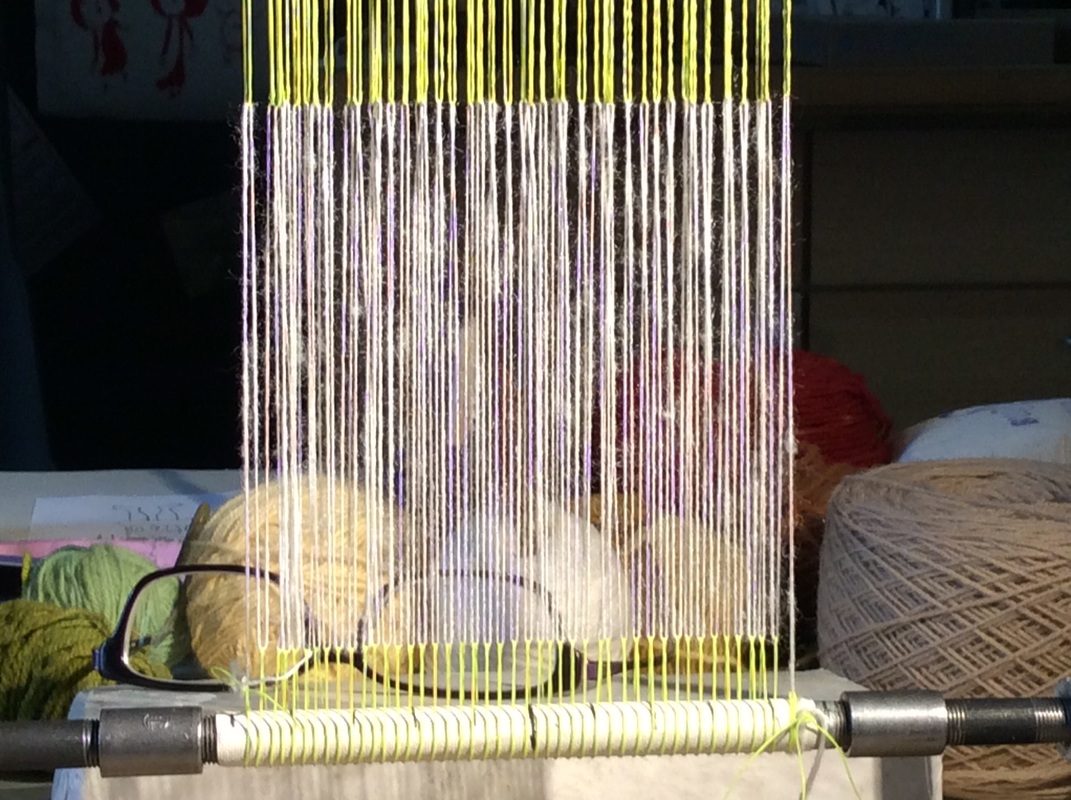
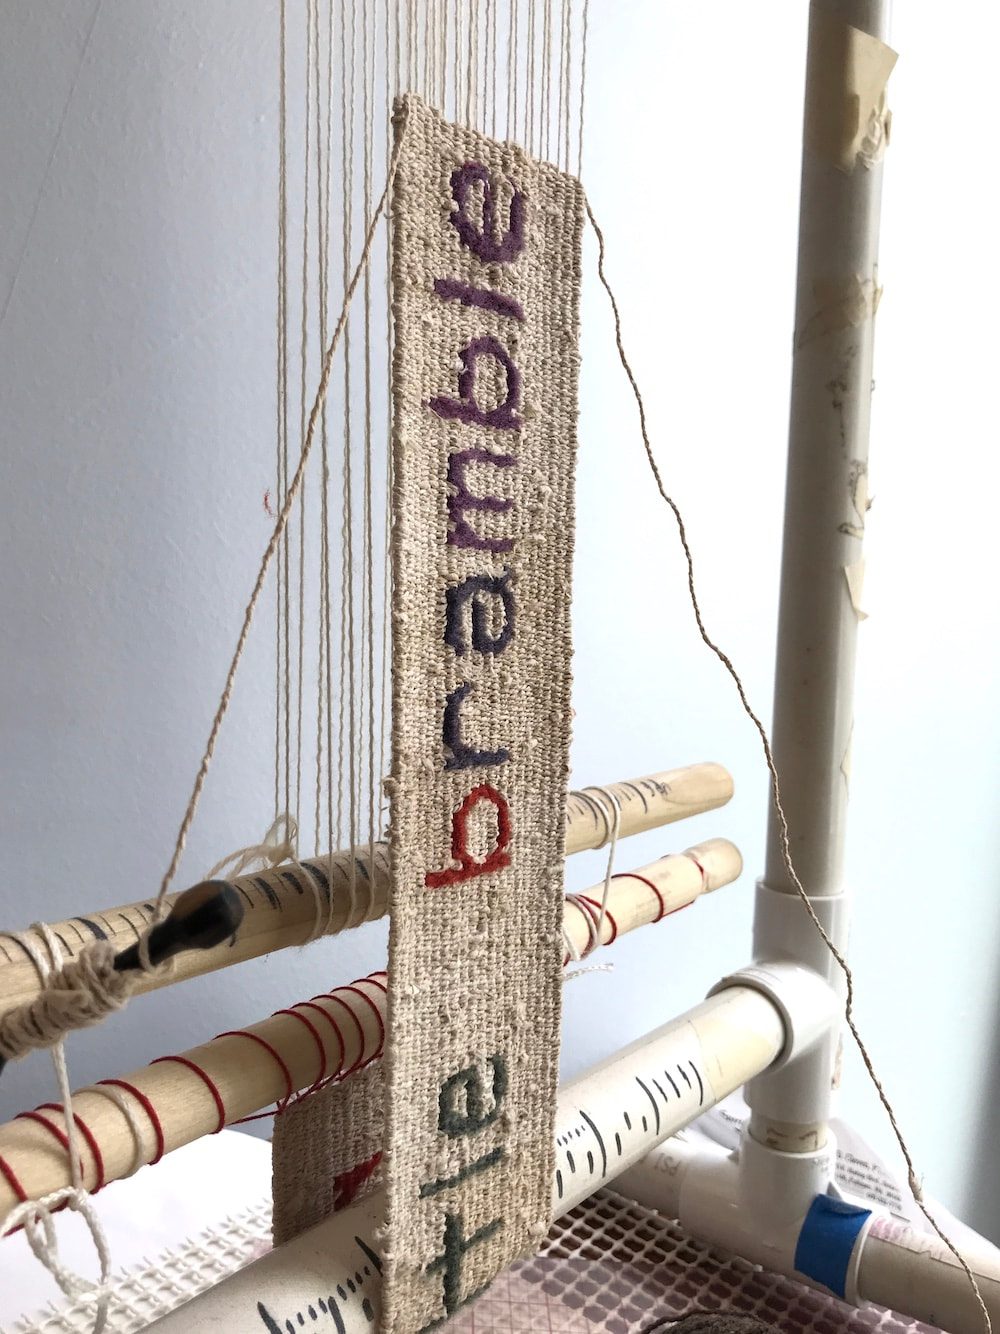
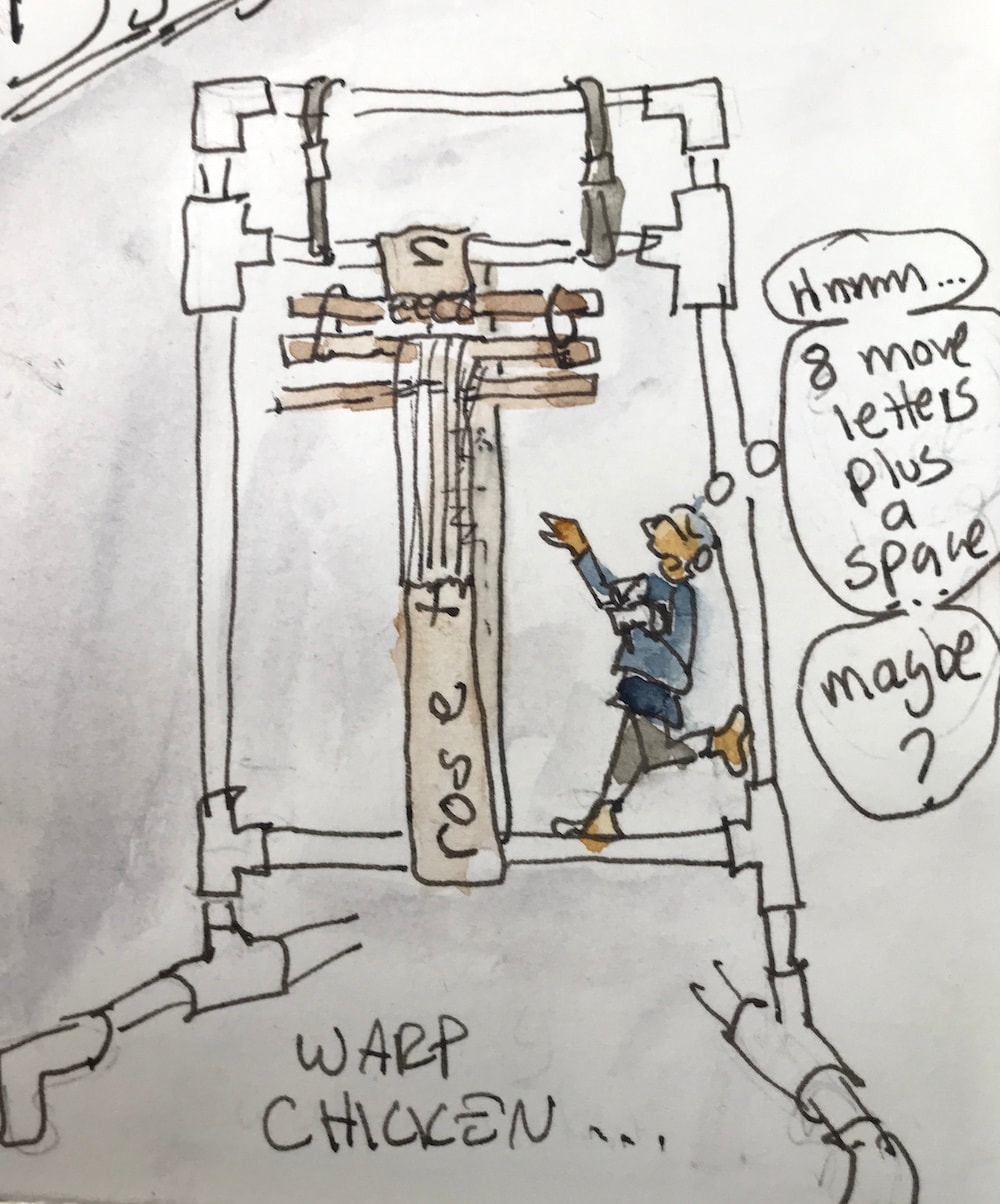
The length of the thing
means there is time and space
to notice unexpected words,
means there is time and space
to notice unexpected words,
like so many blackberries,
among the thorns
I'm attempting to immortalize.
among the thorns
I'm attempting to immortalize.
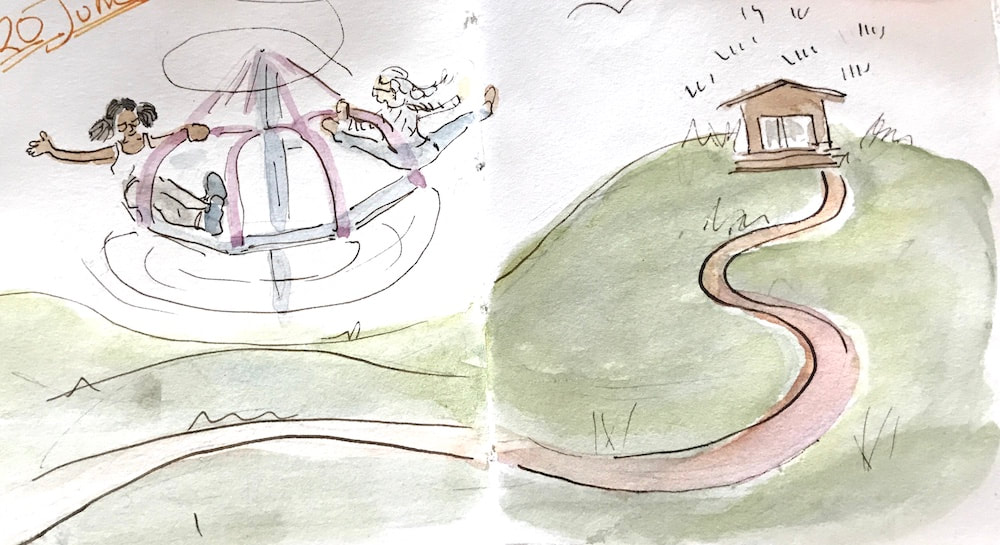
Nothing like a nice,
slow ramble--
or amble--
for noticing
little details.
slow ramble--
or amble--
for noticing
little details.
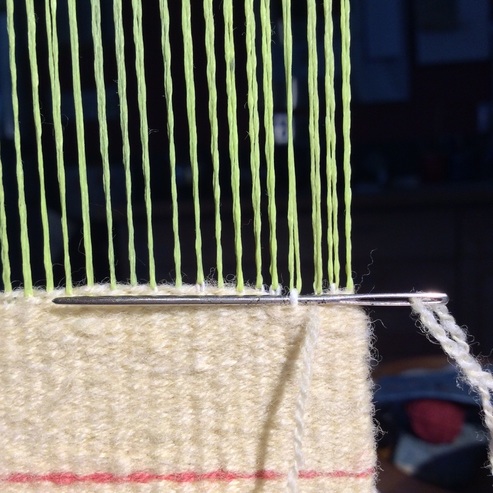
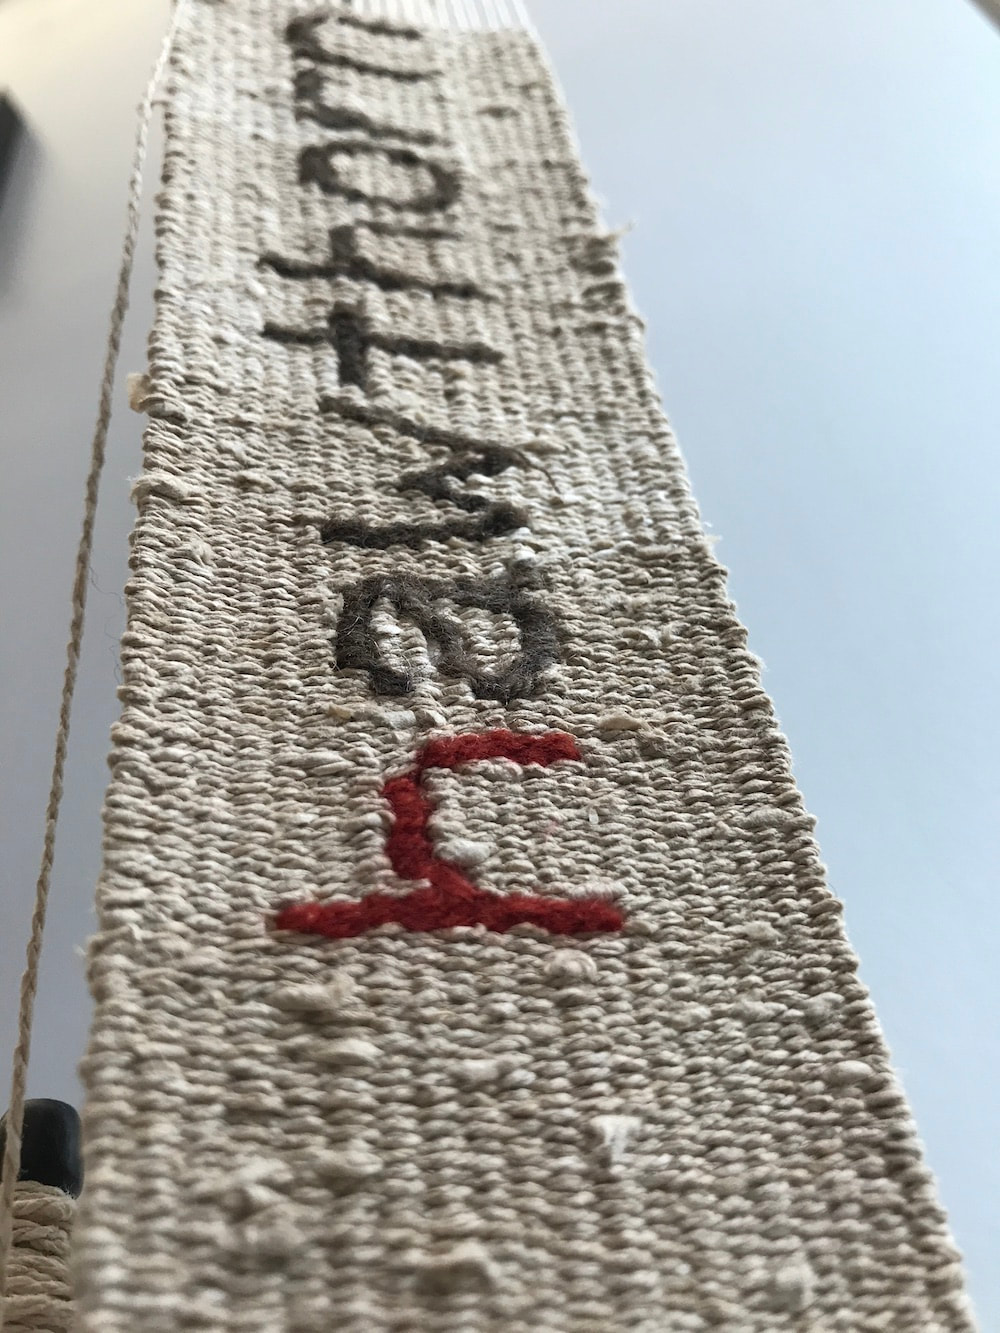
It has also been fun,
just after writing
Tucking The Tails,
to find another place
where the practice
of working in the ends as I go
adds moments
of enchantment
to weaving:
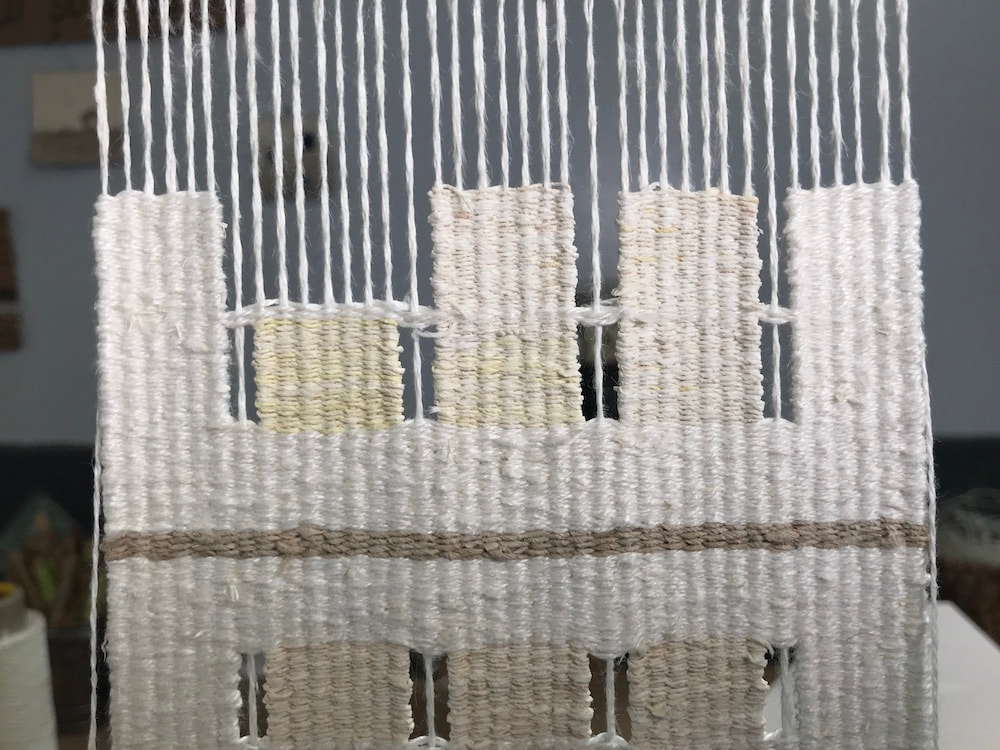
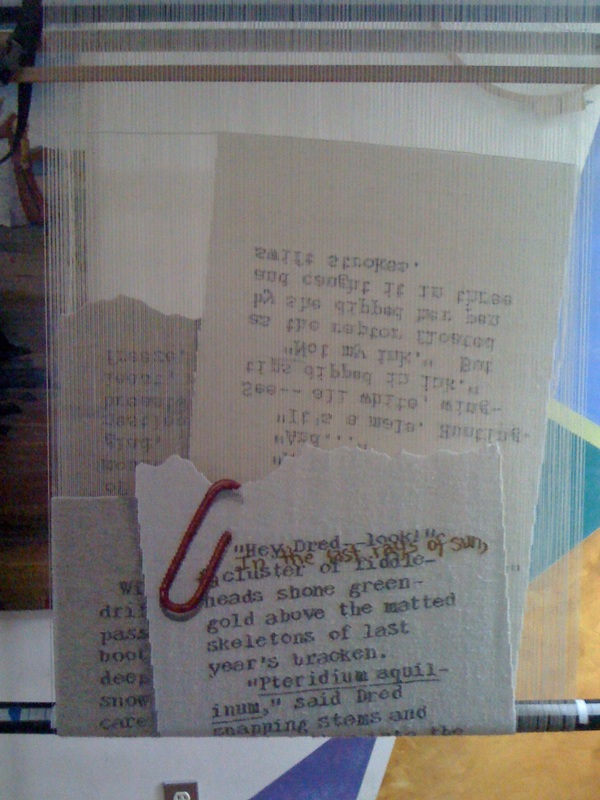
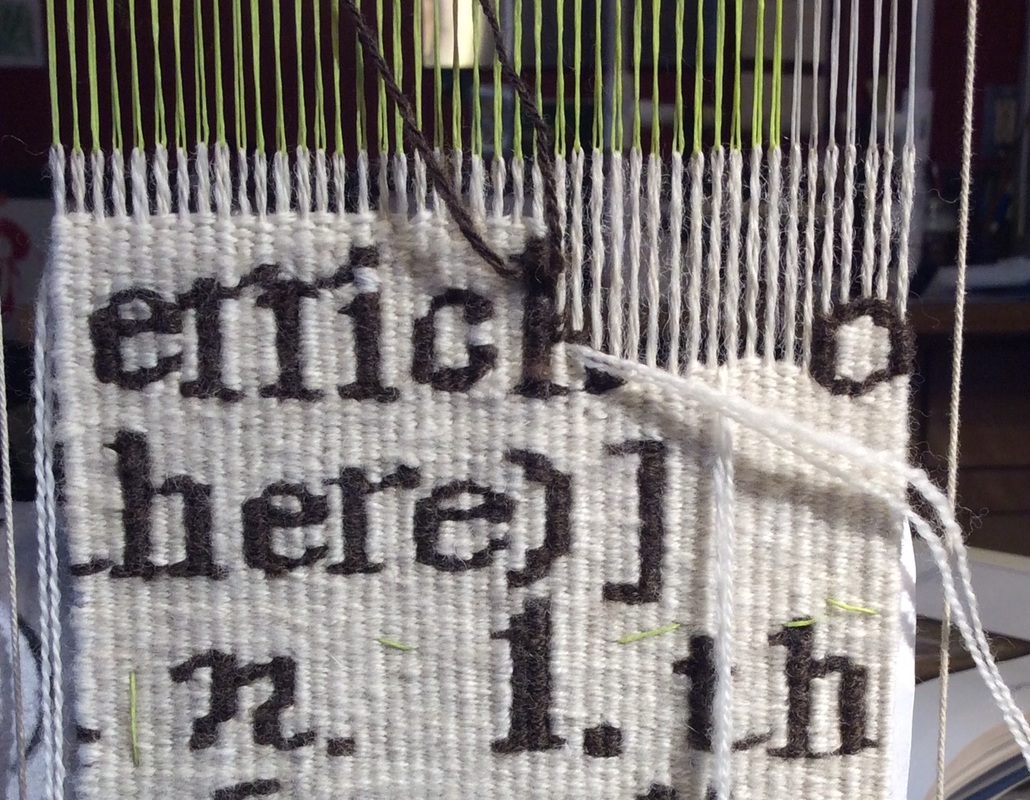
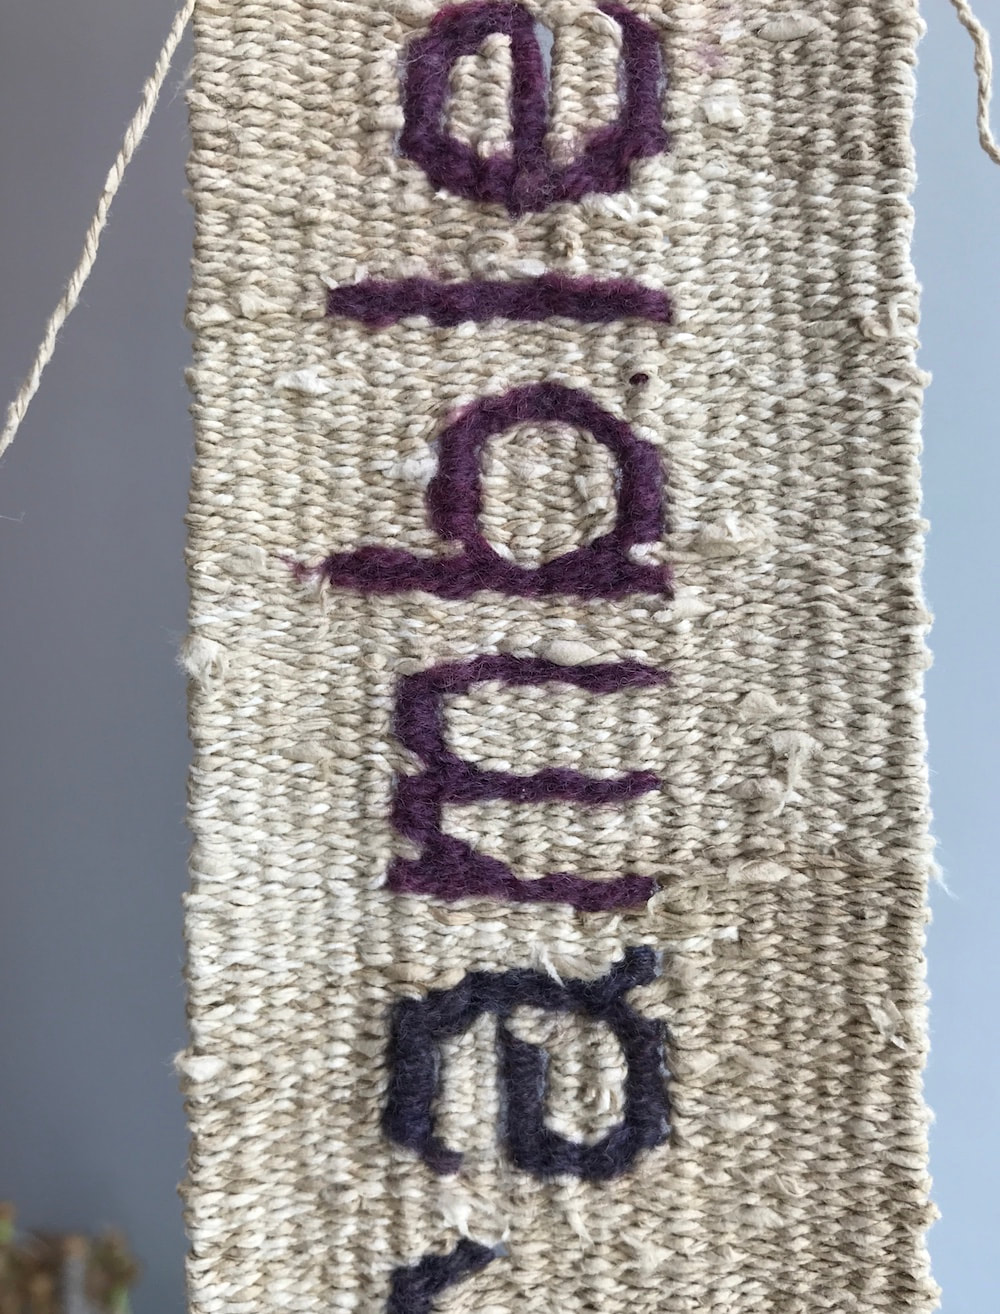
getting to glimpse
the elegance
of letters in reverse
out of the corner of my eye--
to admire grace of their shapes--
to relish the confusion of
of thinking a 'd'
is a 'p'
and trying to figure out
what word I had
inadvertently written.
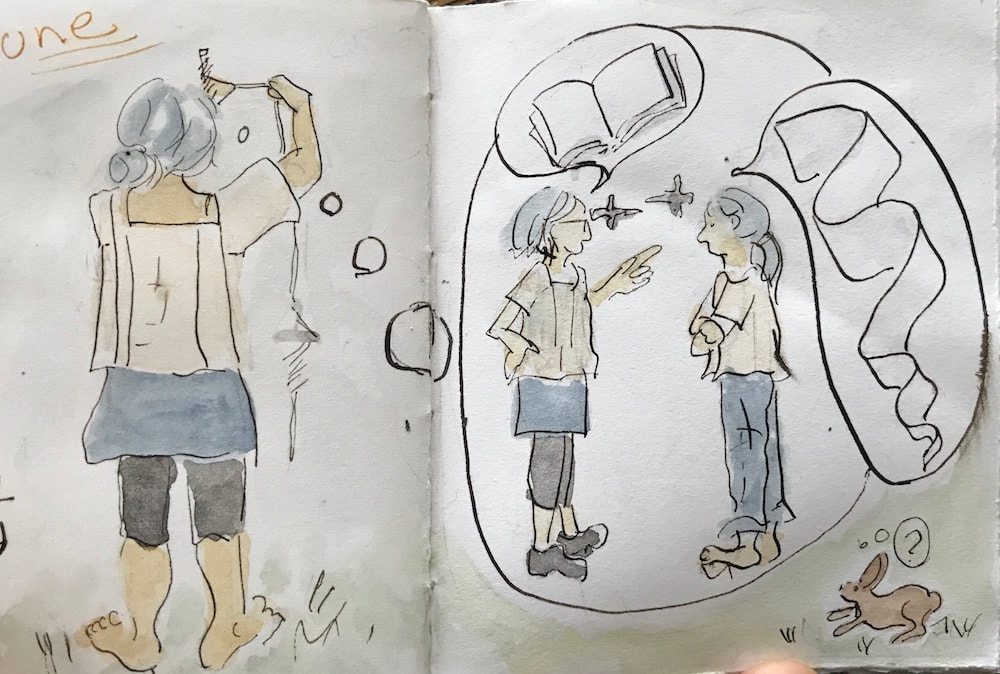
And how not to delight
in the dignified nod
of two 'r's
(distantly socializing as now is normal)
as they pass by,
one going up, one down?
just after writing
Tucking The Tails,
to find another place
where the practice
of working in the ends as I go
adds moments
of enchantment
to weaving:
getting to glimpse
the elegance
of letters in reverse
out of the corner of my eye--
to admire grace of their shapes--
to relish the confusion of
of thinking a 'd'
is a 'p'
and trying to figure out
what word I had
inadvertently written.
And how not to delight
in the dignified nod
of two 'r's
(distantly socializing as now is normal)
as they pass by,
one going up, one down?
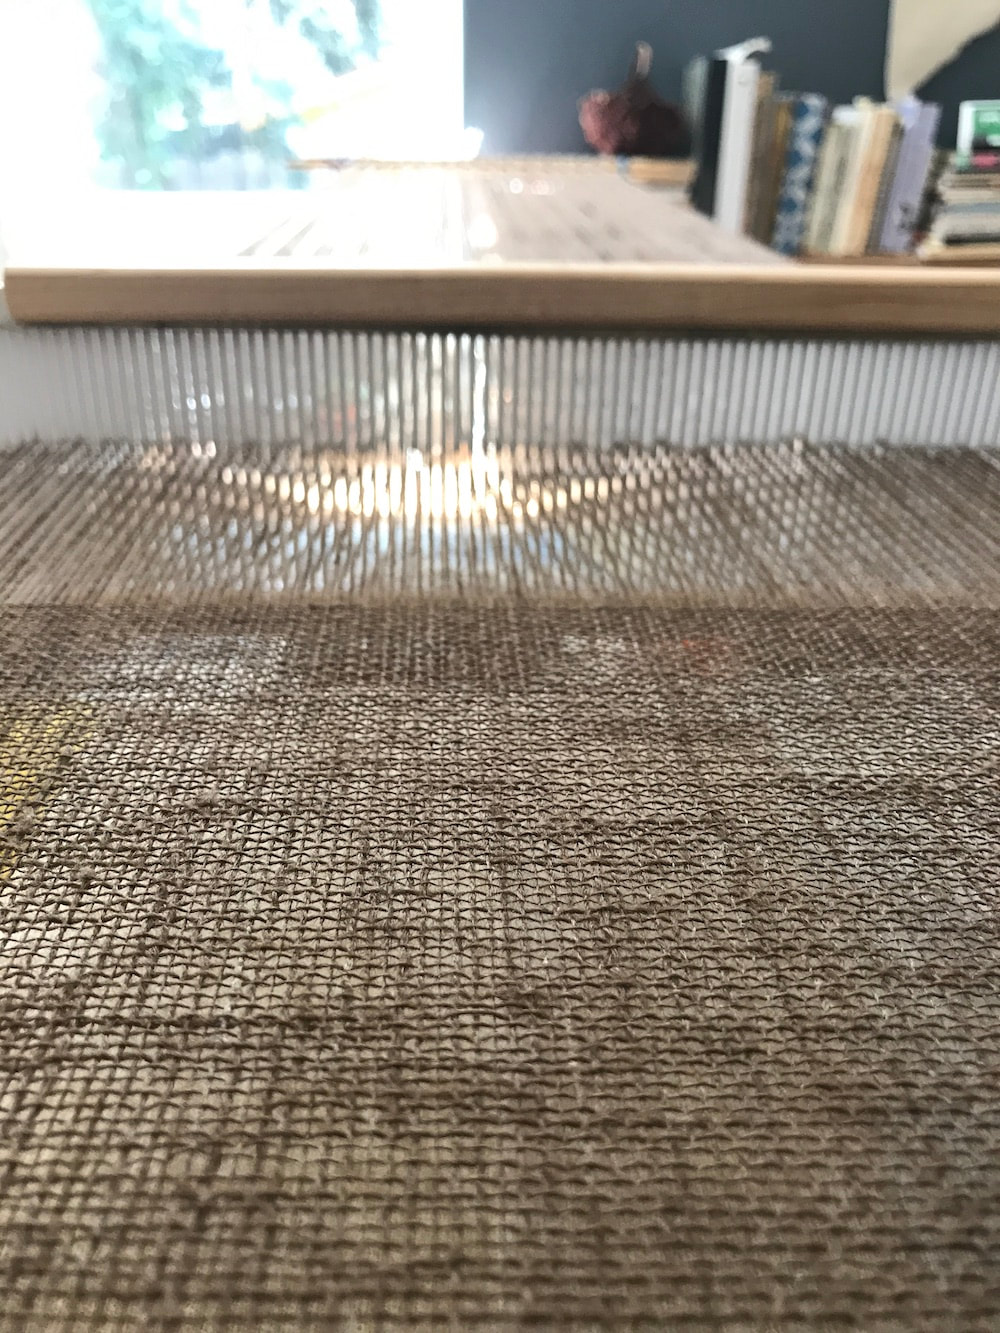
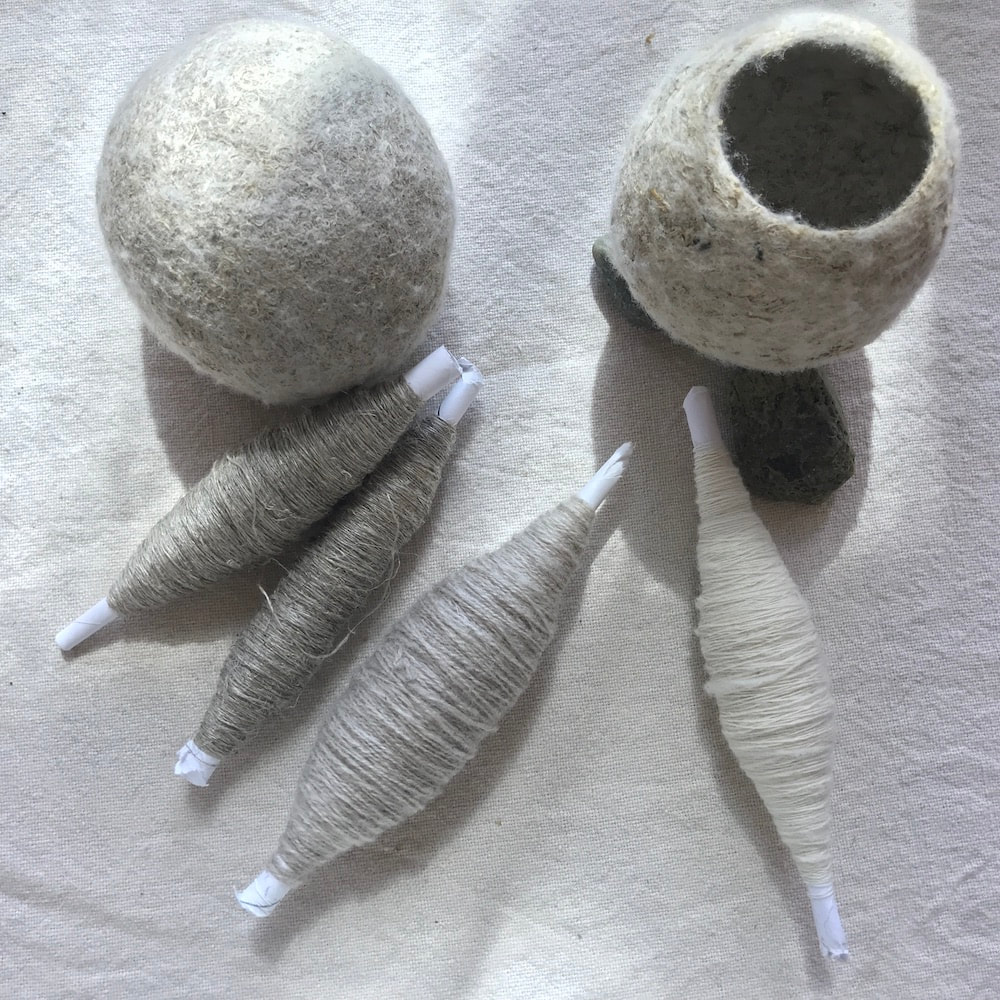
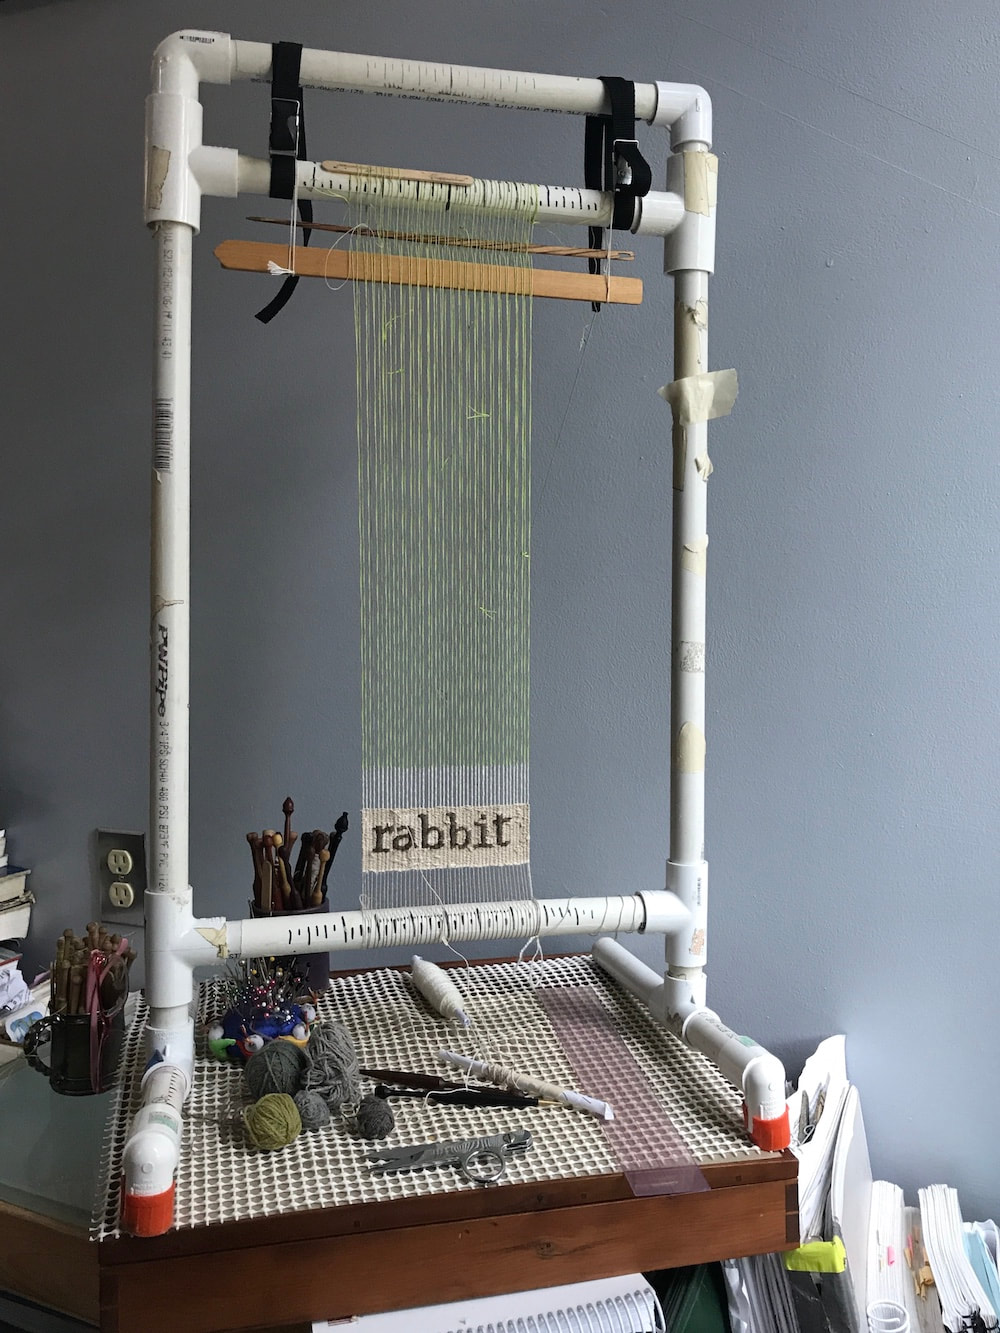
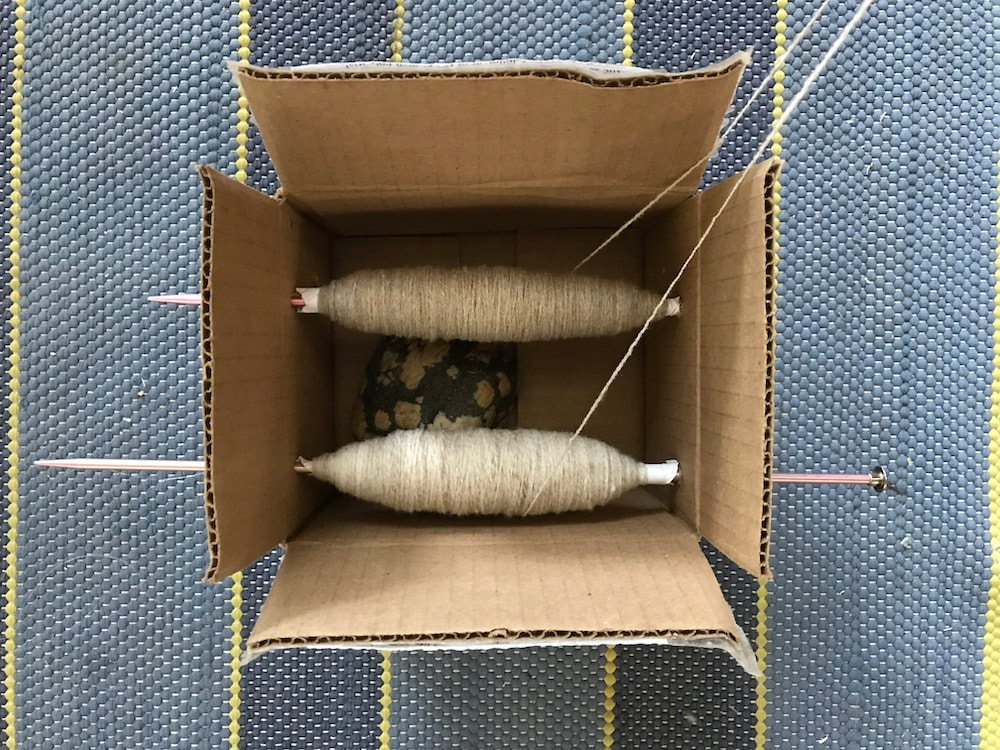
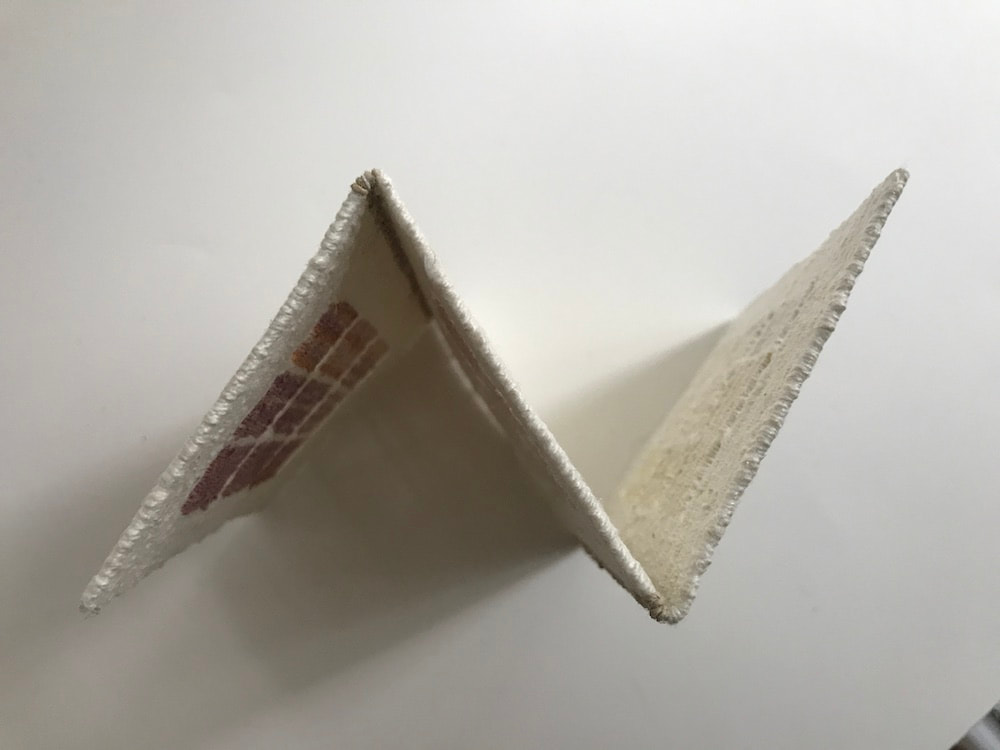
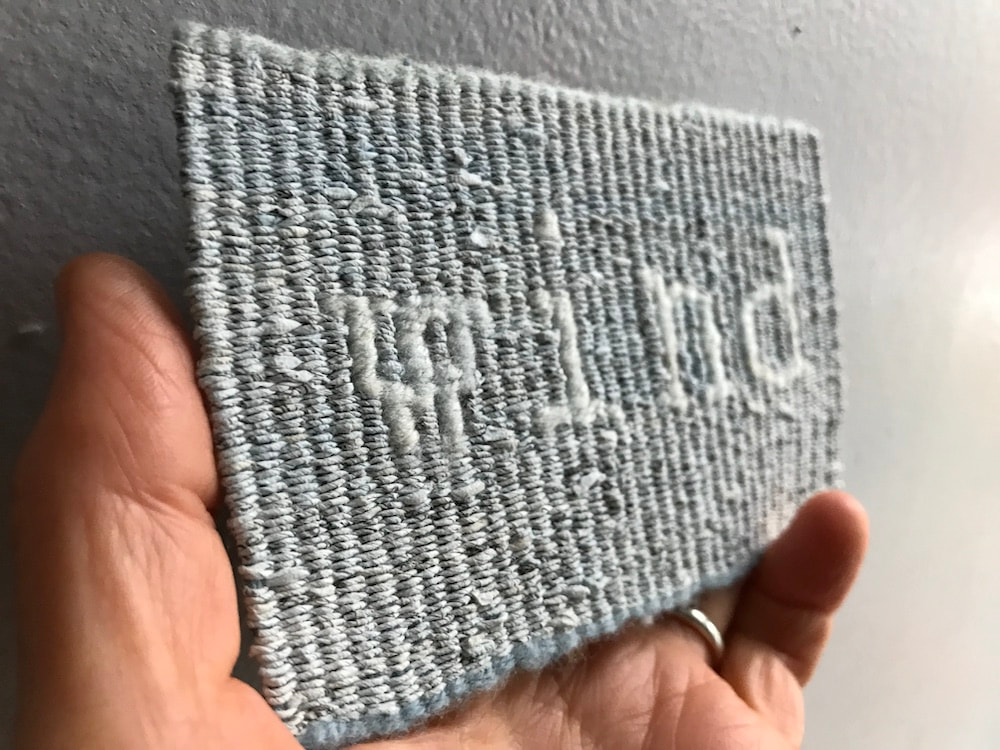
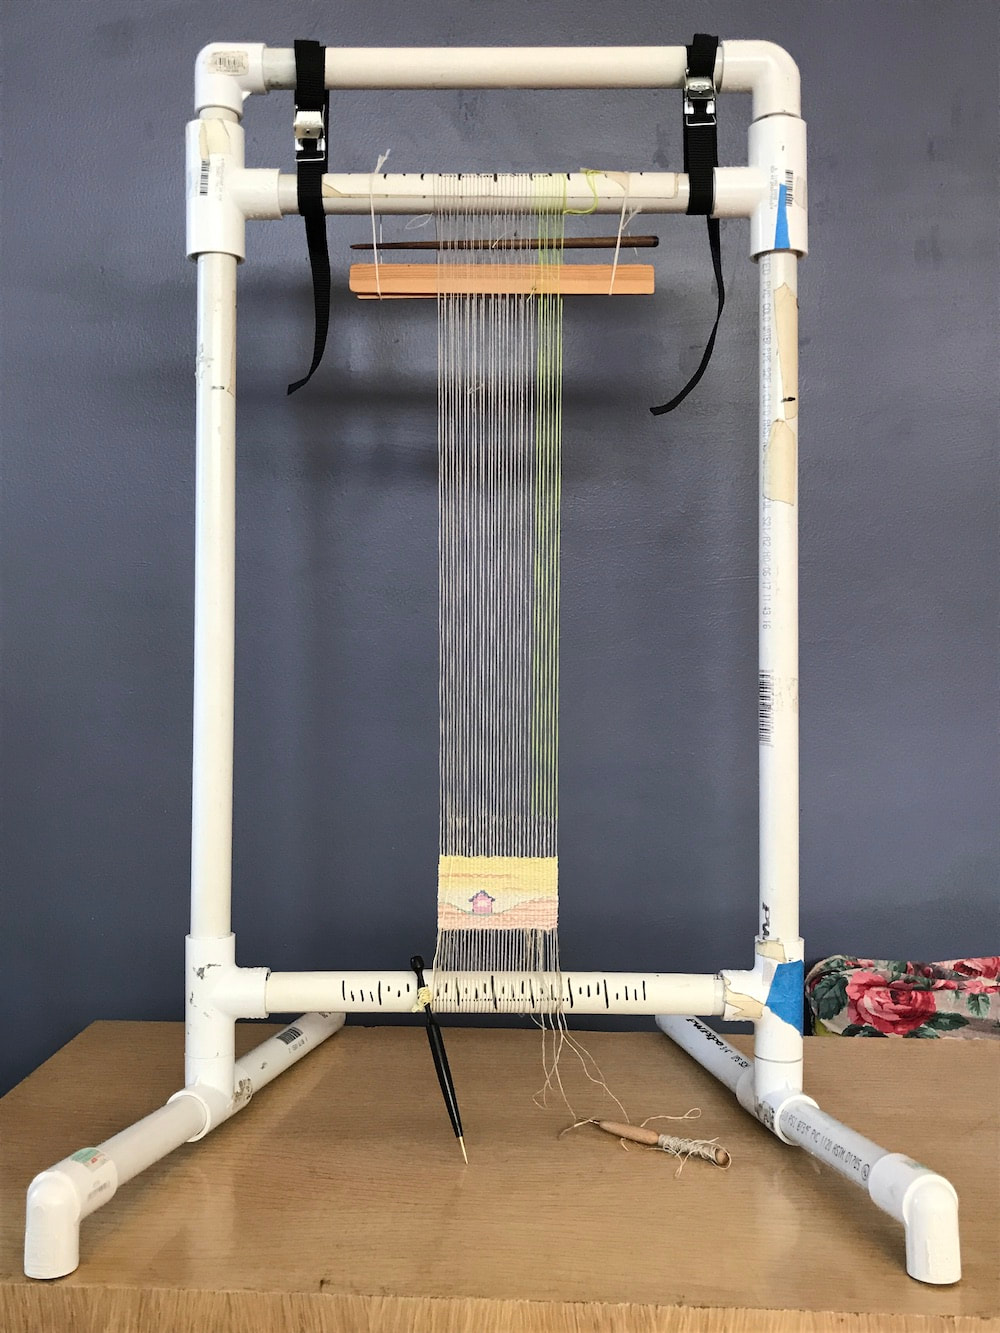
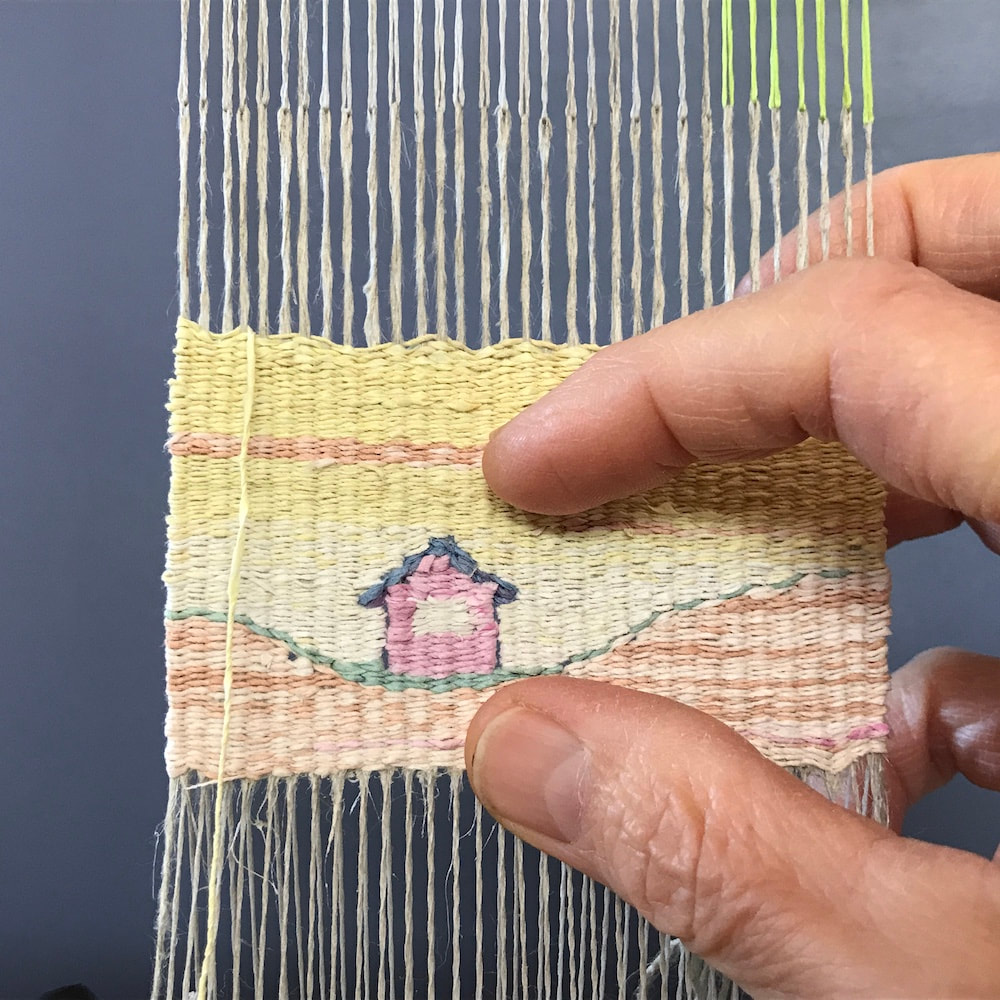
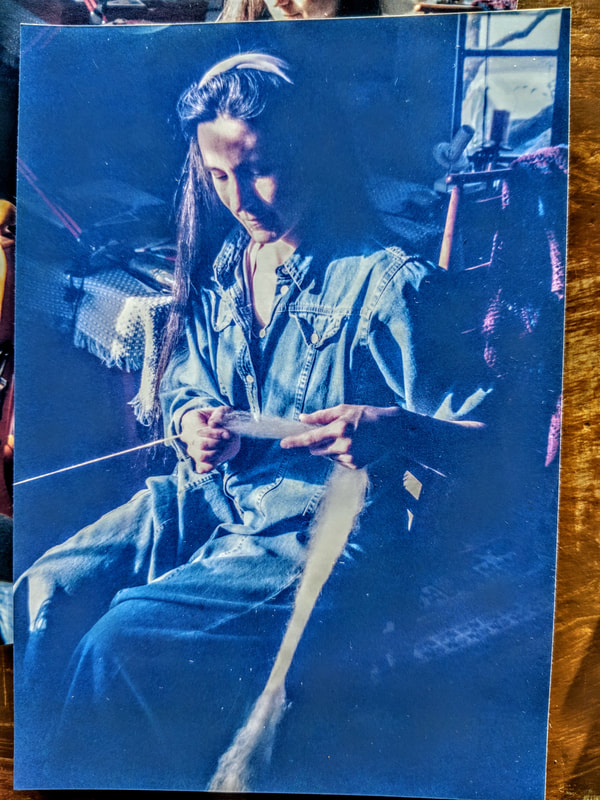
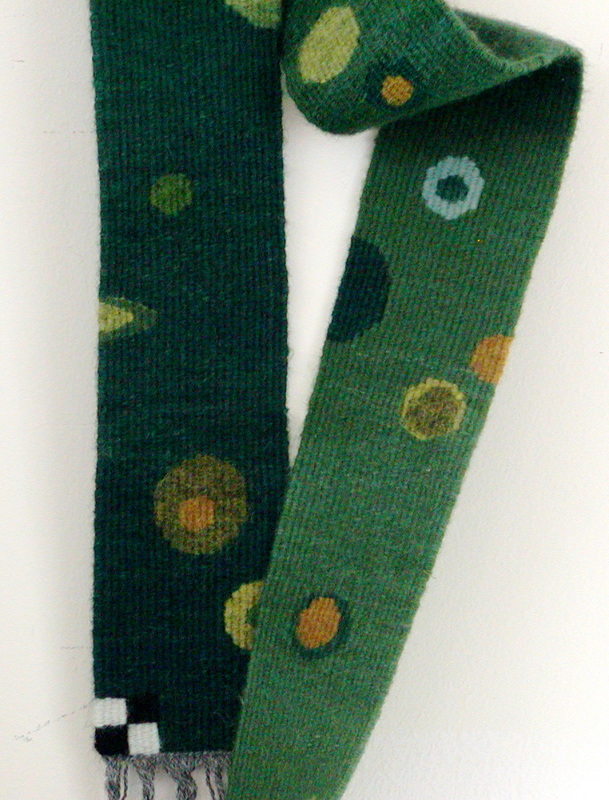
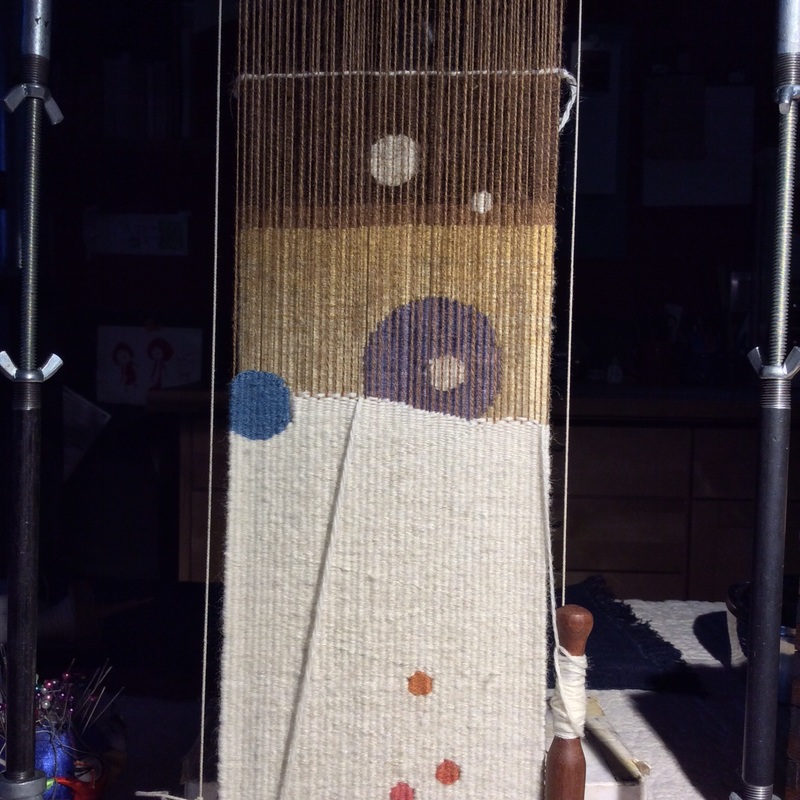
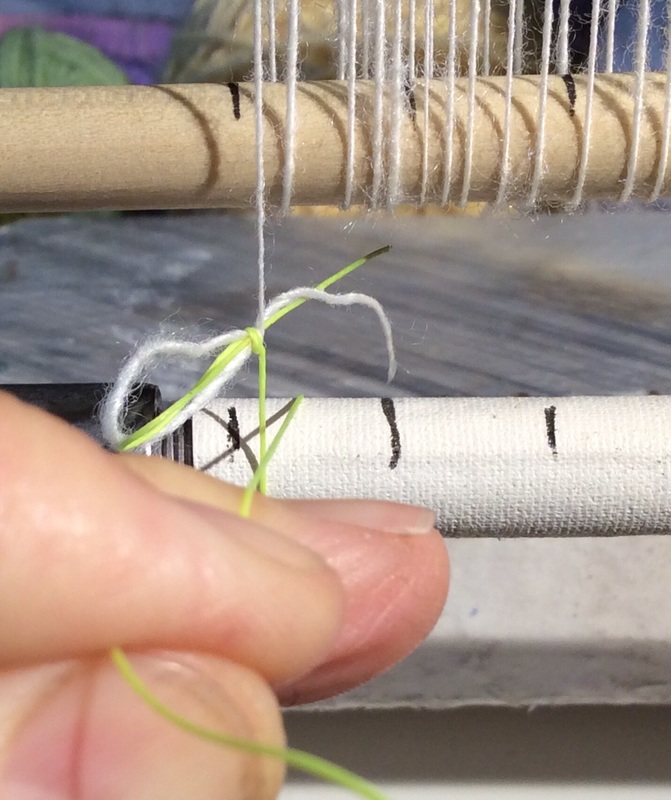
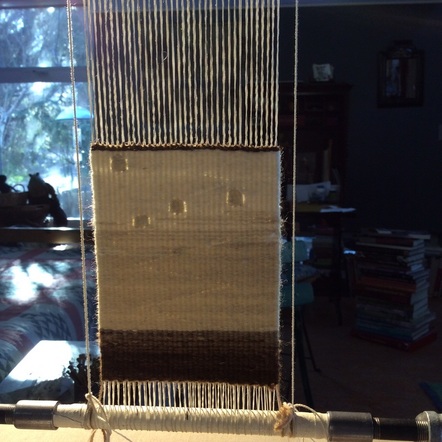
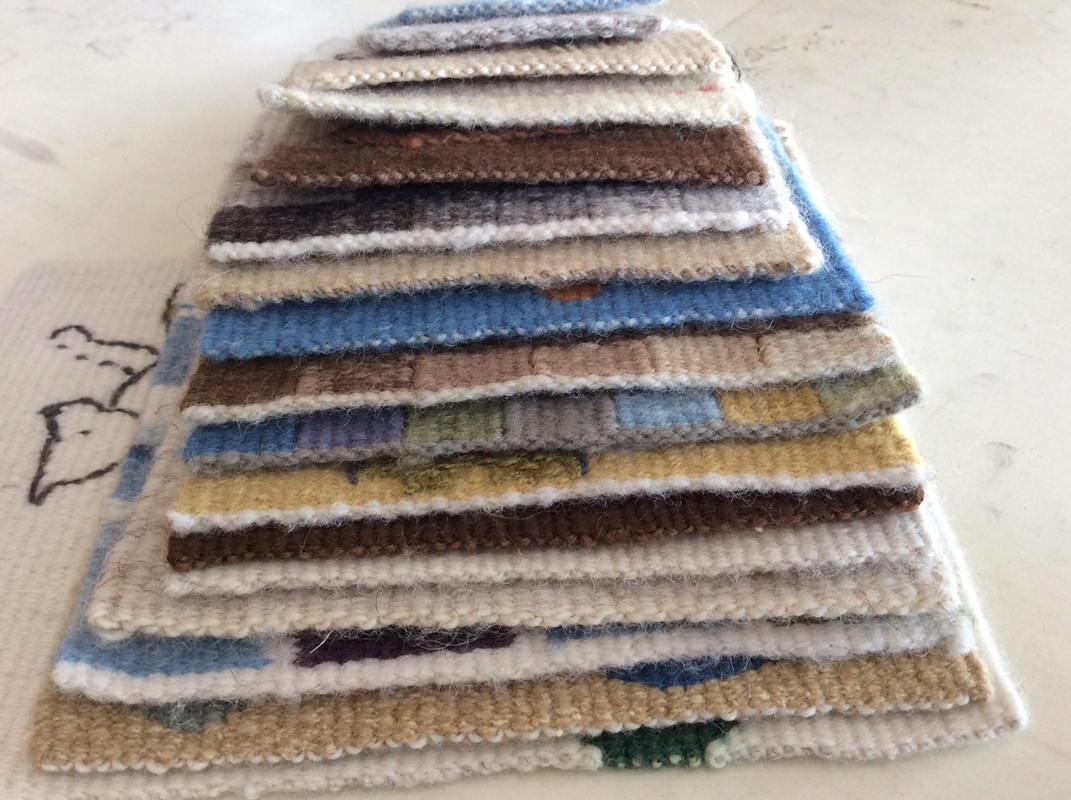
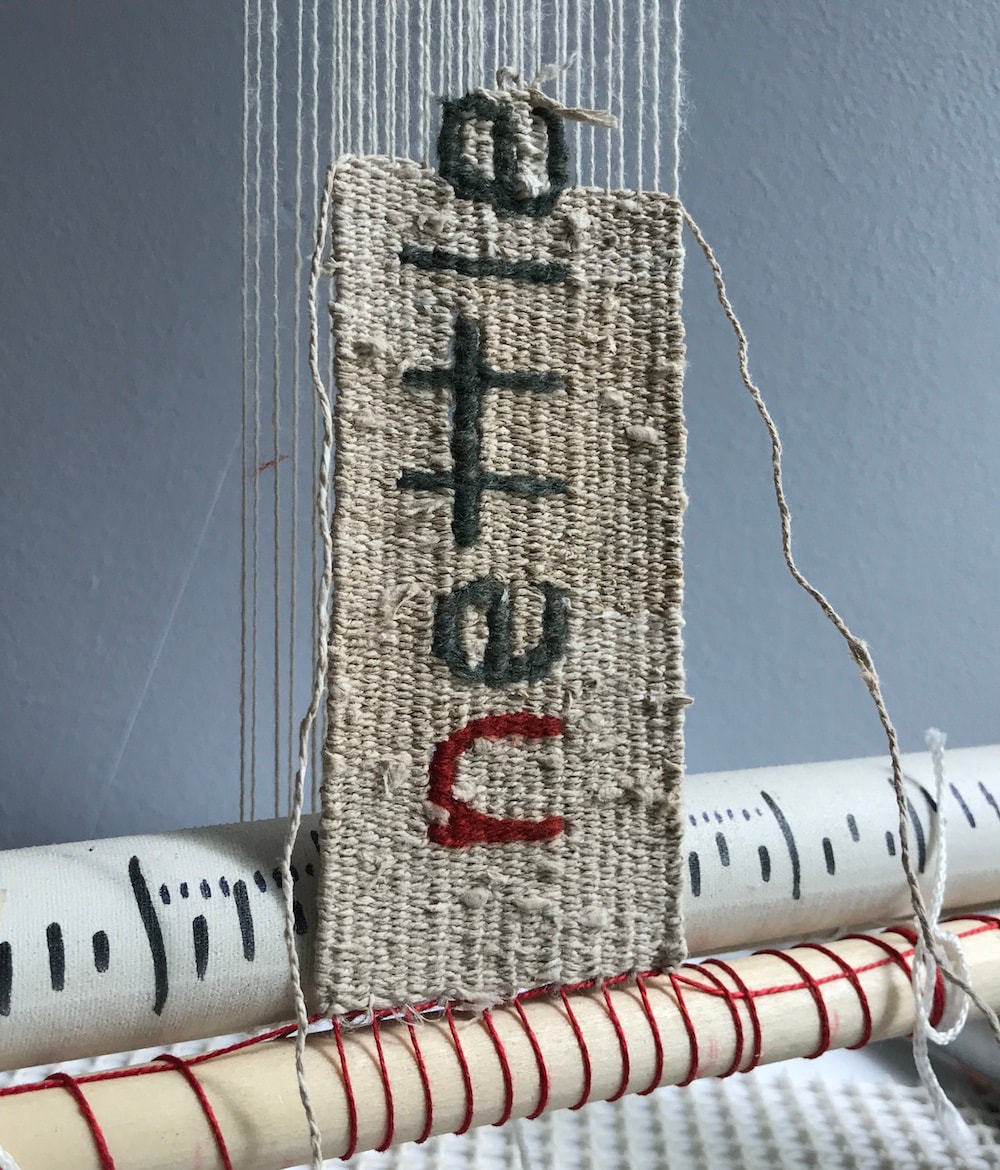
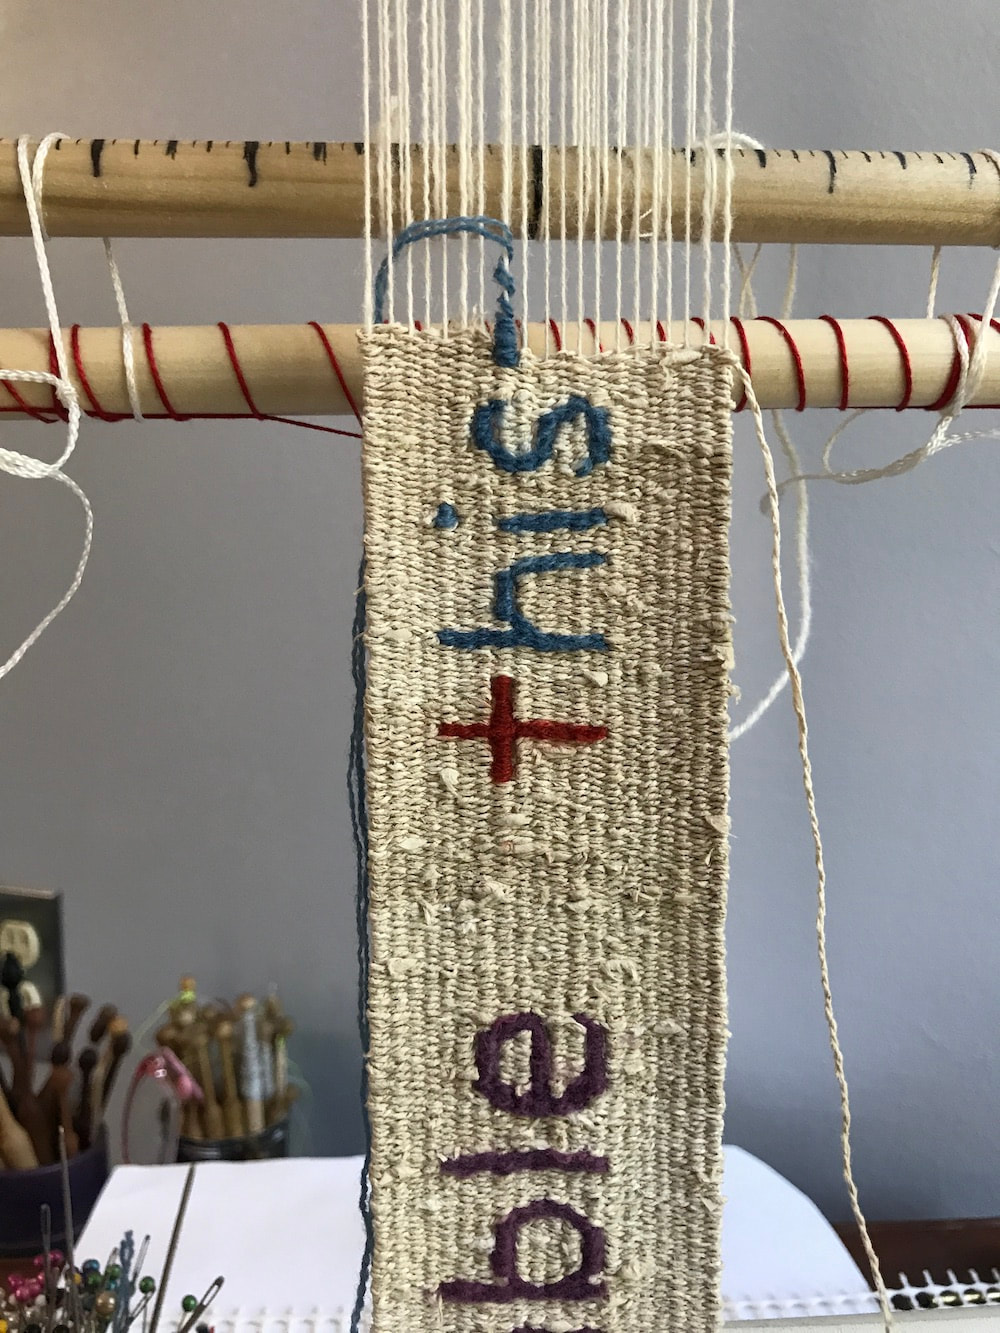
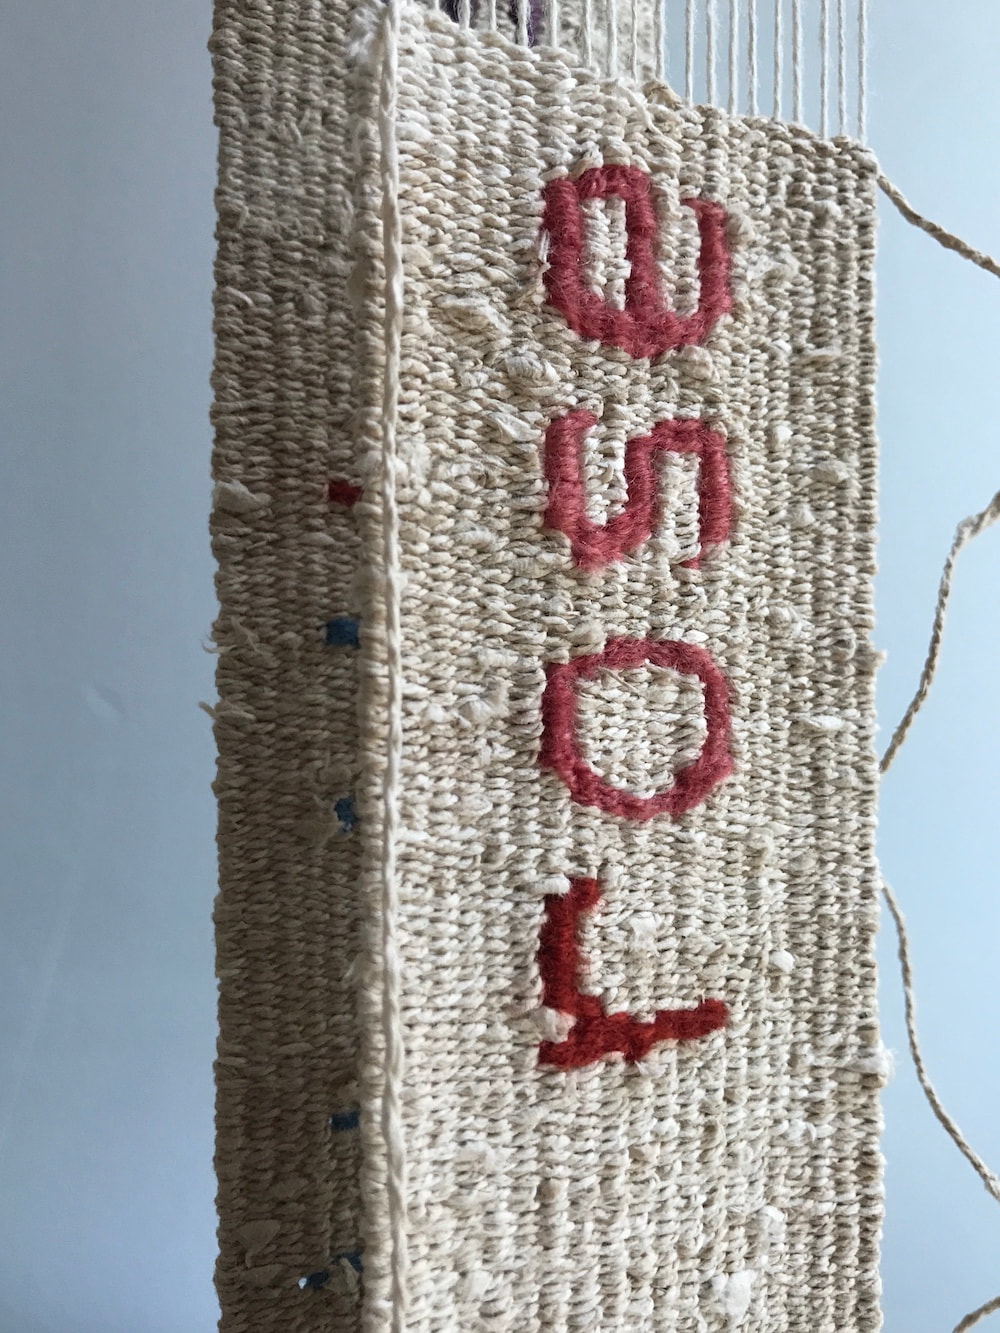
I'm weaving the letters
with naturally dyed wool.
The colors were a surprise
as at first I thought
I'd write all the words
with black and charcoal fleece,
and I really appreciate
the indigo and madder,
weld and lobaria pulmonaria,
insisting that they, too
get to promote
the loveliness
of some of the sharp things
in my world.
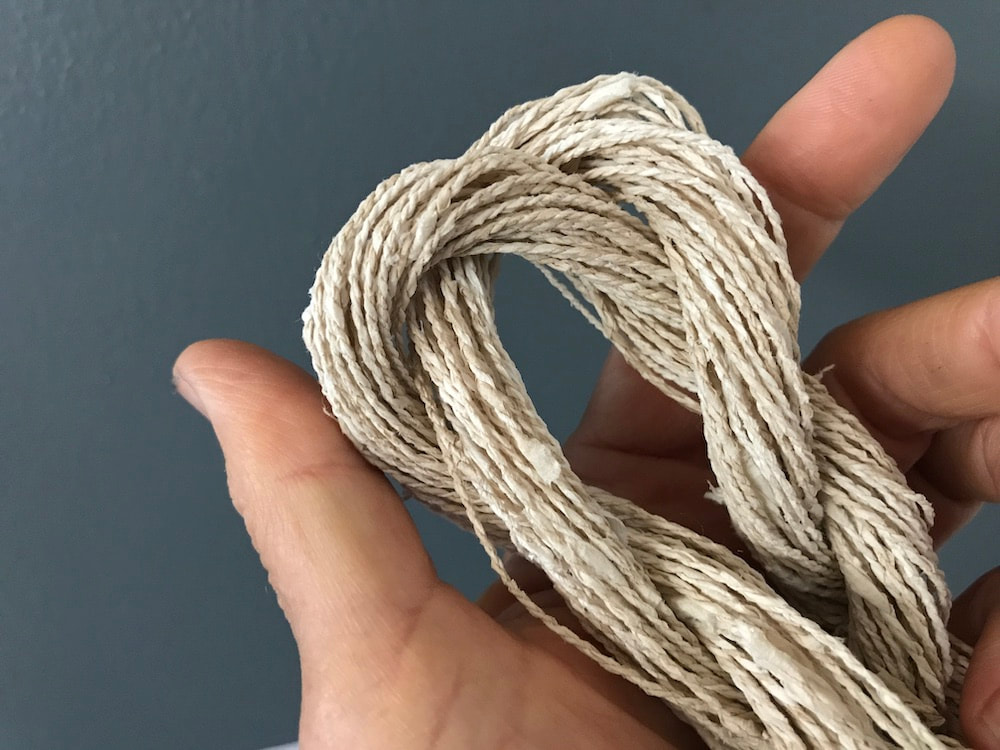
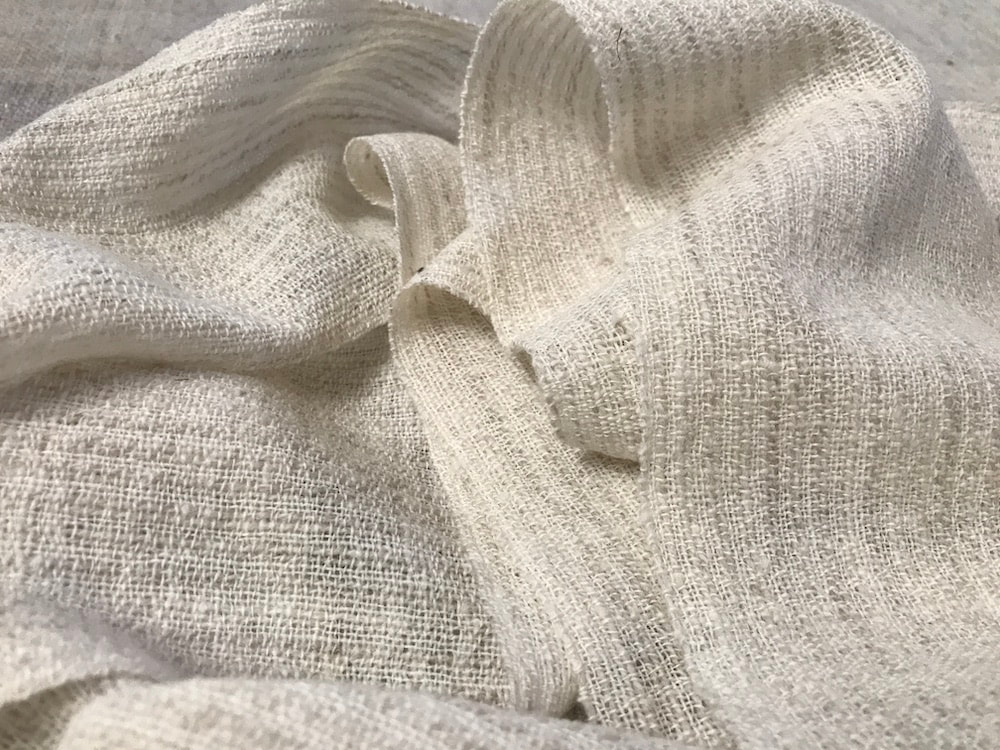
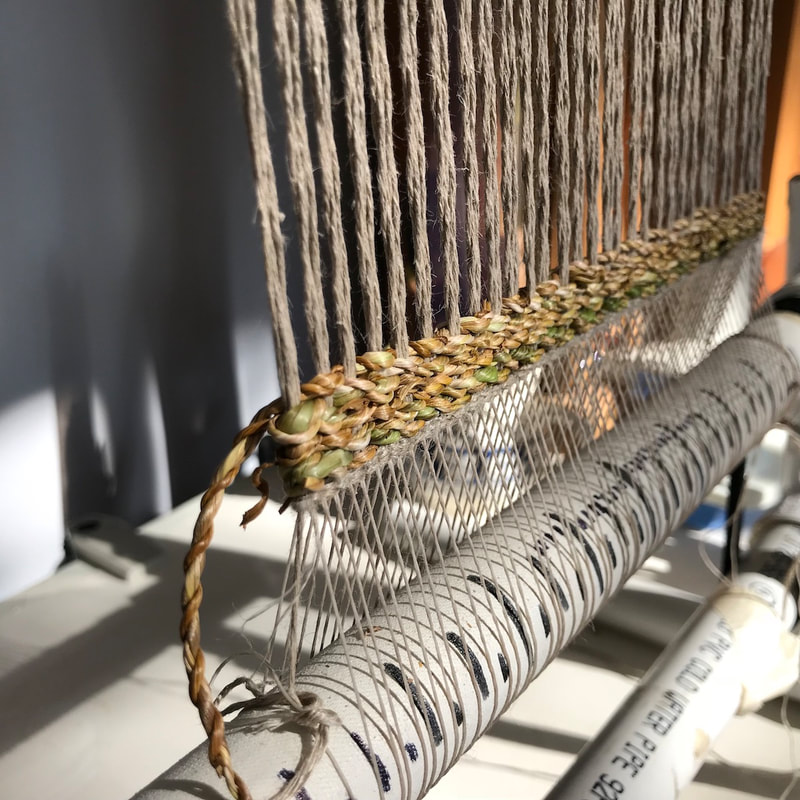
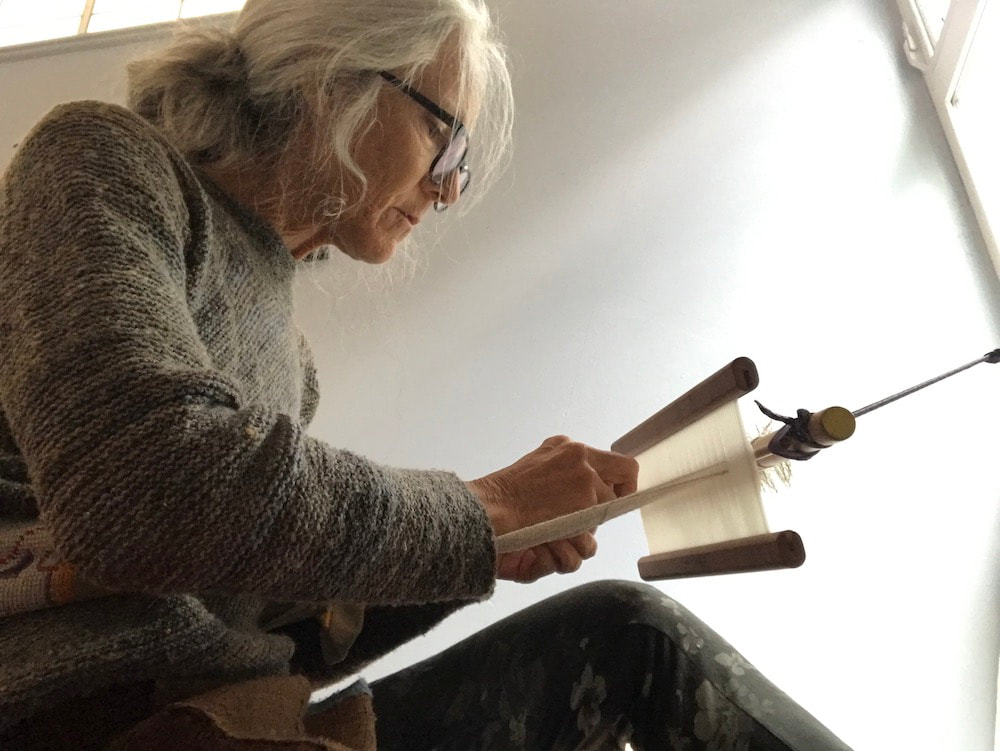
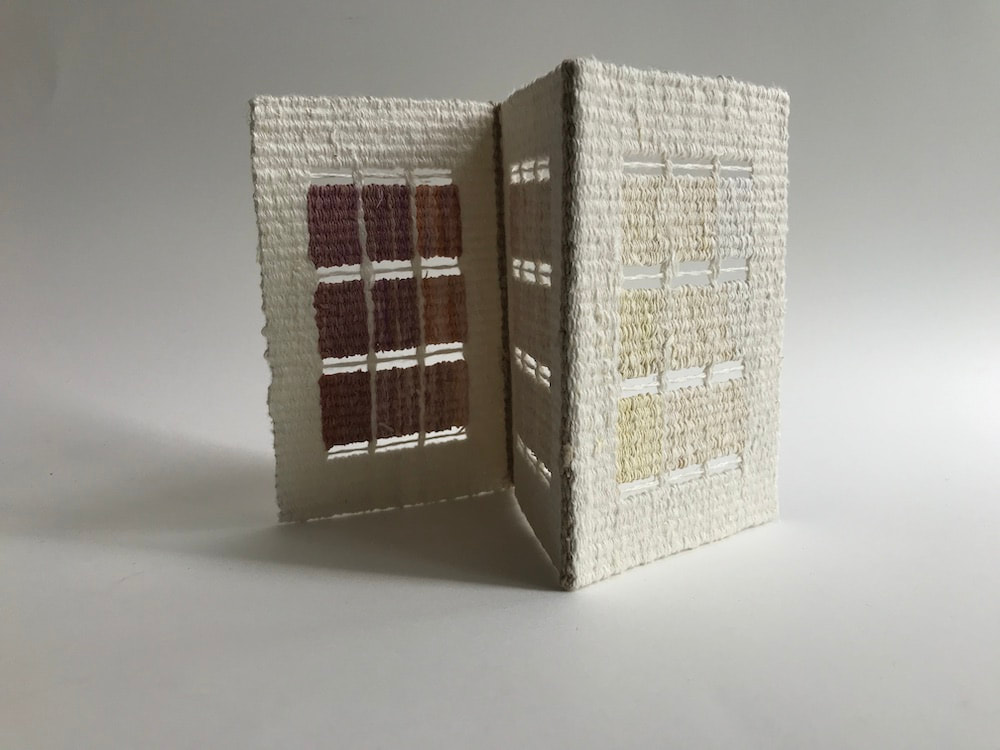
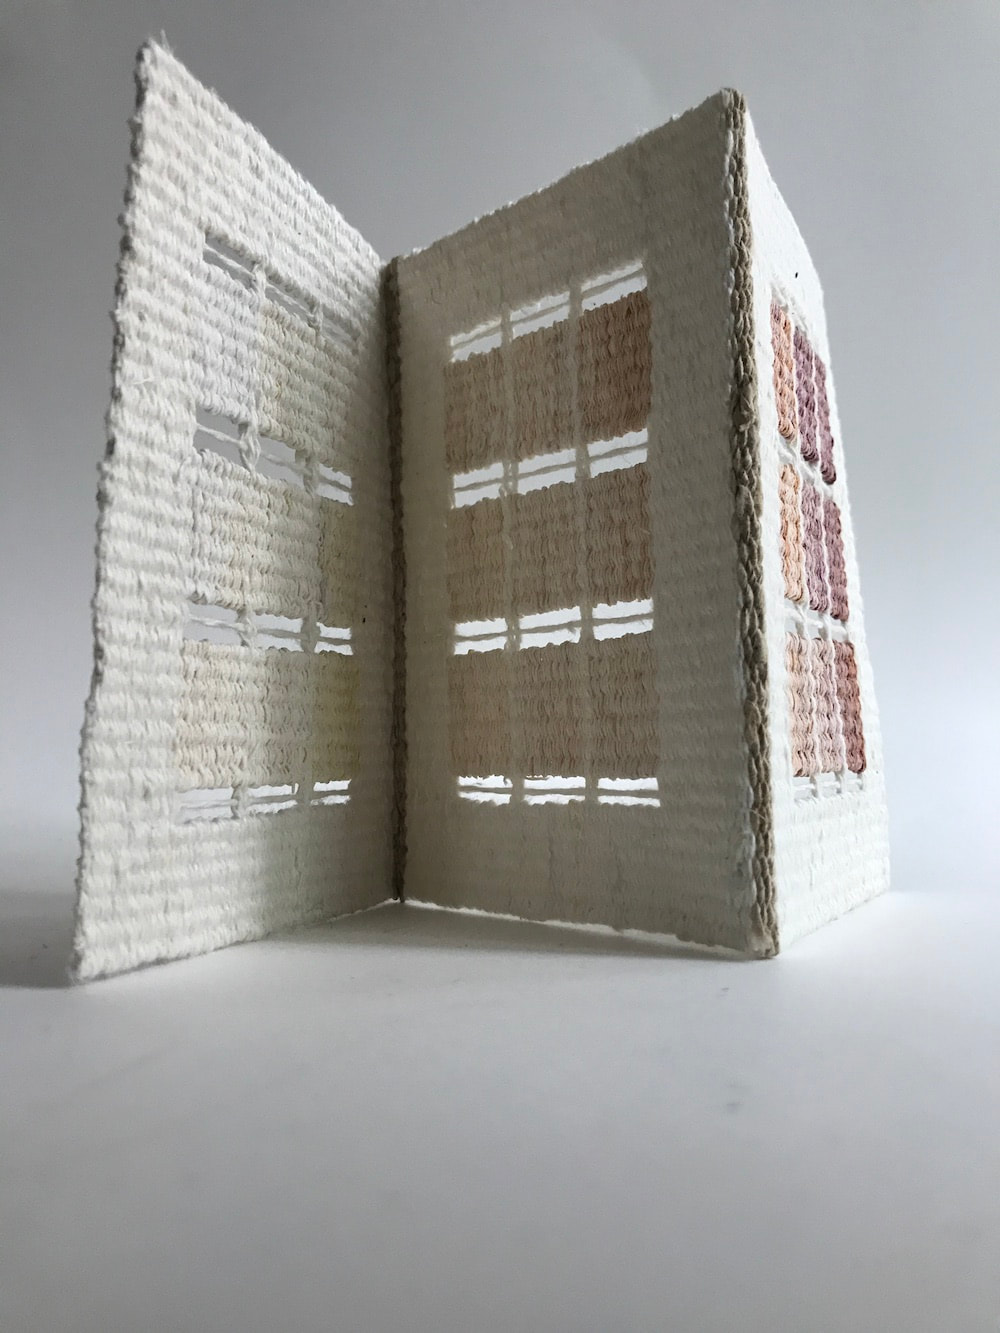
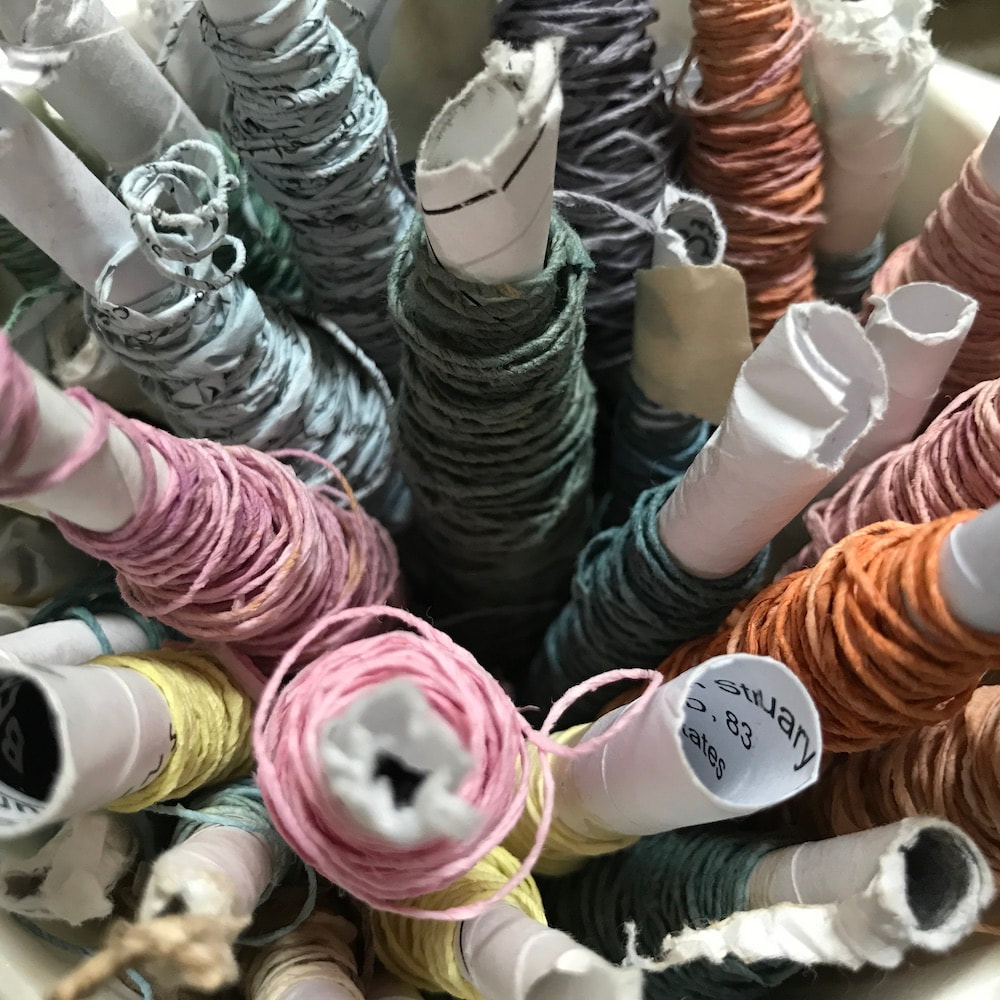
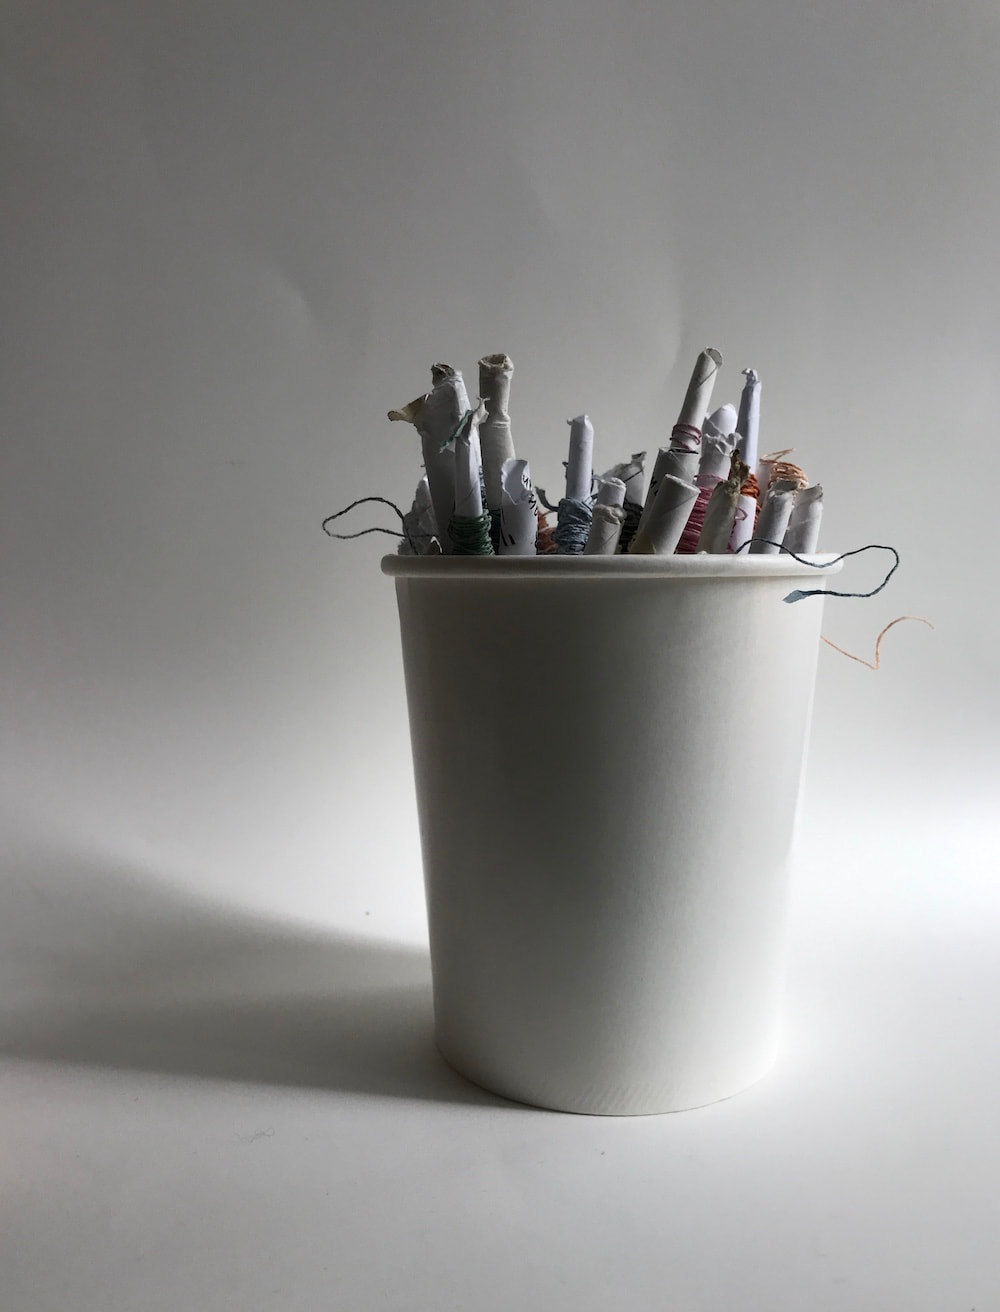
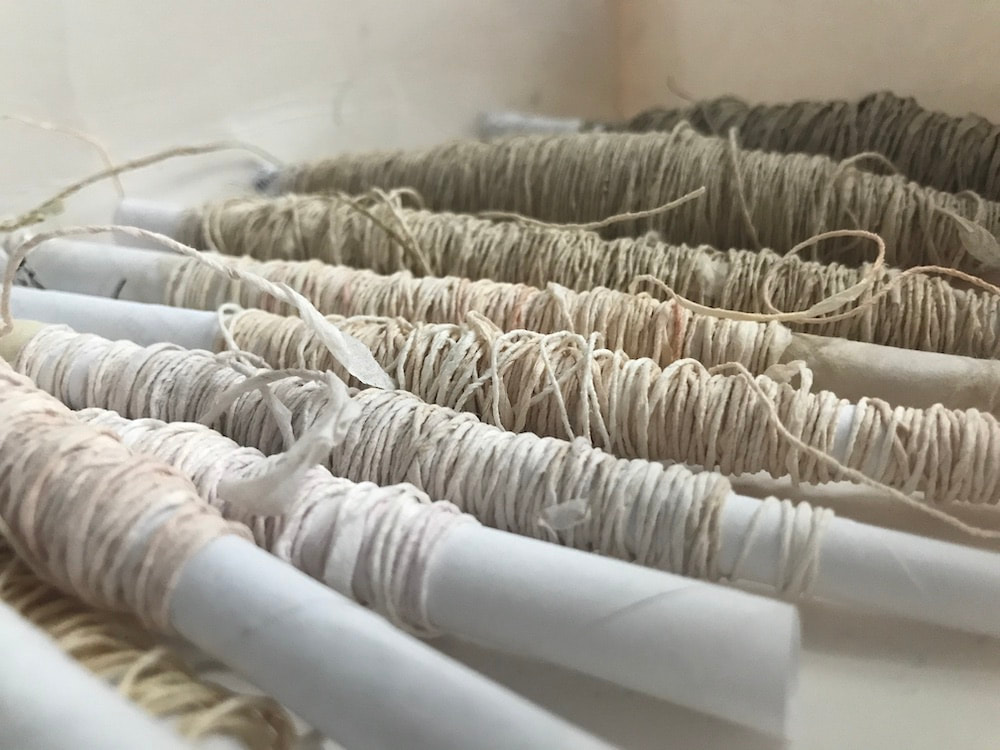
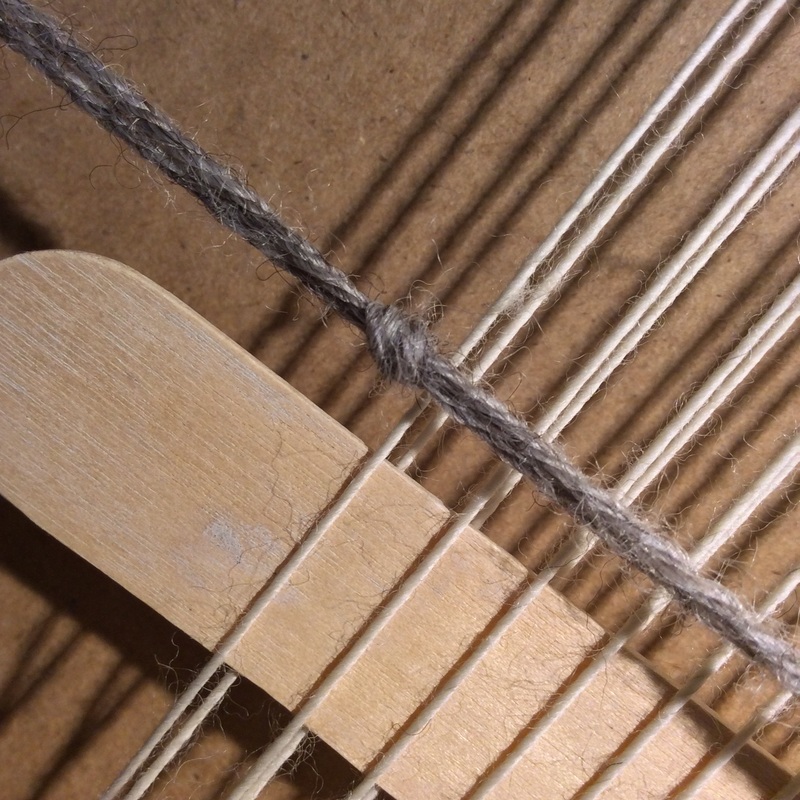
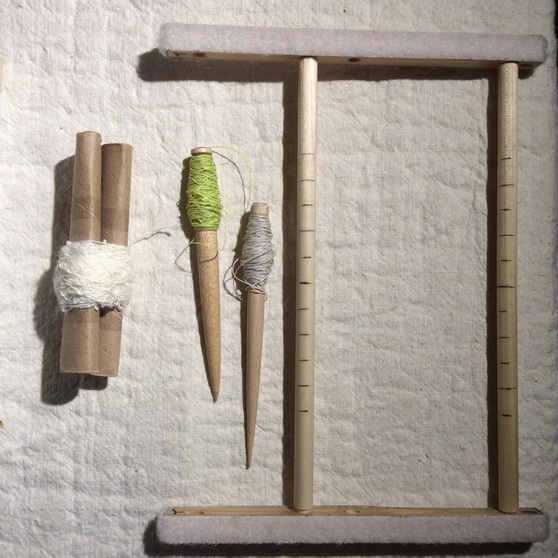
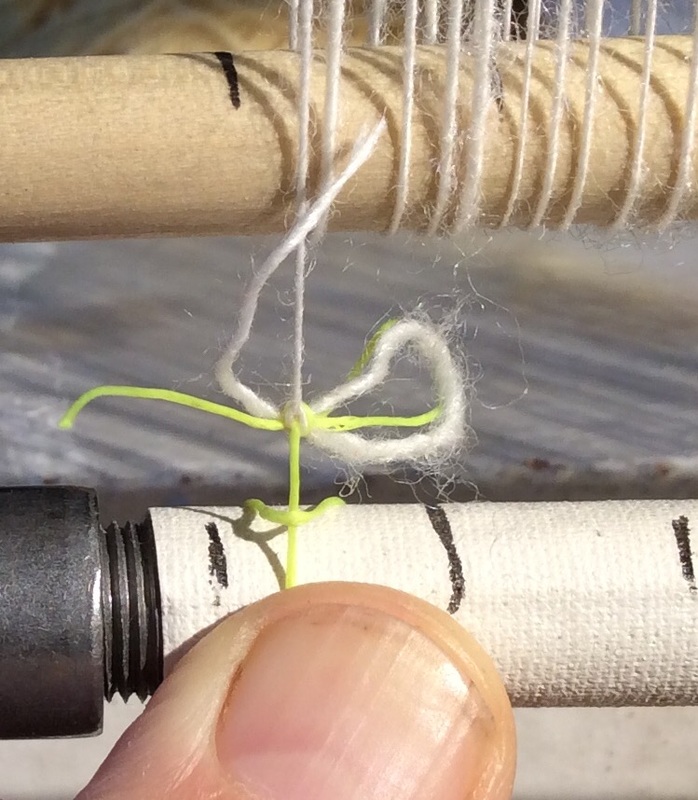
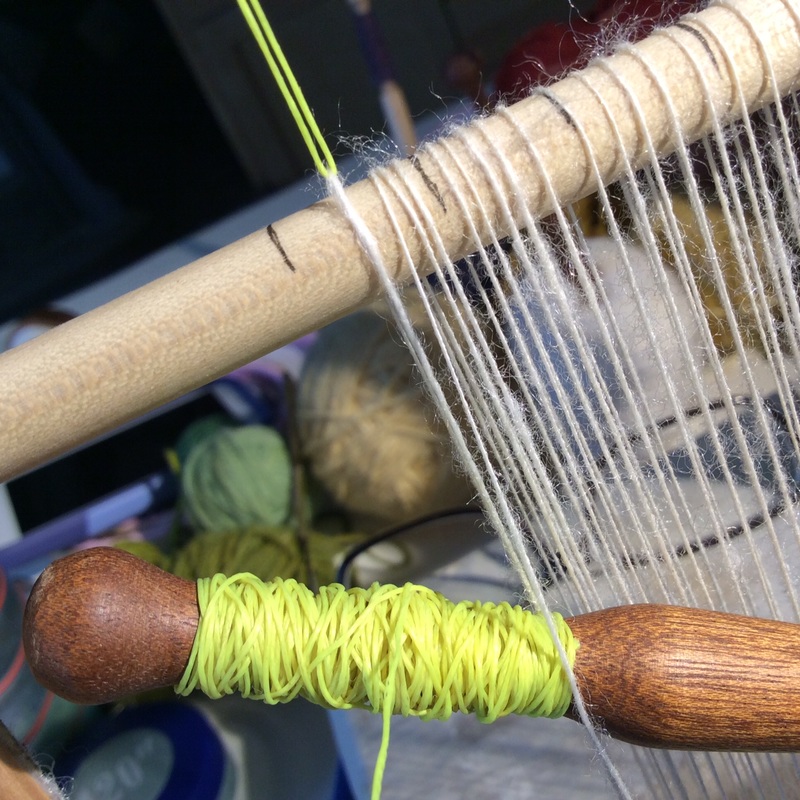
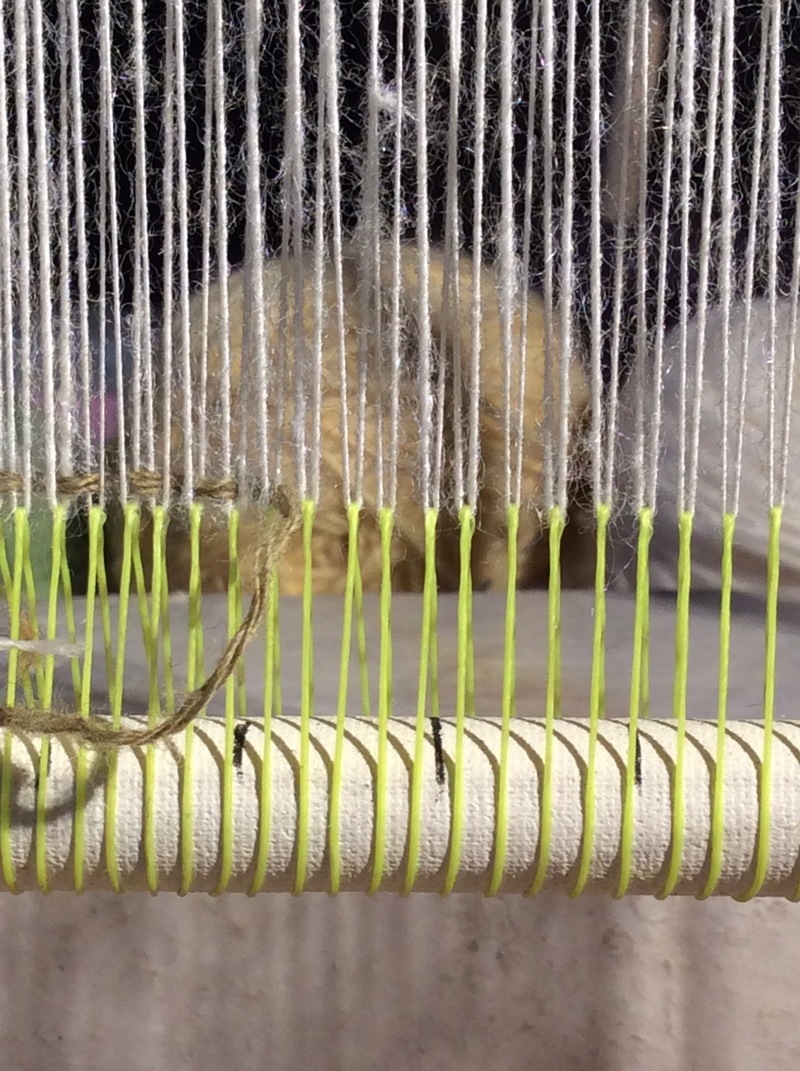
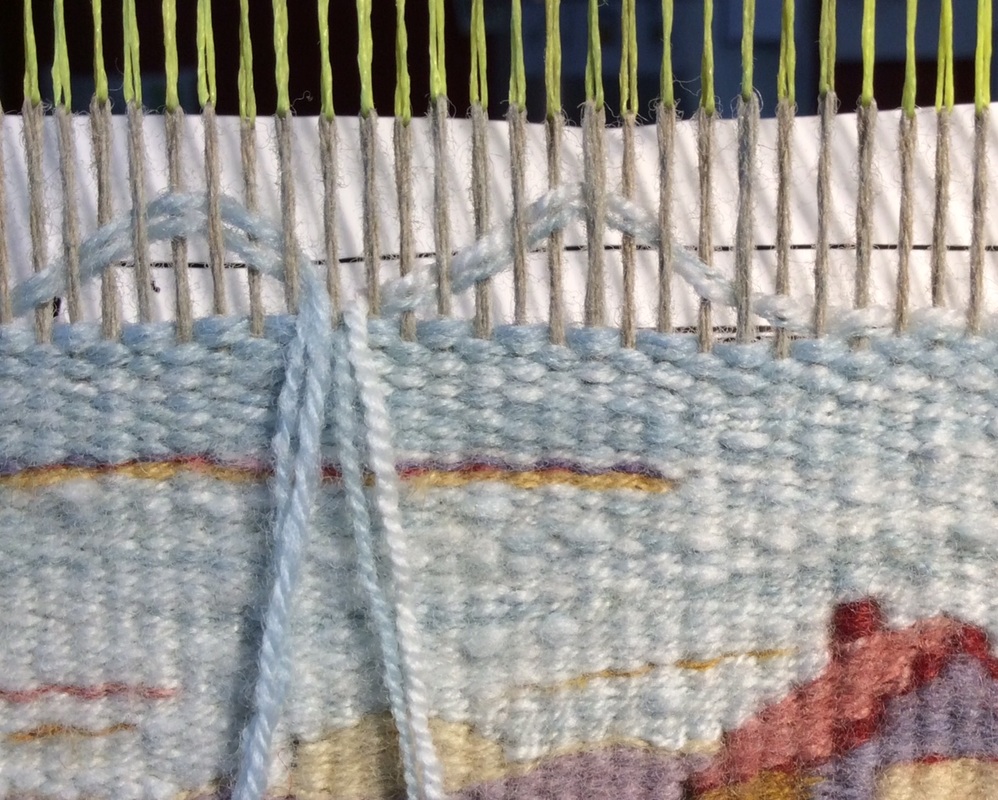
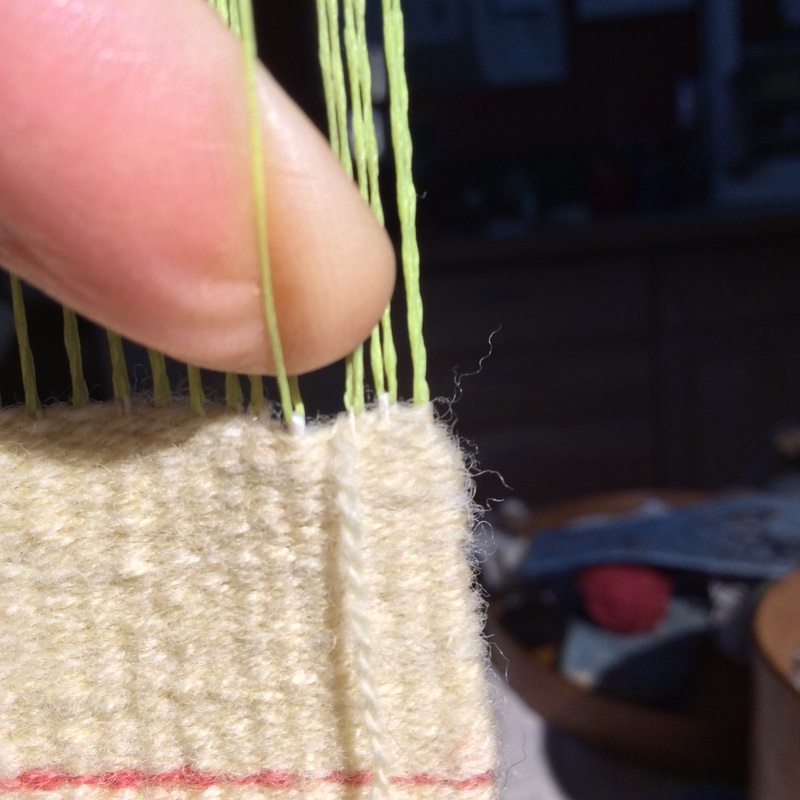
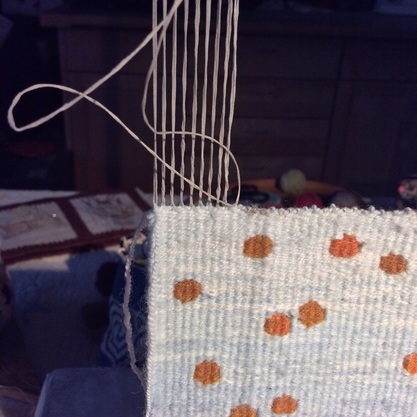
The two-ply used coffee filter yarn
also had its way with me,
thank goodness.
For though it is almost
too thick for a sett of 8 epi
(and anything but smoothly even),
it is a pleasure to touch,
to tap into place,
to think about,
to make,
and to photograph.
also had its way with me,
thank goodness.
For though it is almost
too thick for a sett of 8 epi
(and anything but smoothly even),
it is a pleasure to touch,
to tap into place,
to think about,
to make,
and to photograph.
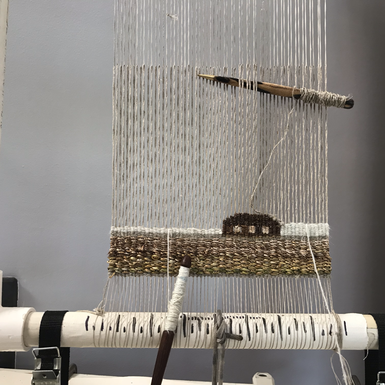
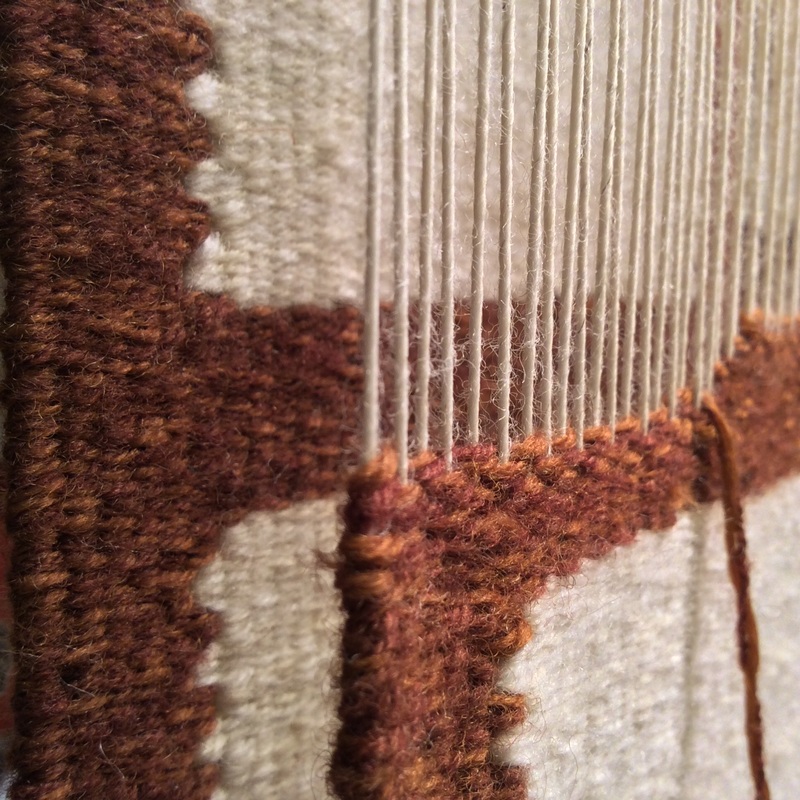
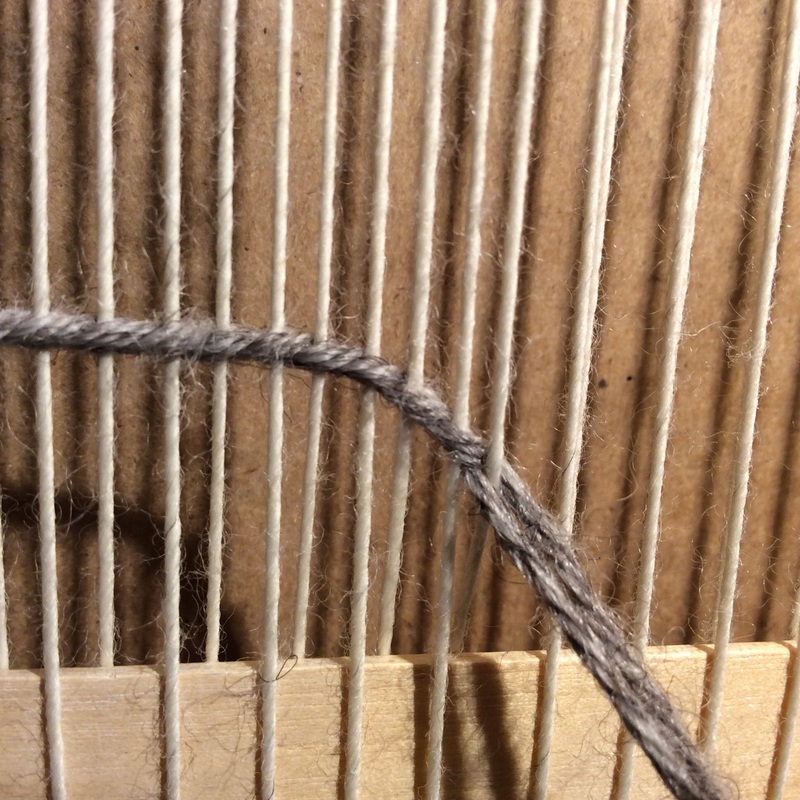
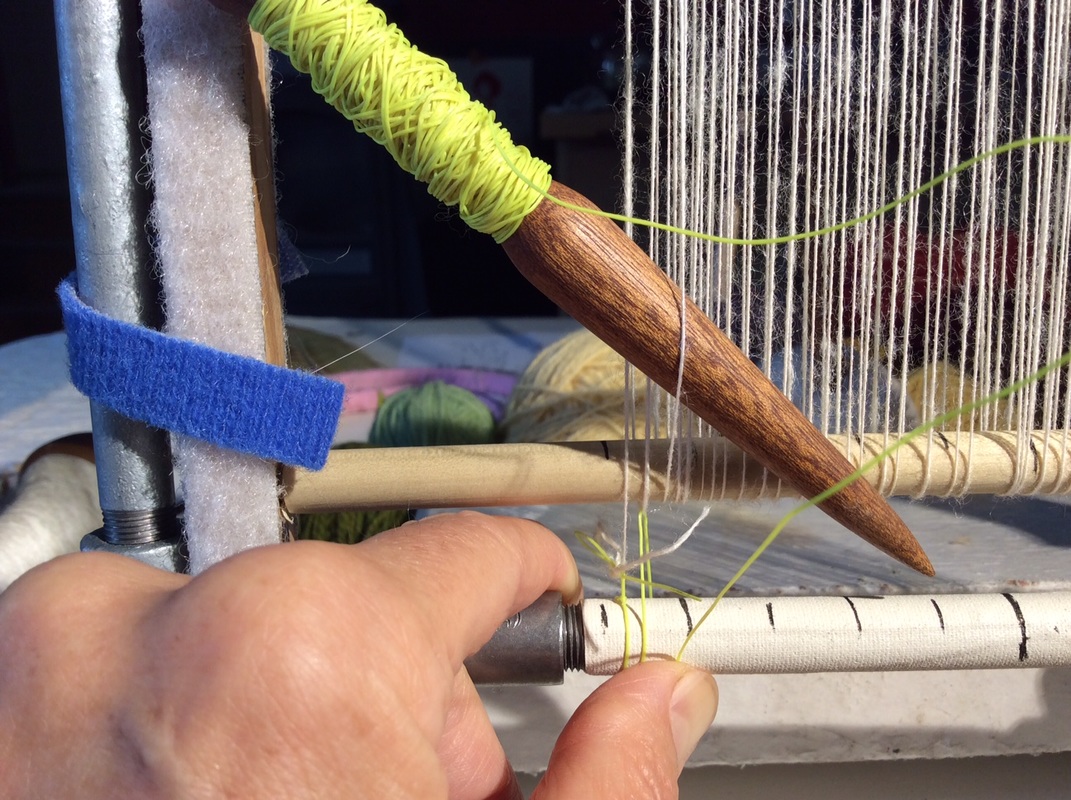
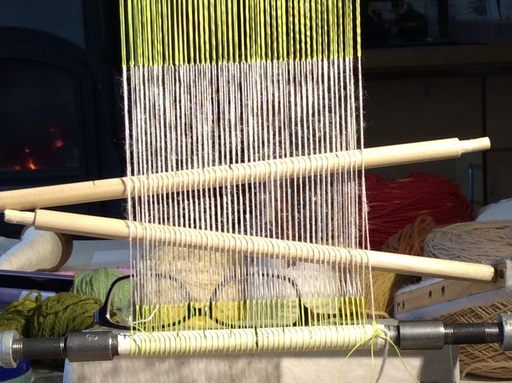
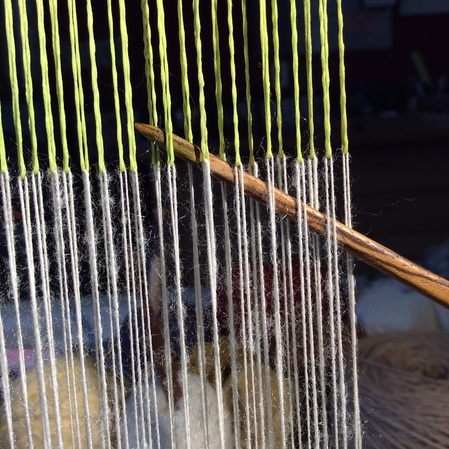
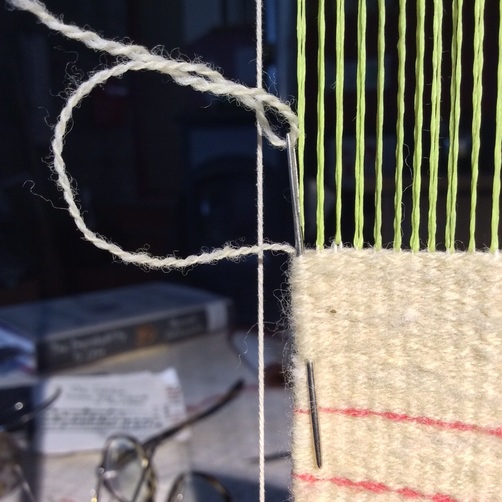
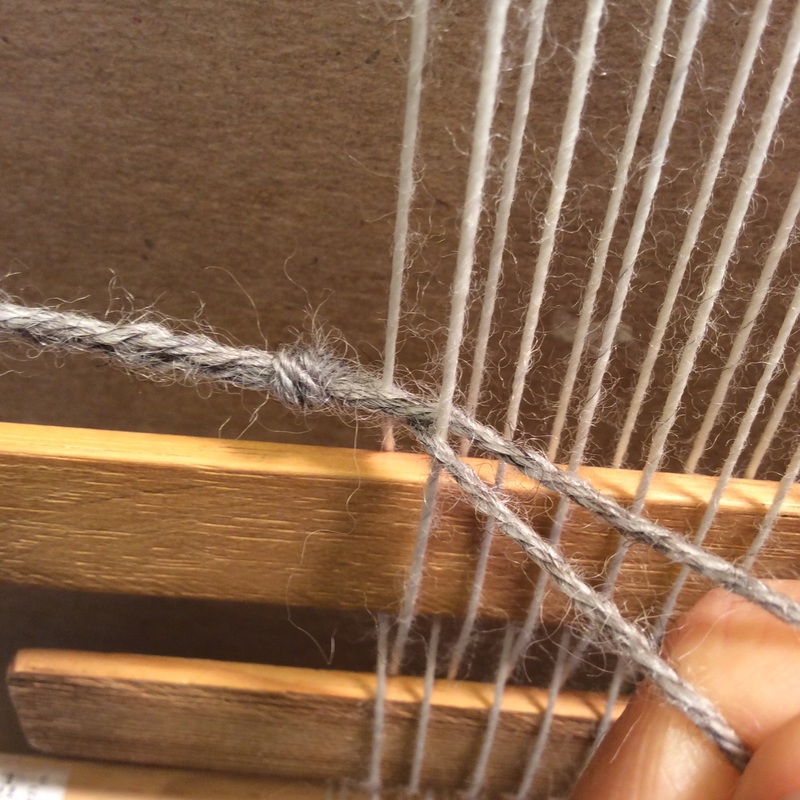
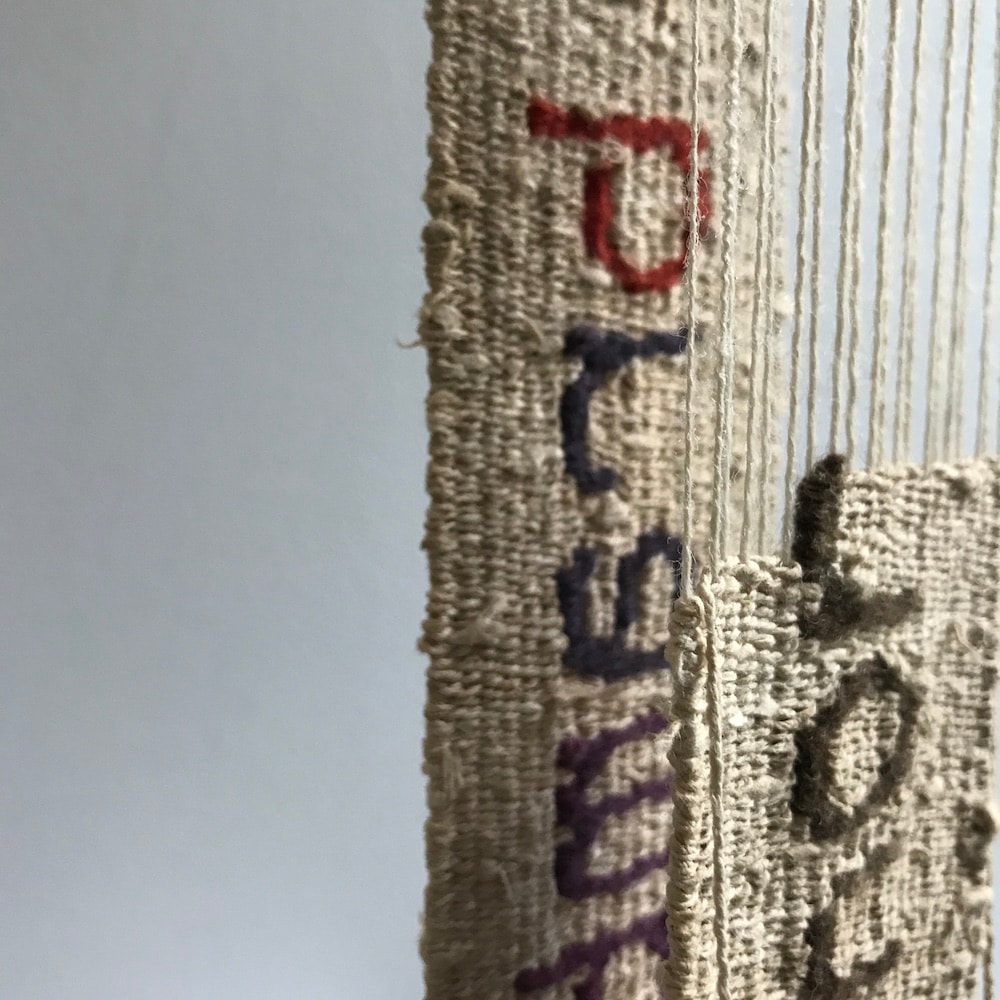
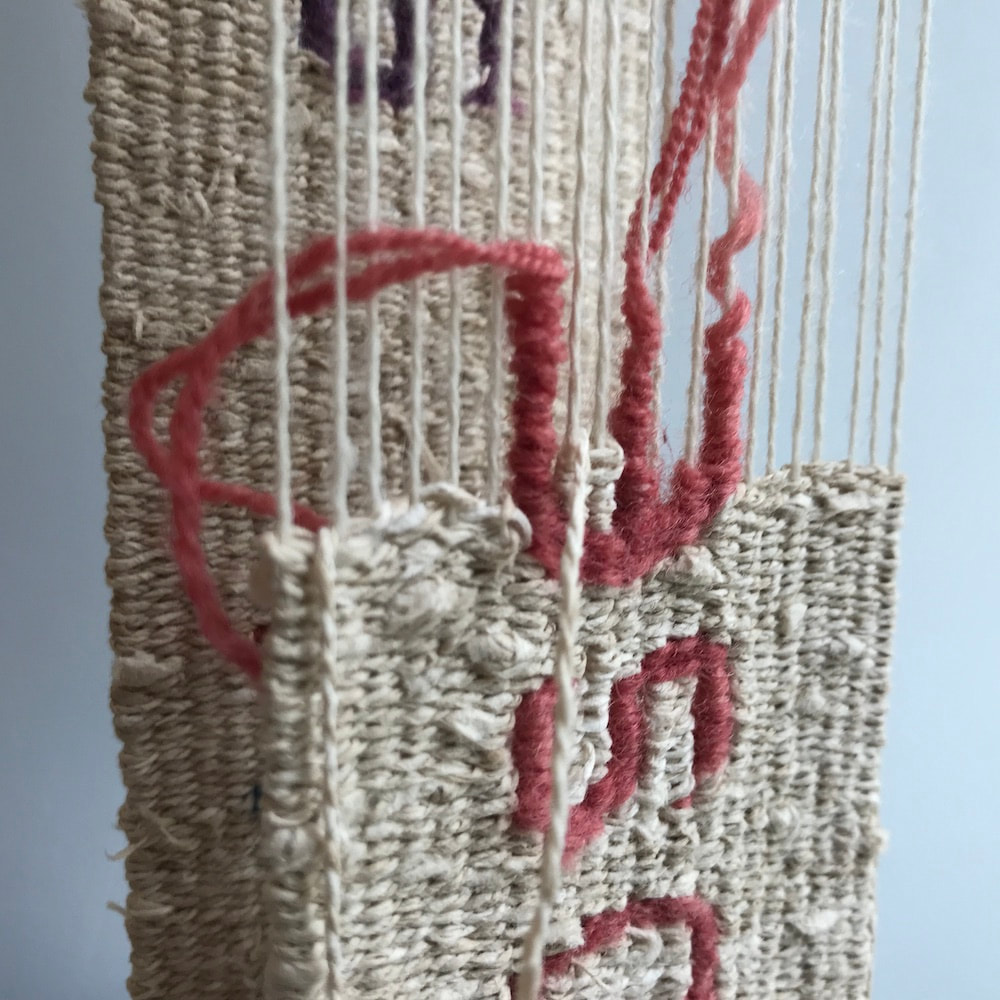
Using the two fibers together
does take a little getting used to--
the extreme difference
in how each packs into place
a little disconcerting
especially when I'm trying to count passes--
but I'm getting pretty good at eye-balling
how much the wool will pack down
in relation to the paper,
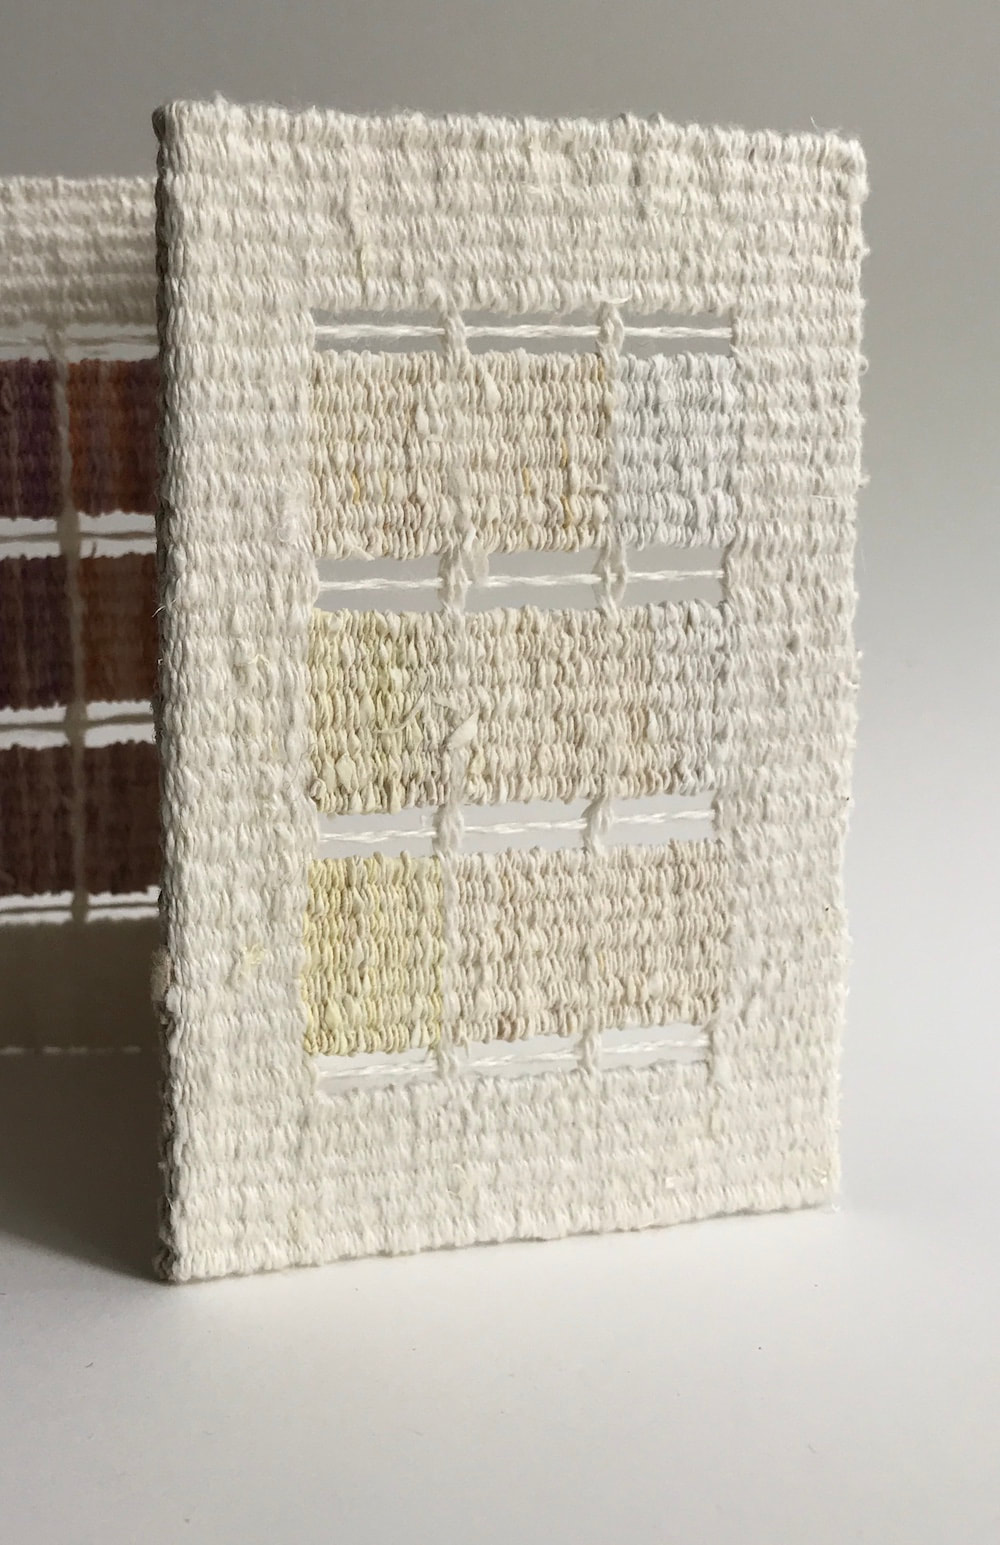
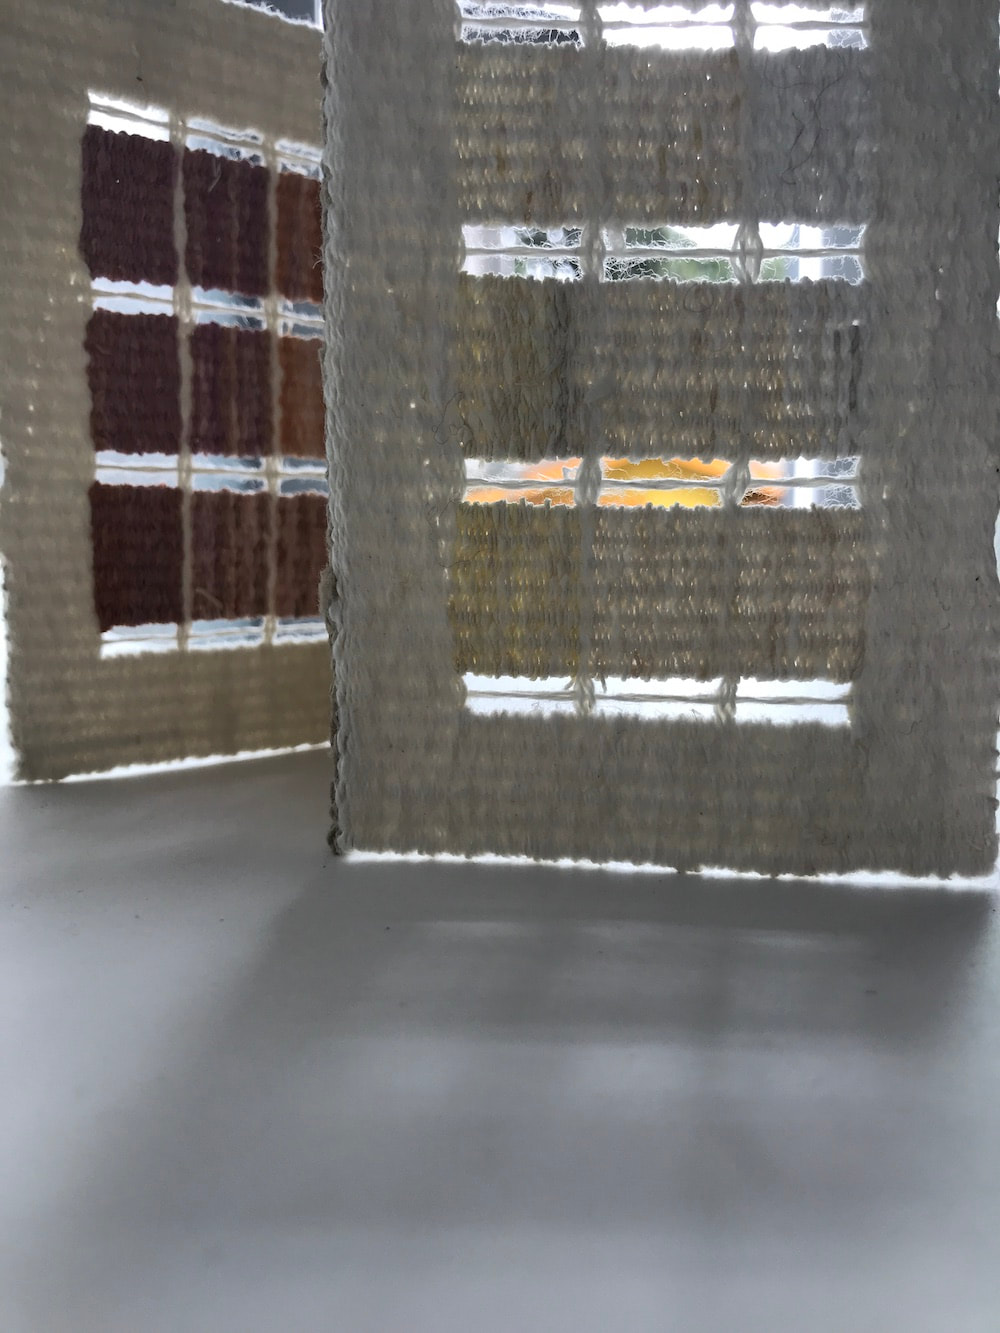
and the juxtaposition
of warm brown beads of coffee filter
against the smooth fuzz
of fine spindle spun wool,
is a continual source of delight.
does take a little getting used to--
the extreme difference
in how each packs into place
a little disconcerting
especially when I'm trying to count passes--
but I'm getting pretty good at eye-balling
how much the wool will pack down
in relation to the paper,
and the juxtaposition
of warm brown beads of coffee filter
against the smooth fuzz
of fine spindle spun wool,
is a continual source of delight.
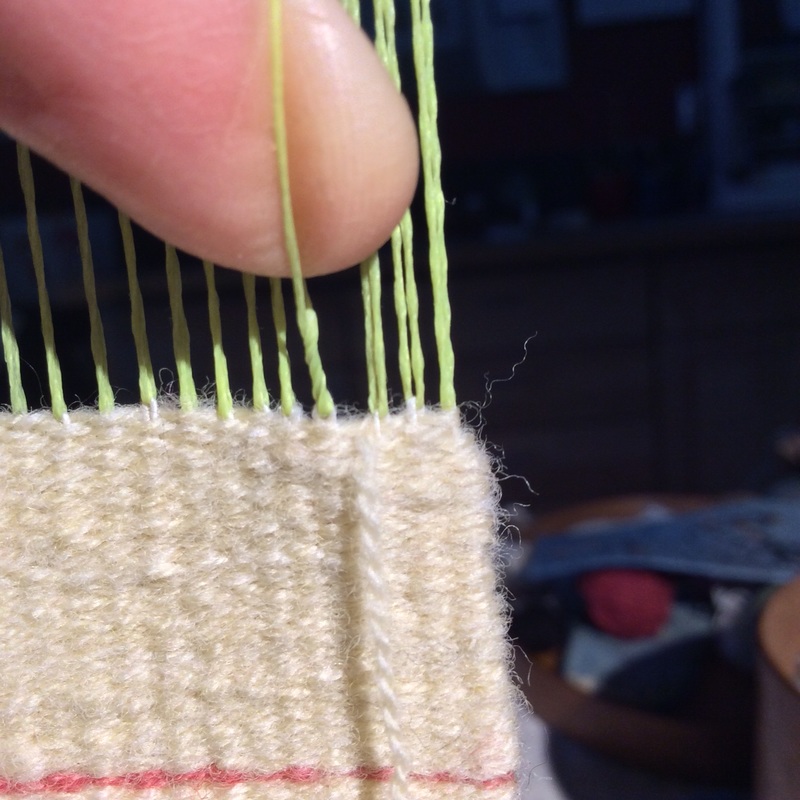
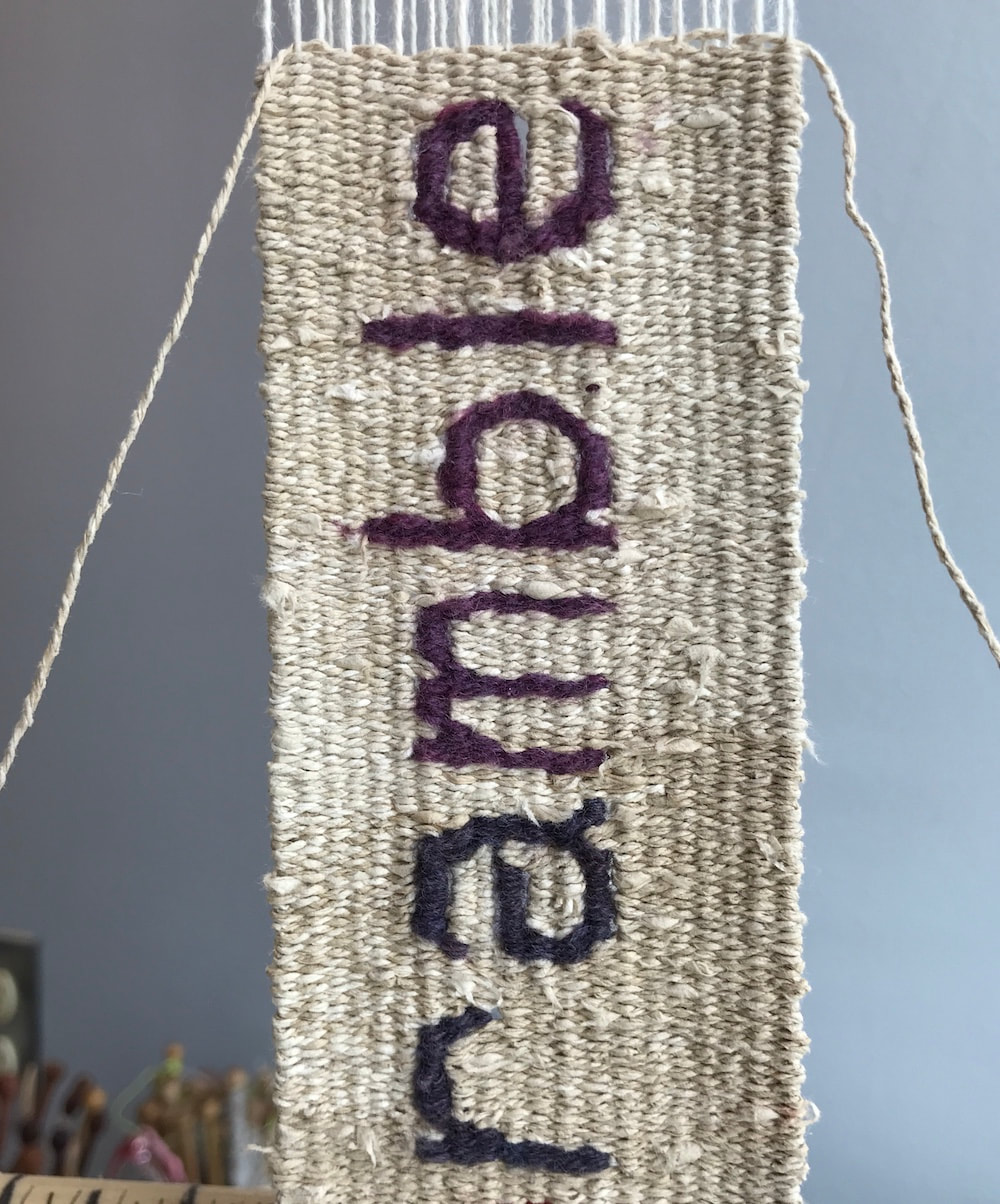
Even if you're less
easily amused than I,
how not to adore
the exuberance
of an 'e' coming to life?
easily amused than I,
how not to adore
the exuberance
of an 'e' coming to life?
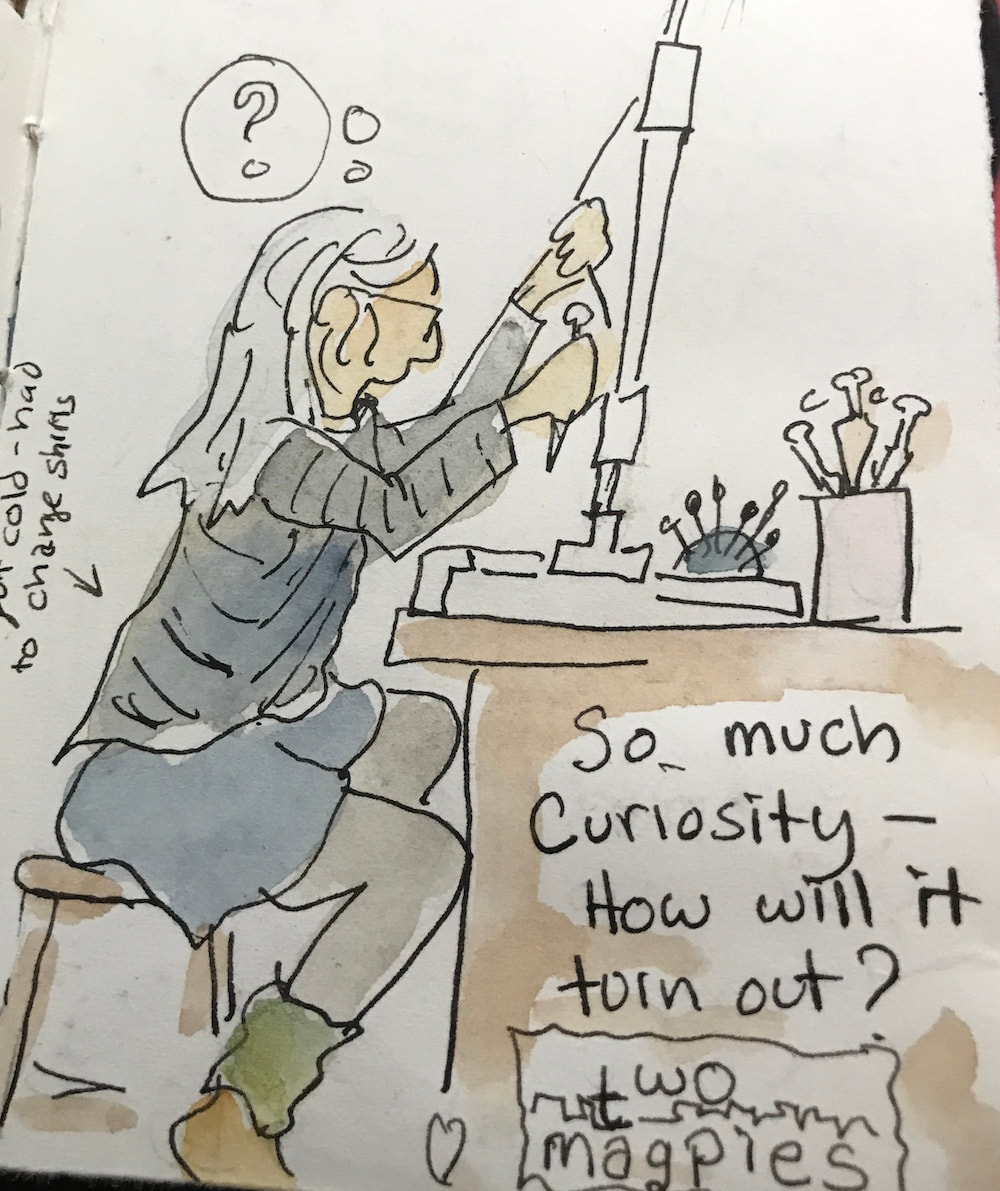
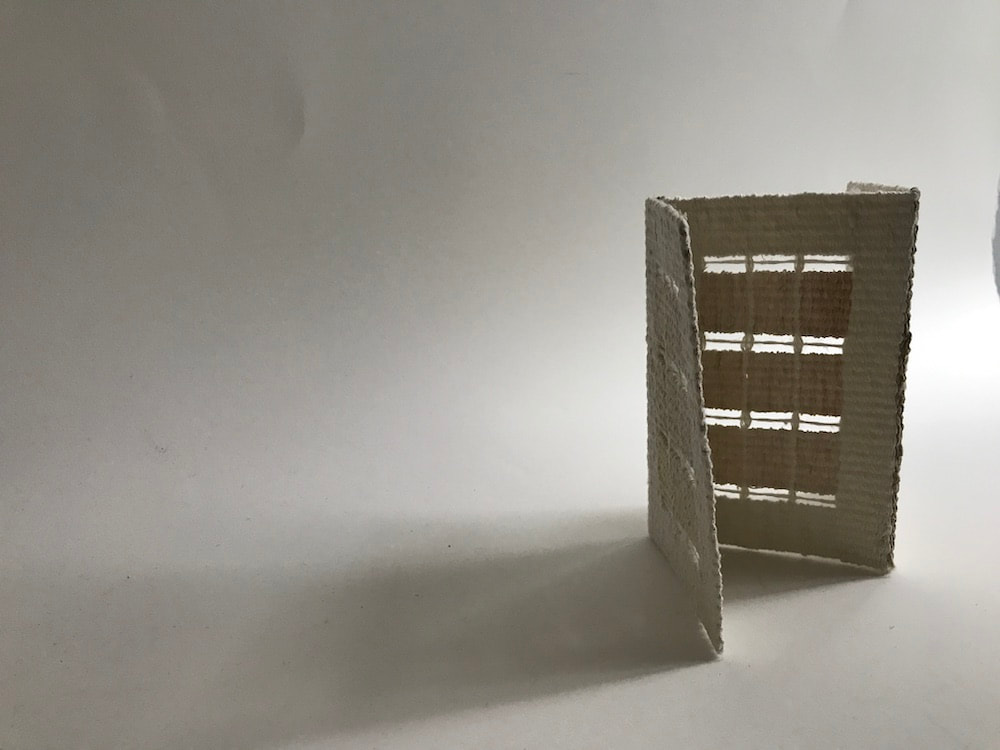
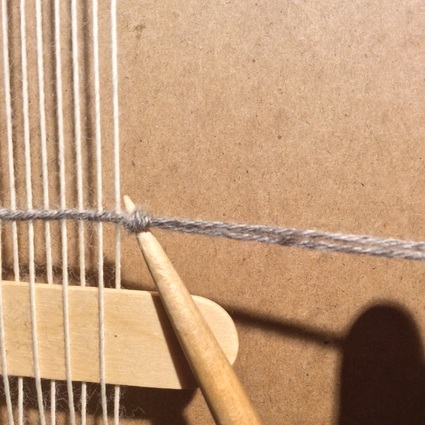
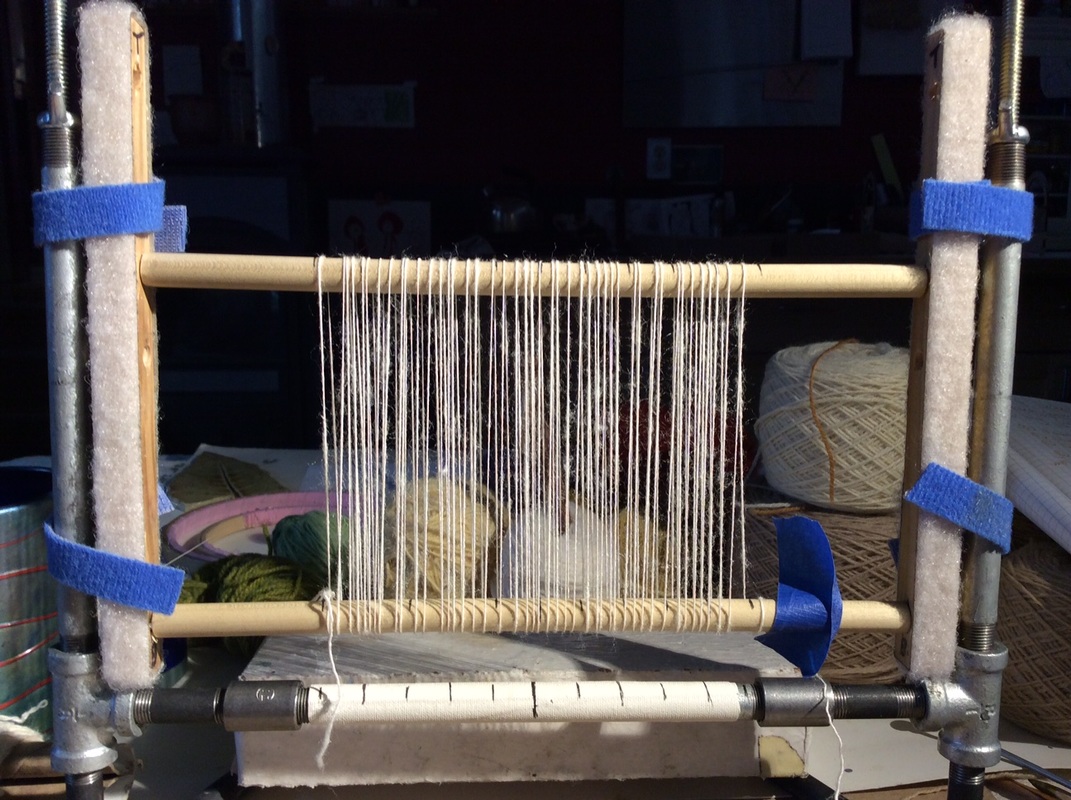
I am hoping to fit
two more prickly things
onto the last few inches of the warp
and though am not quite sure there is room,
( the shed will be tiny no matter what
and I haven't even gotten to
my list of local burrs),
I'm still going to try.
two more prickly things
onto the last few inches of the warp
and though am not quite sure there is room,
( the shed will be tiny no matter what
and I haven't even gotten to
my list of local burrs),
I'm still going to try.
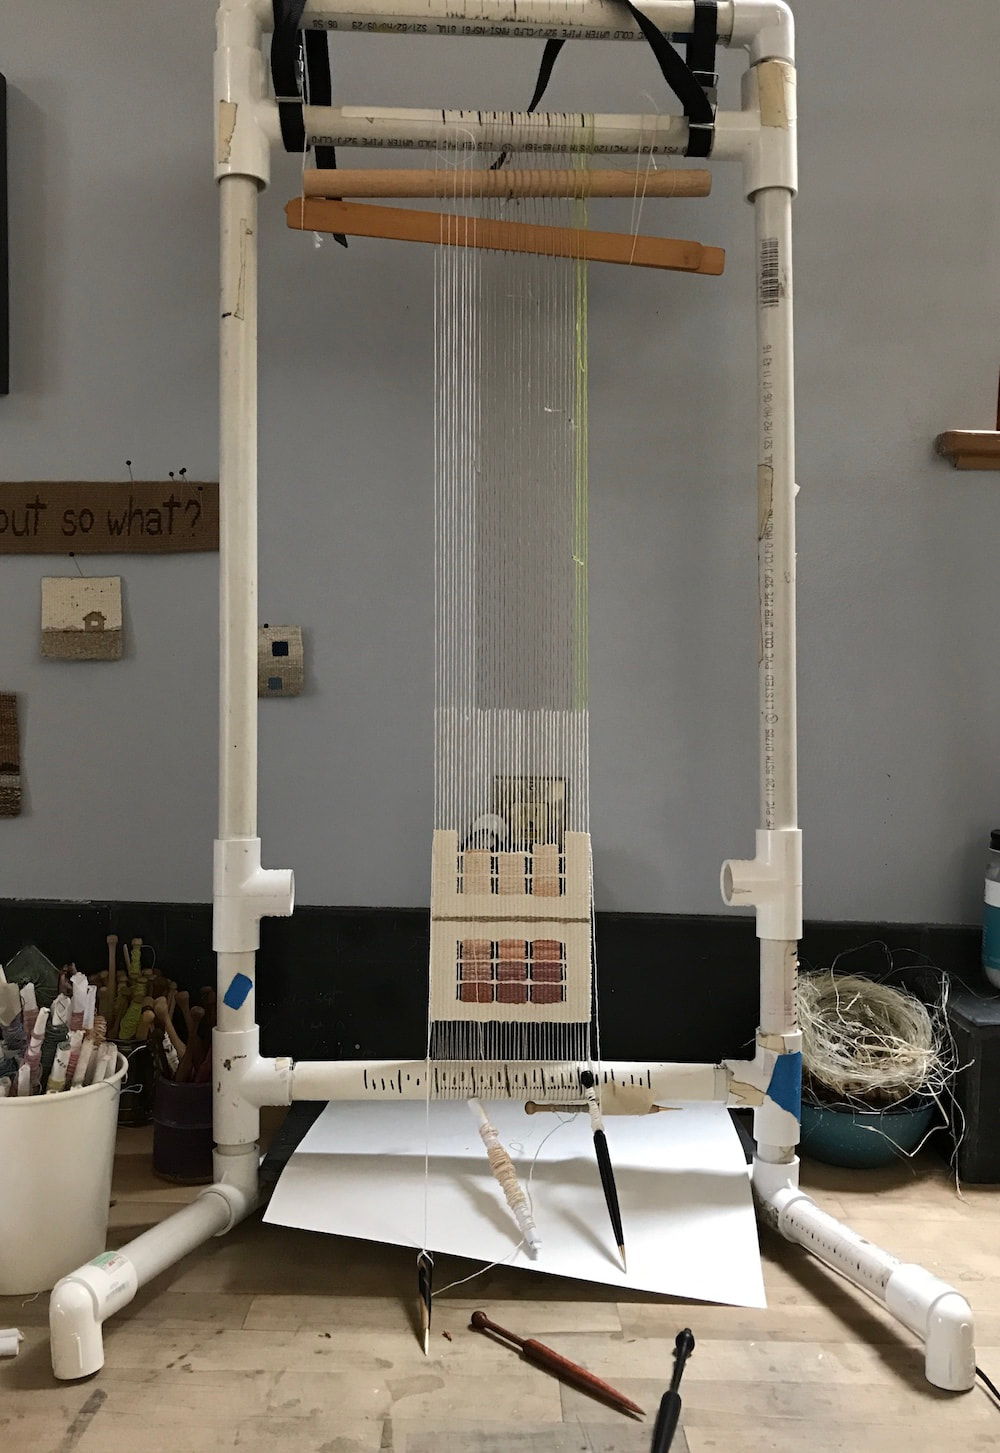
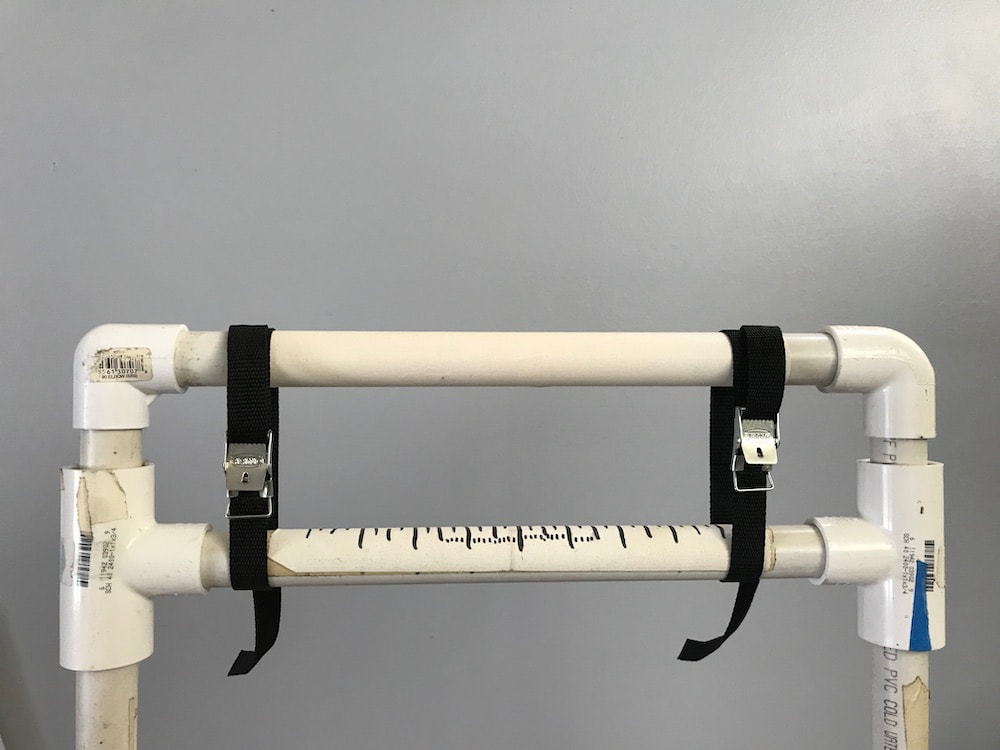
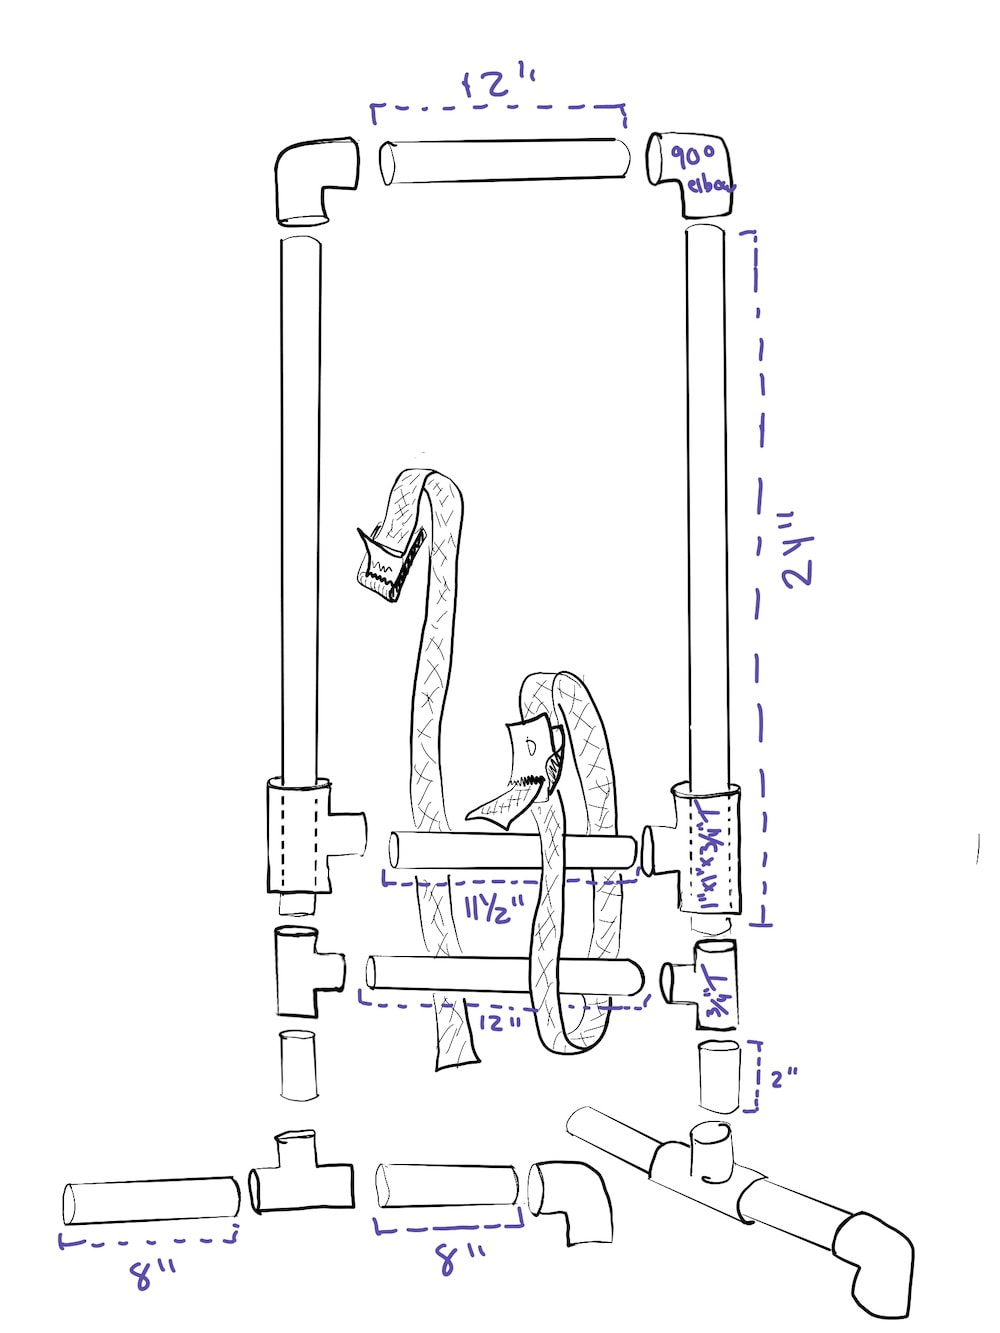
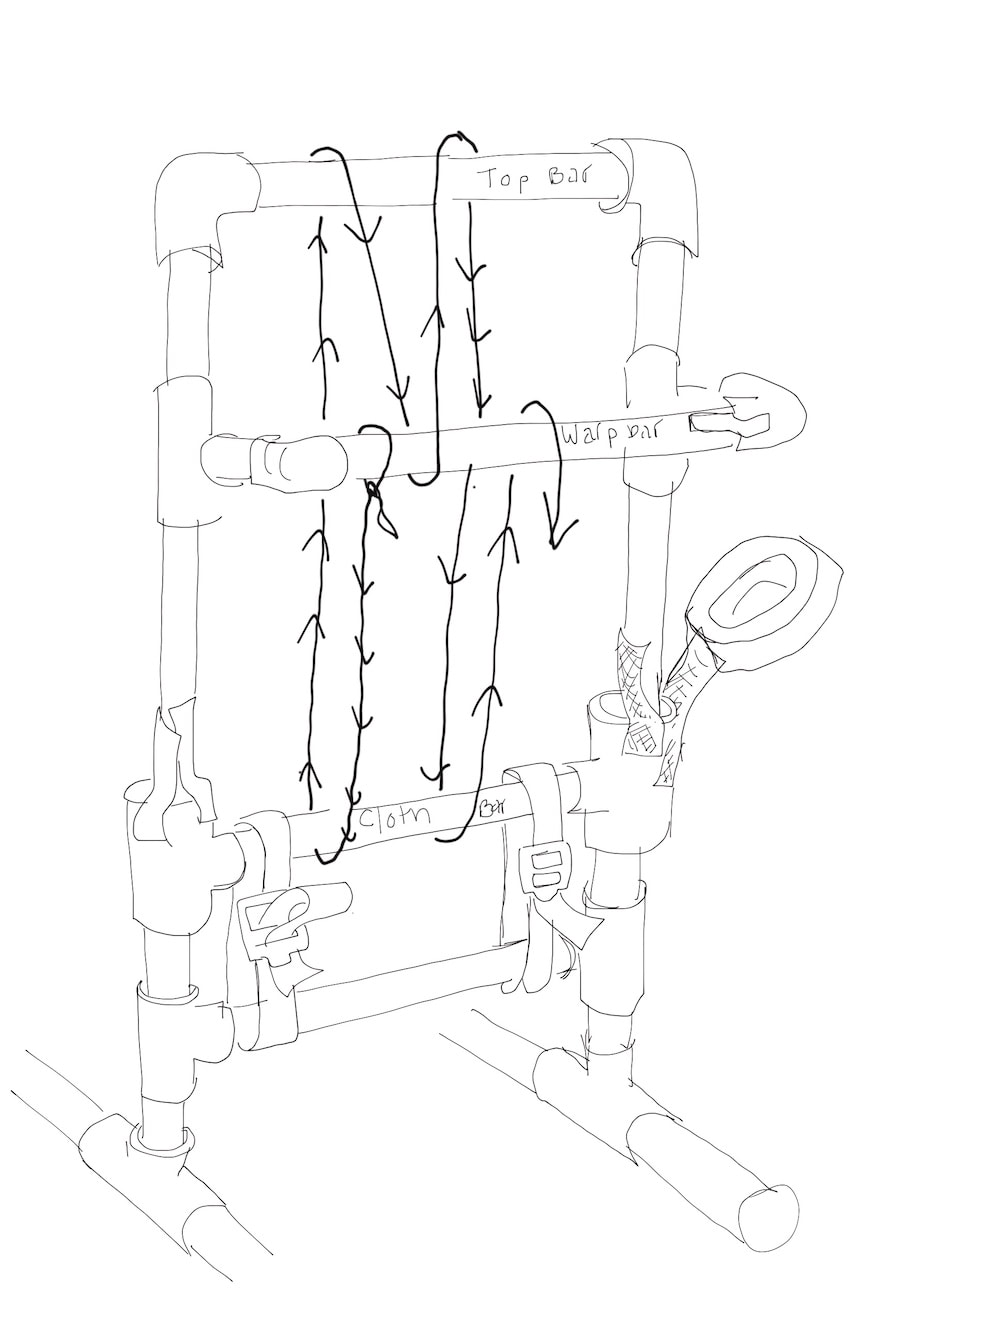
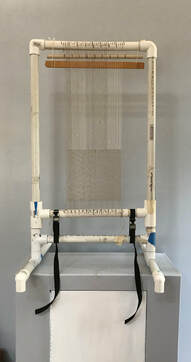
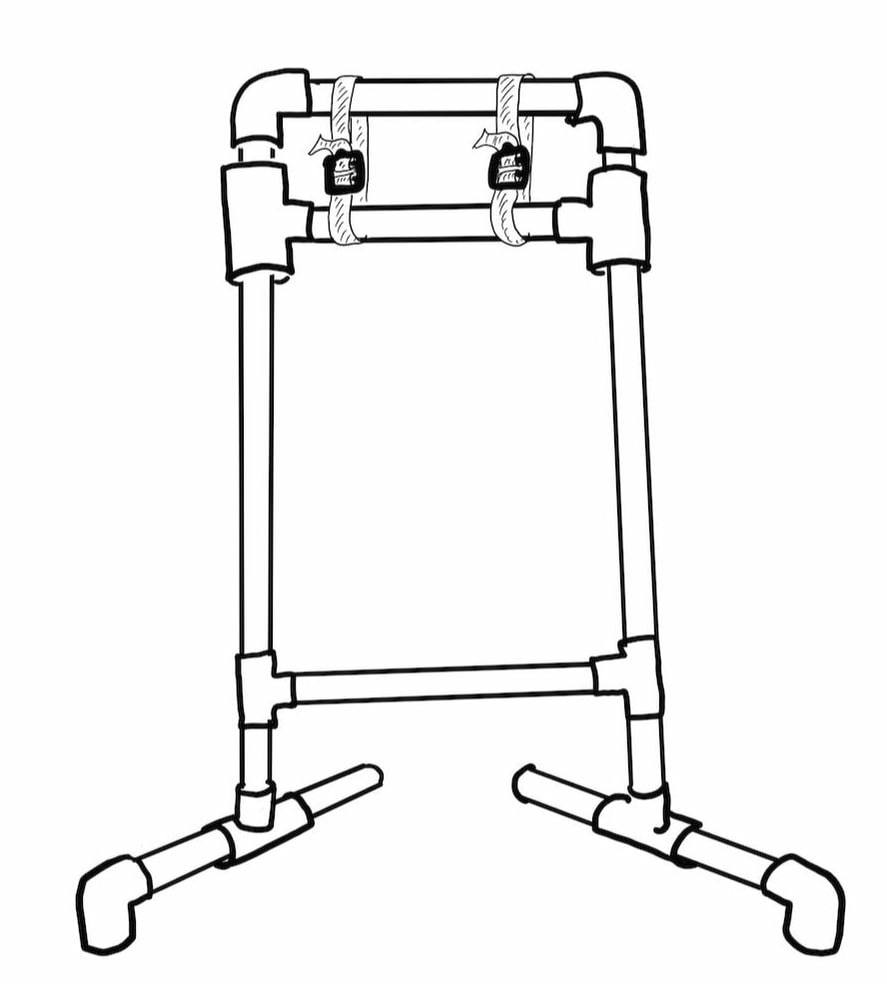
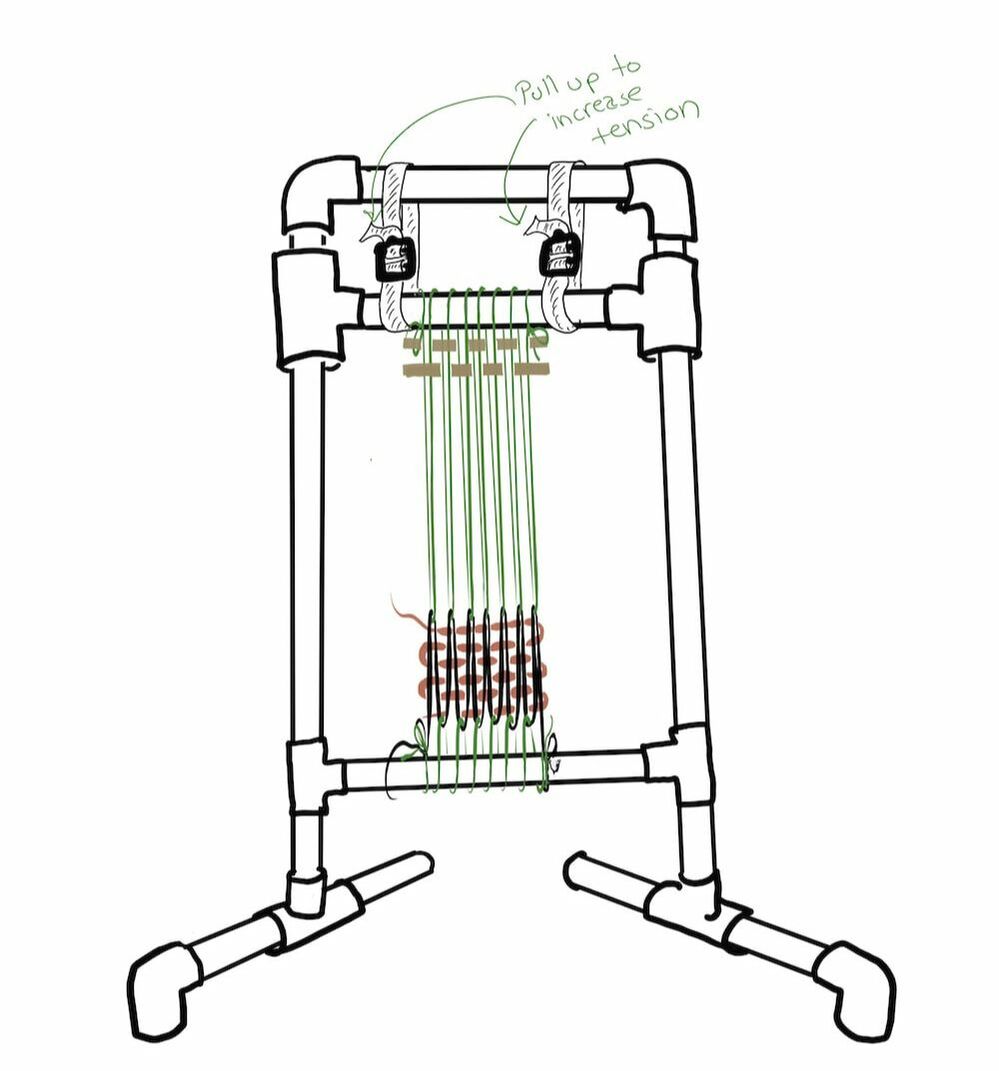
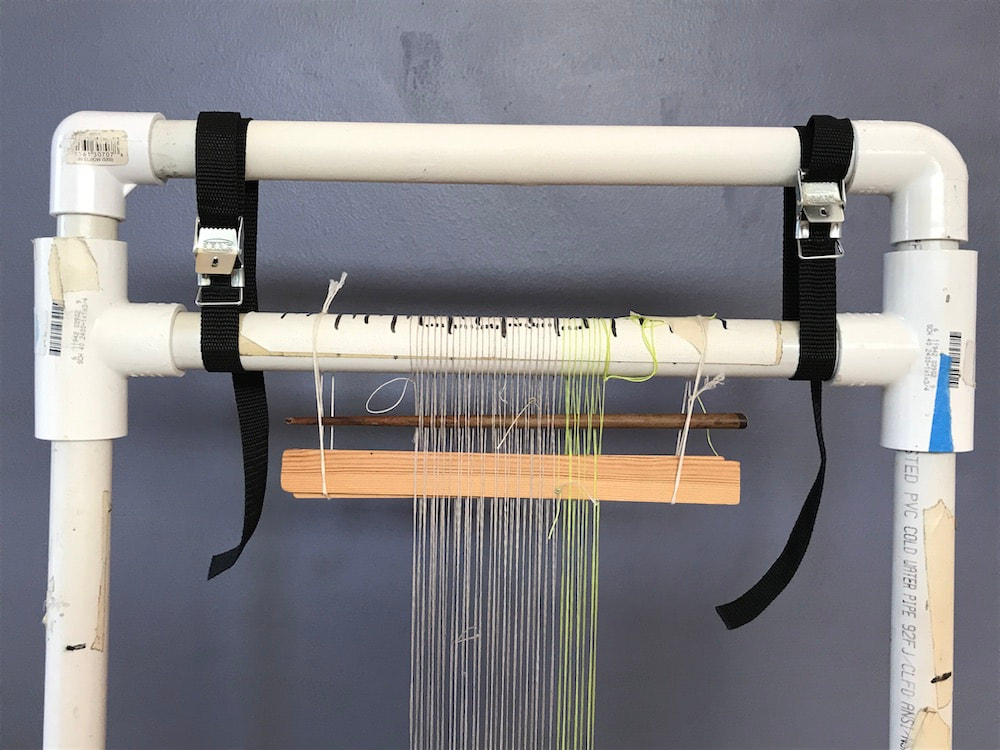
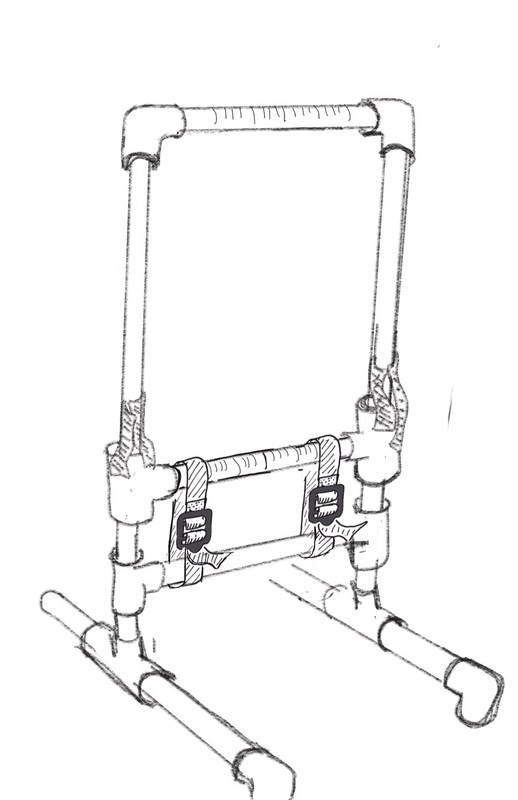
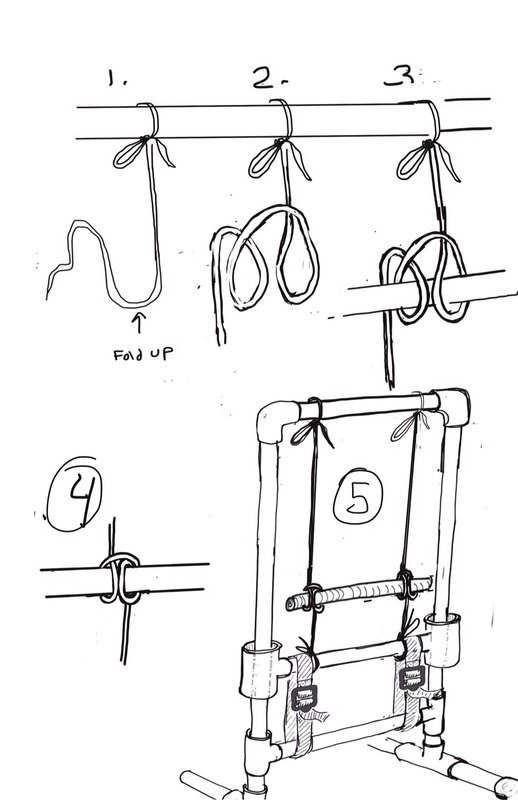
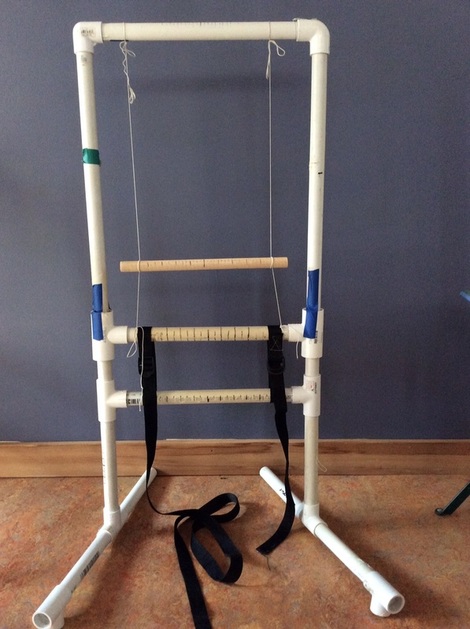
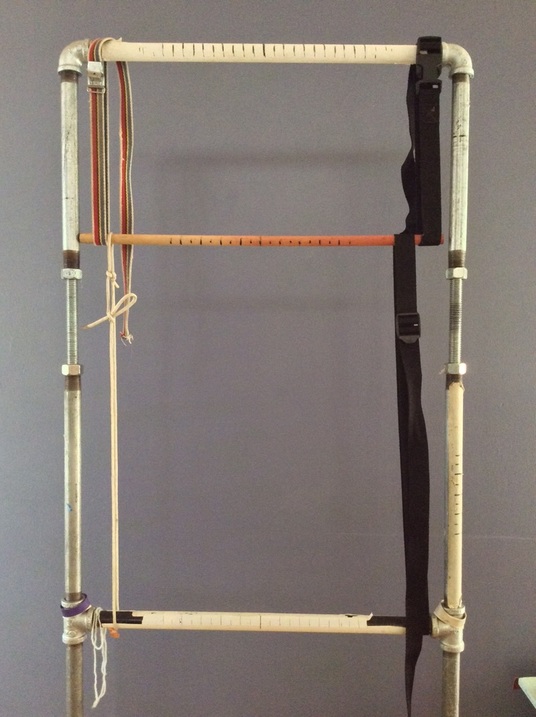
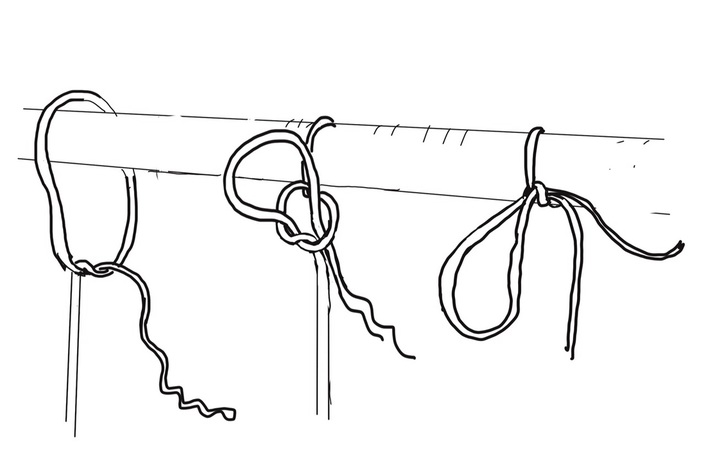
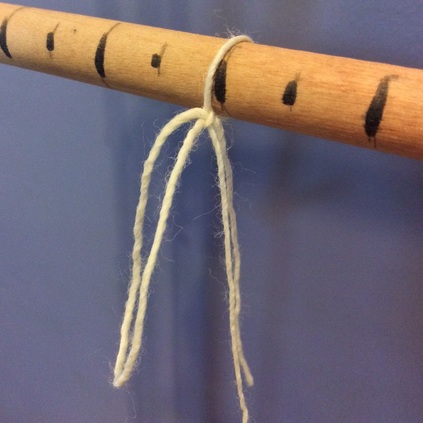
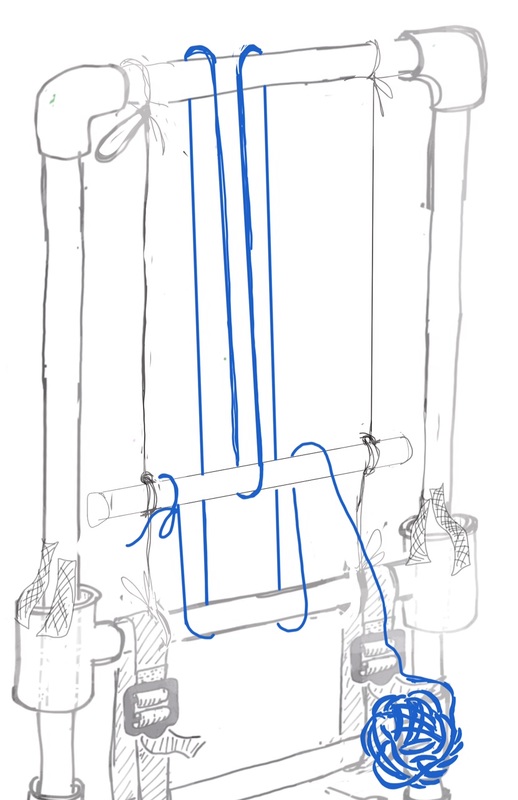
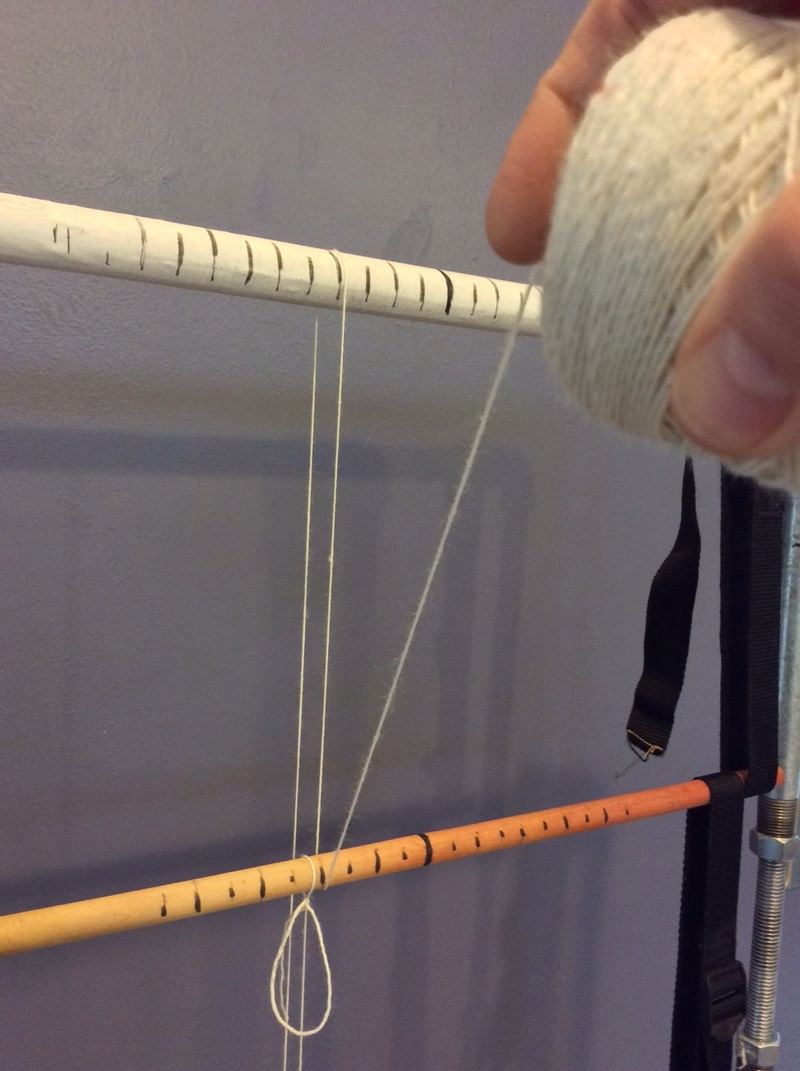
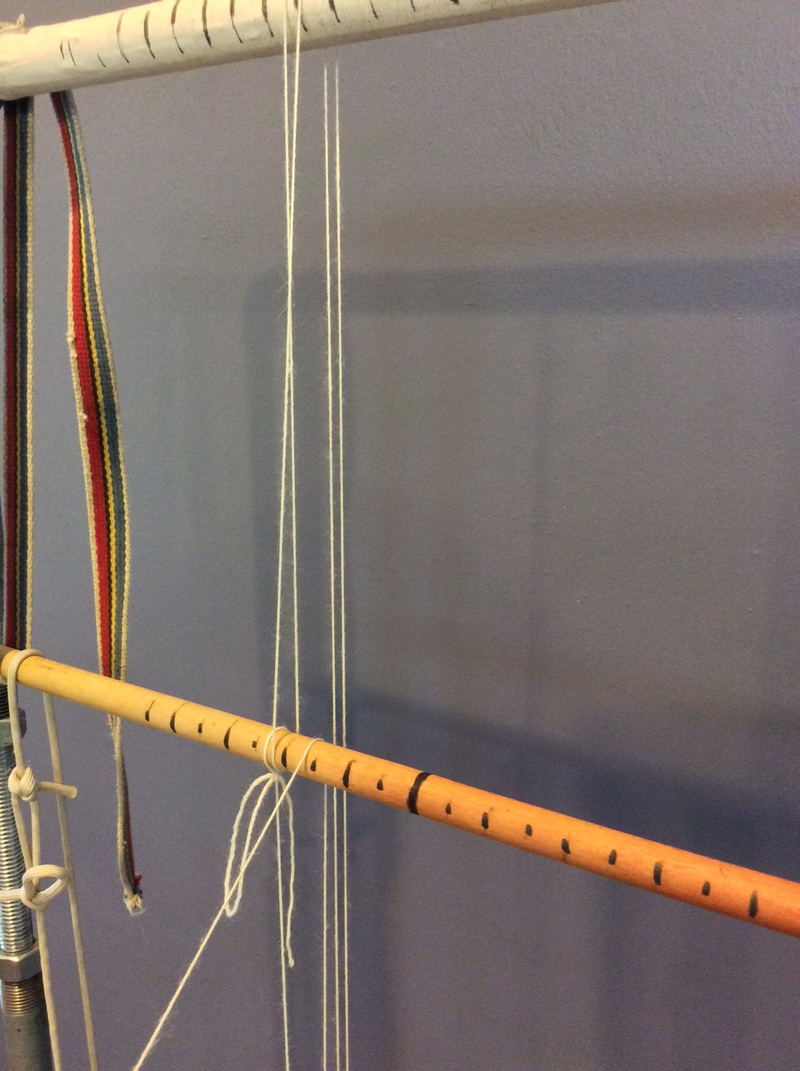
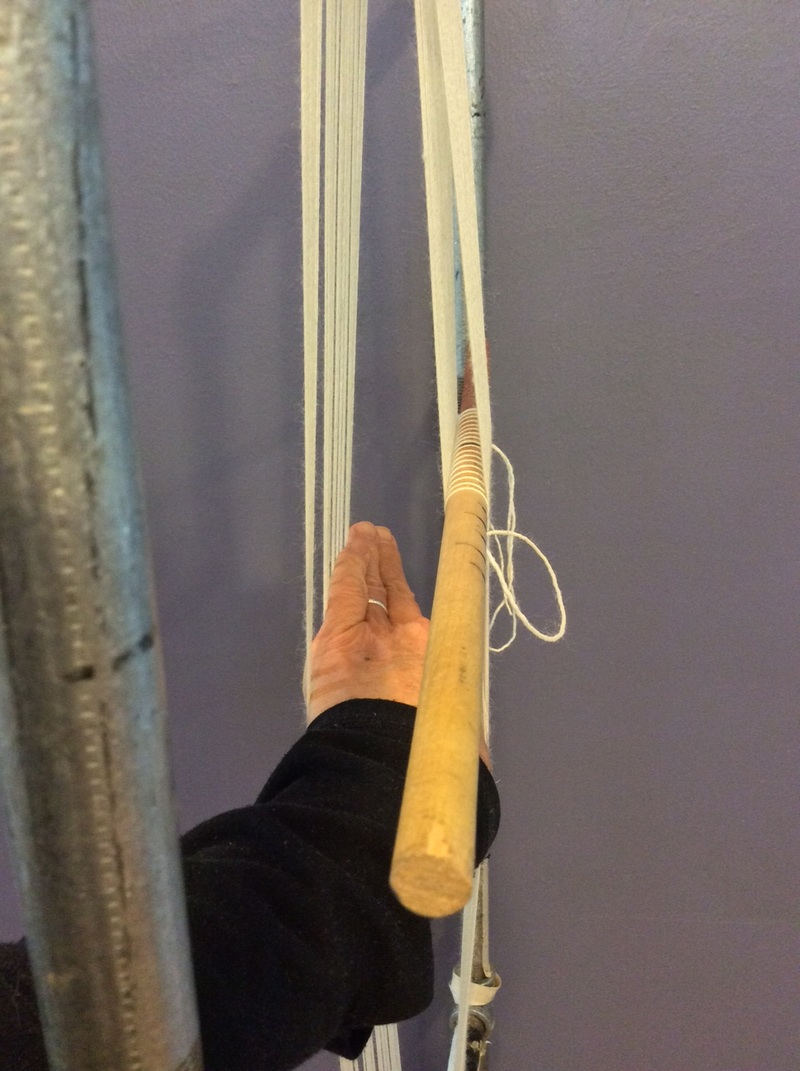
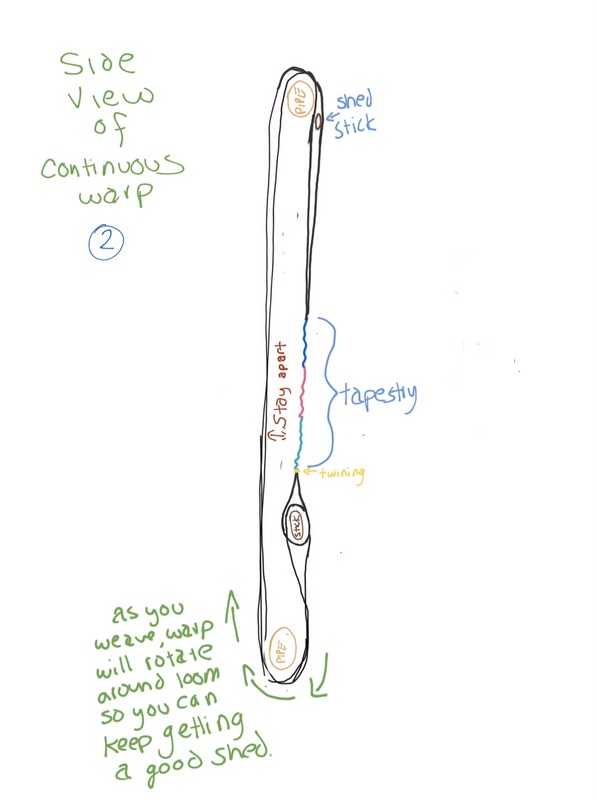
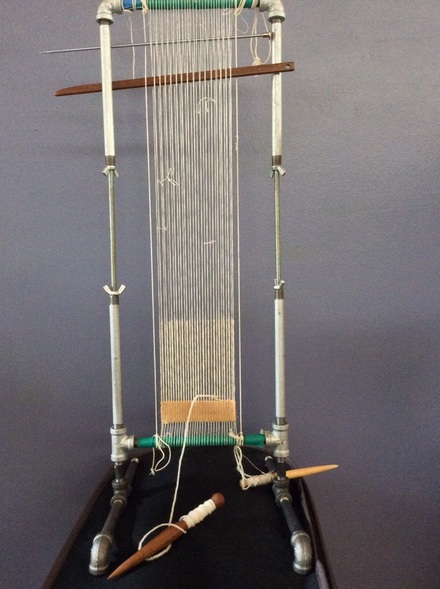
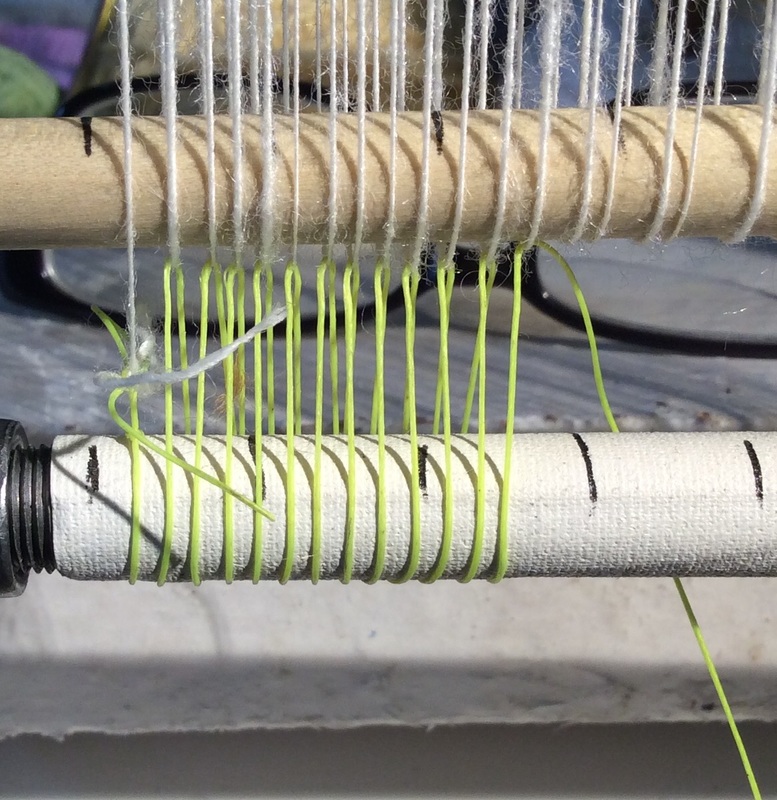
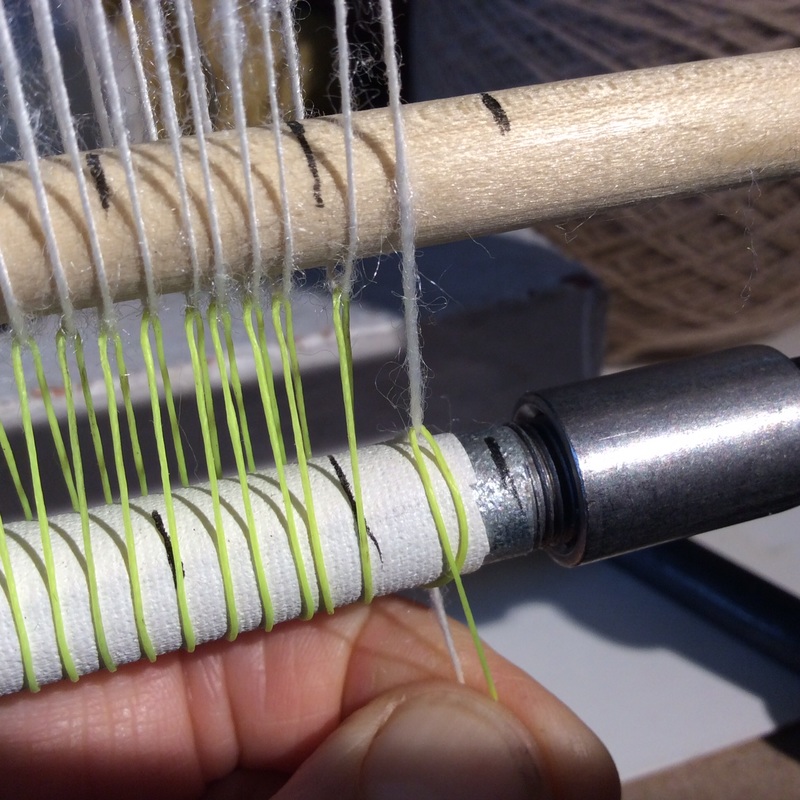
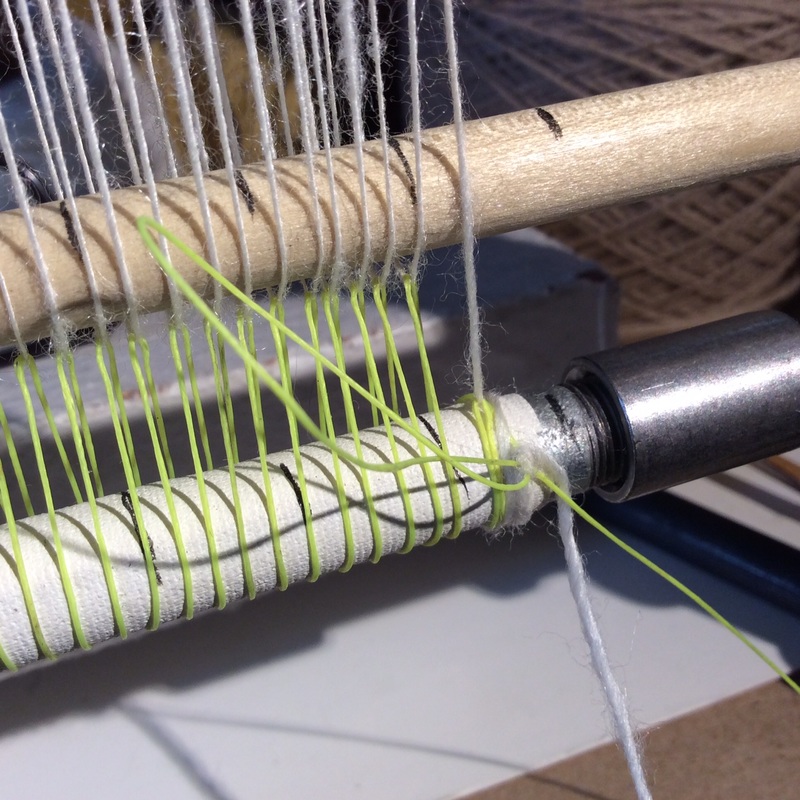
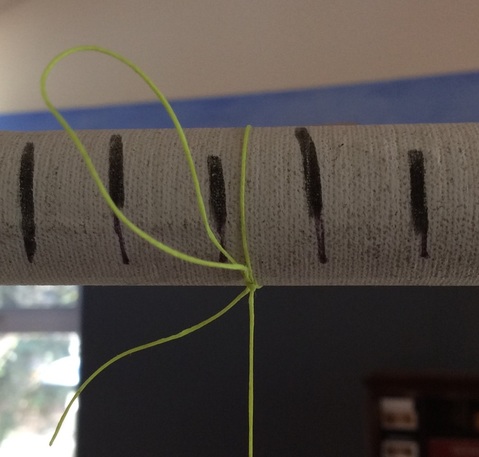
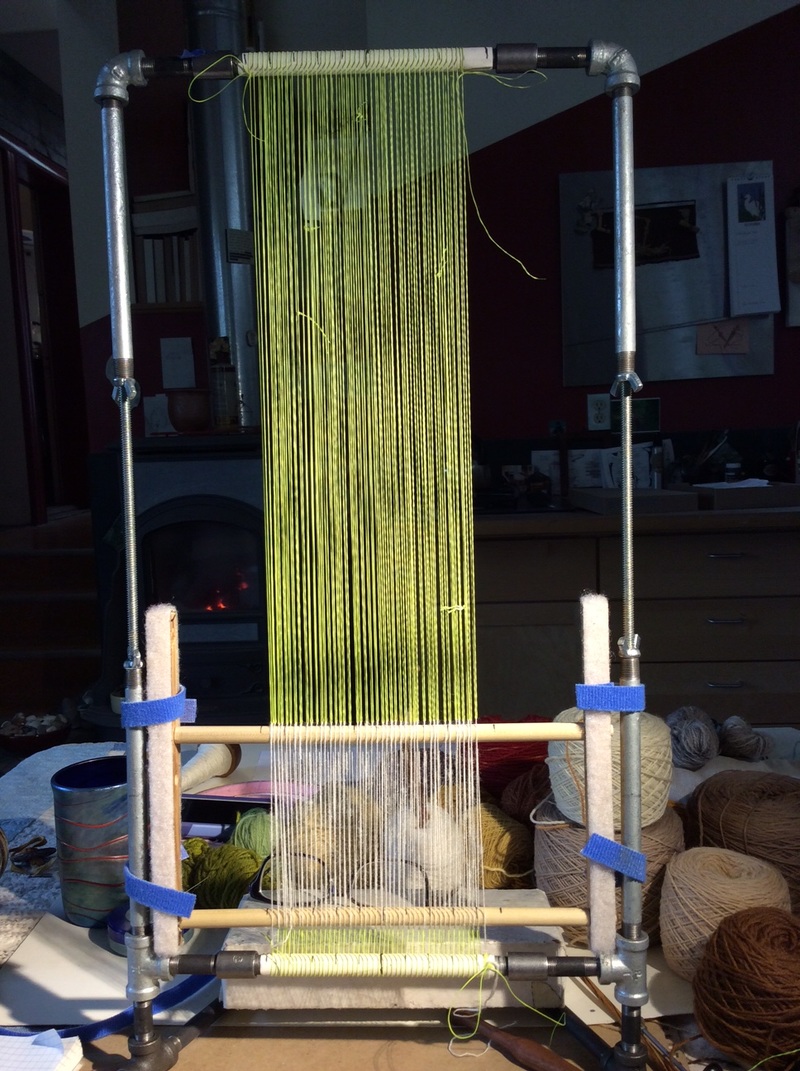
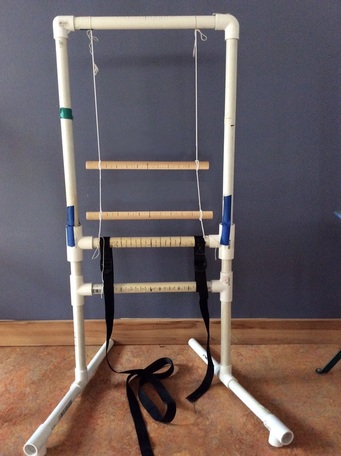
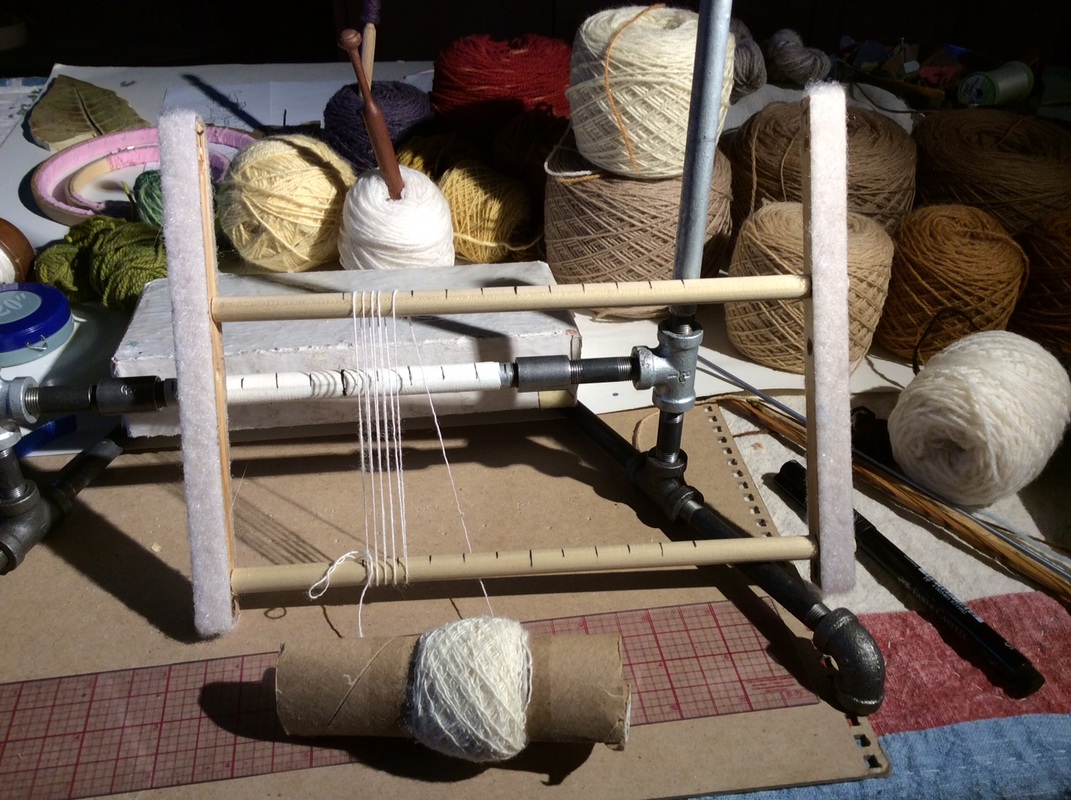
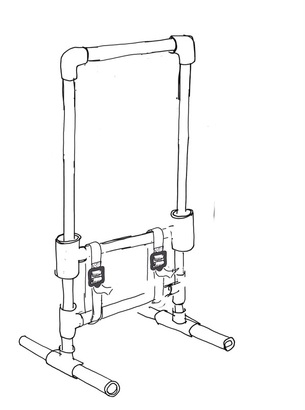
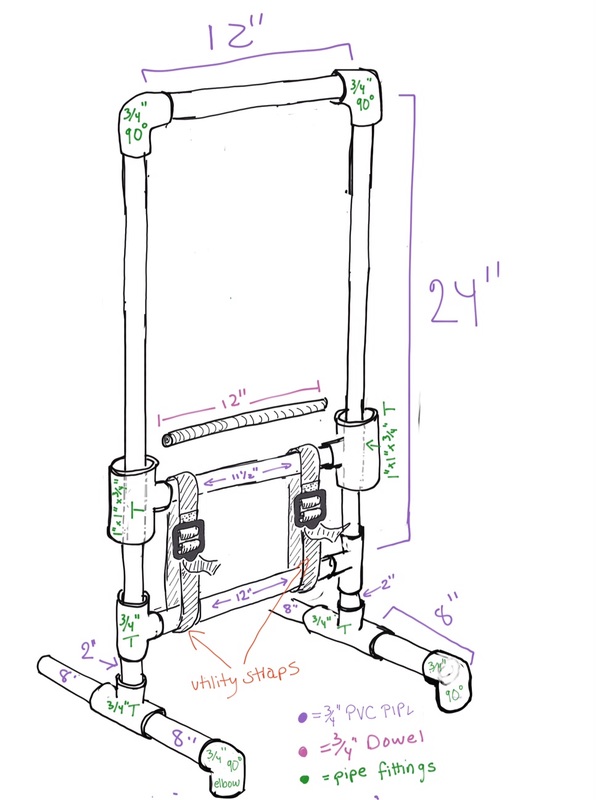
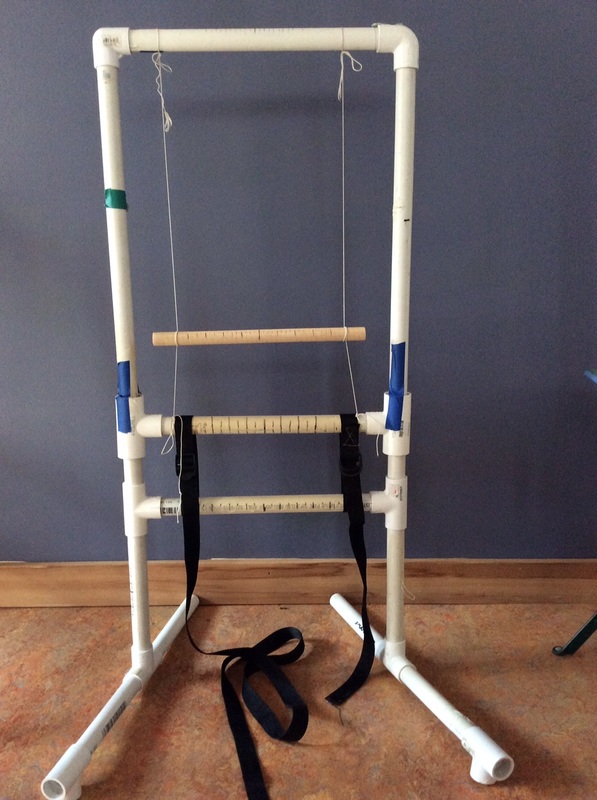
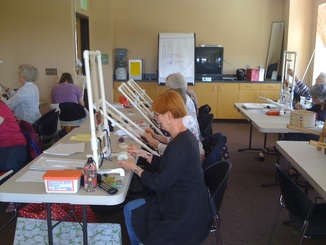
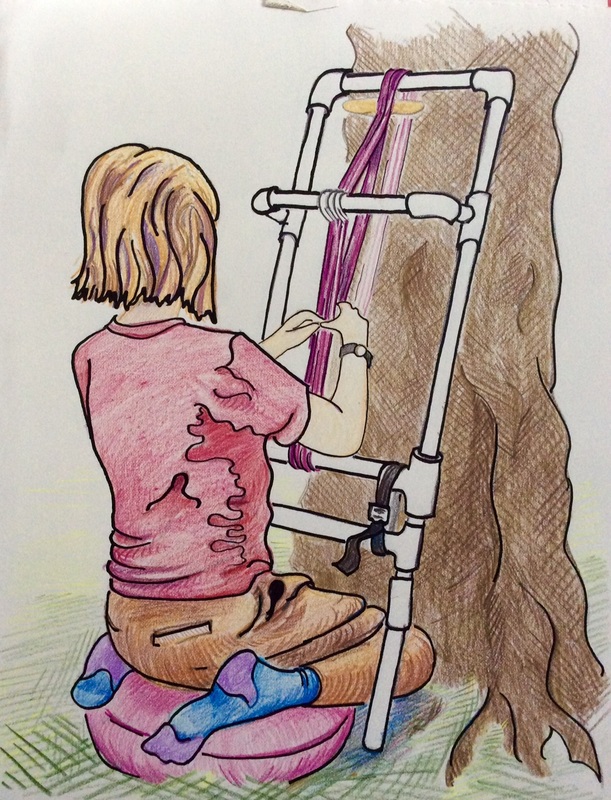
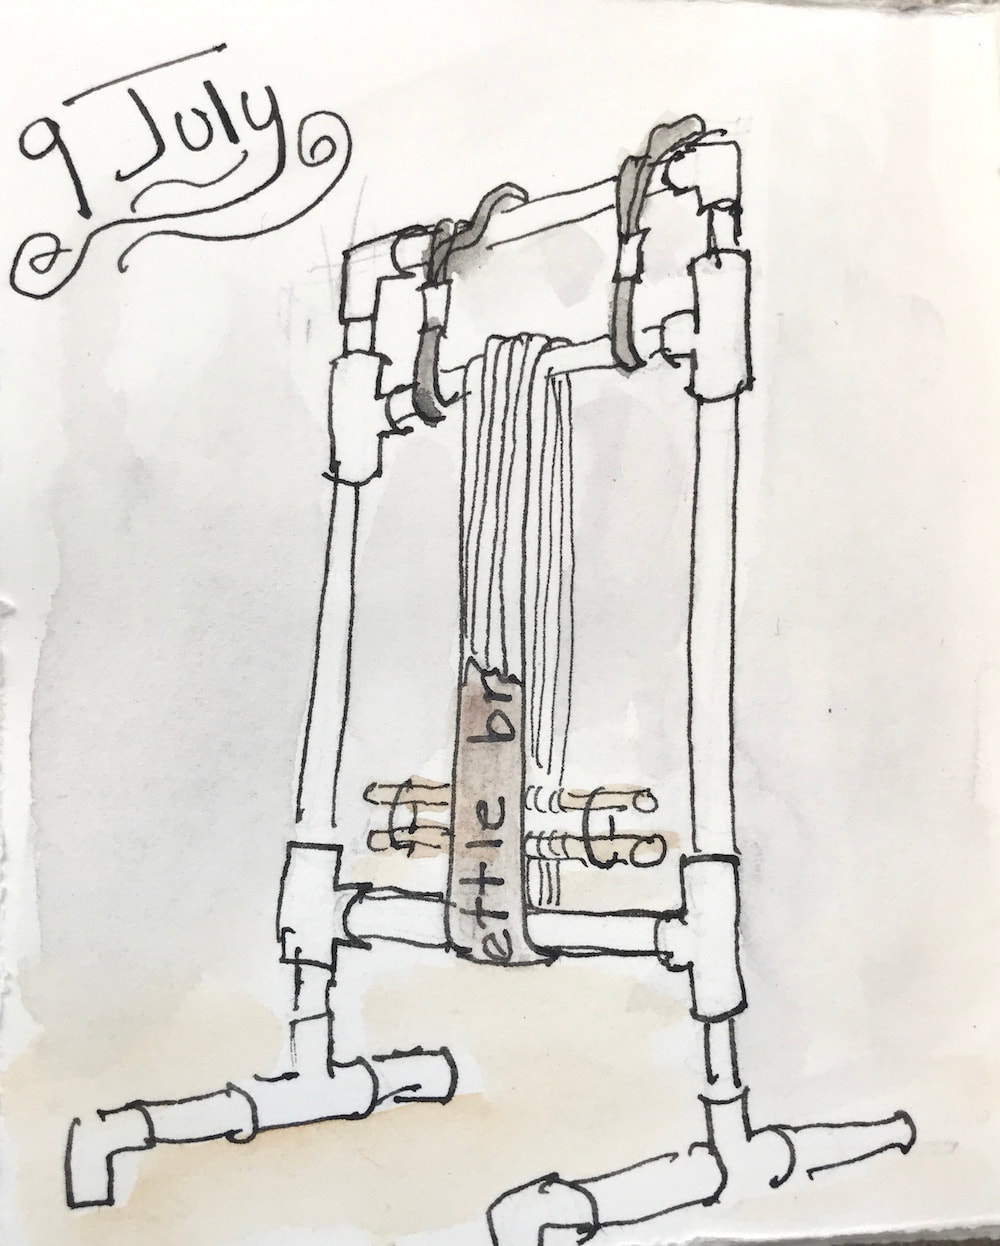
And luckily (hopefully)
I can soon put on another warp
for apparently
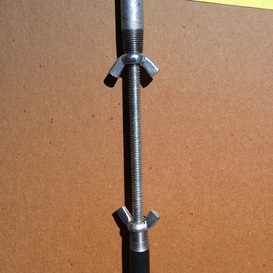
my beloved PVC pipe loom
loves a good continuous one
as much as it loves four selvedge--
and there are so so many more
weirdly wonderful prickles
to investigate,
a letter at a time.
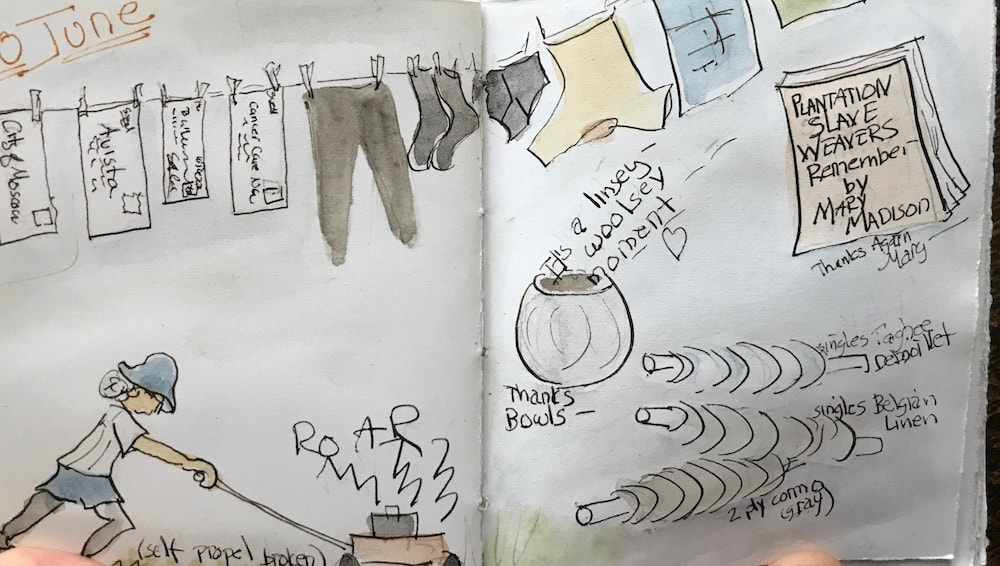
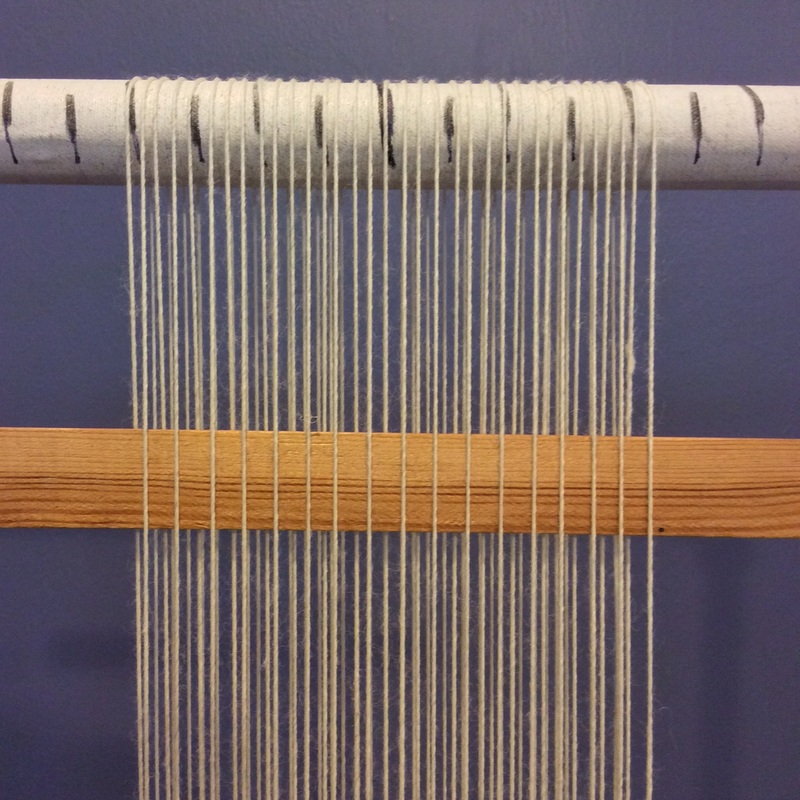
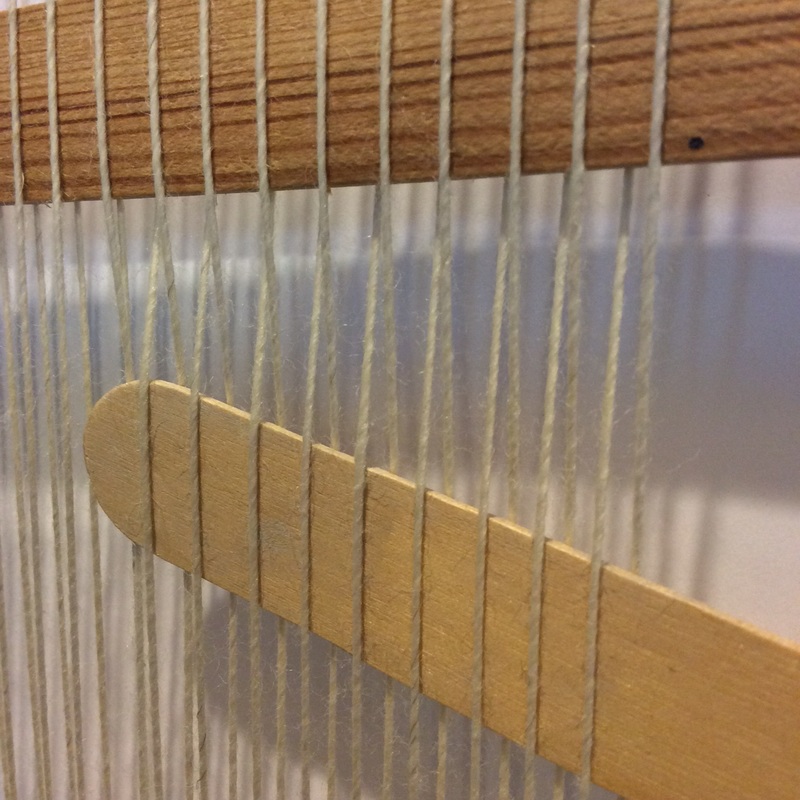
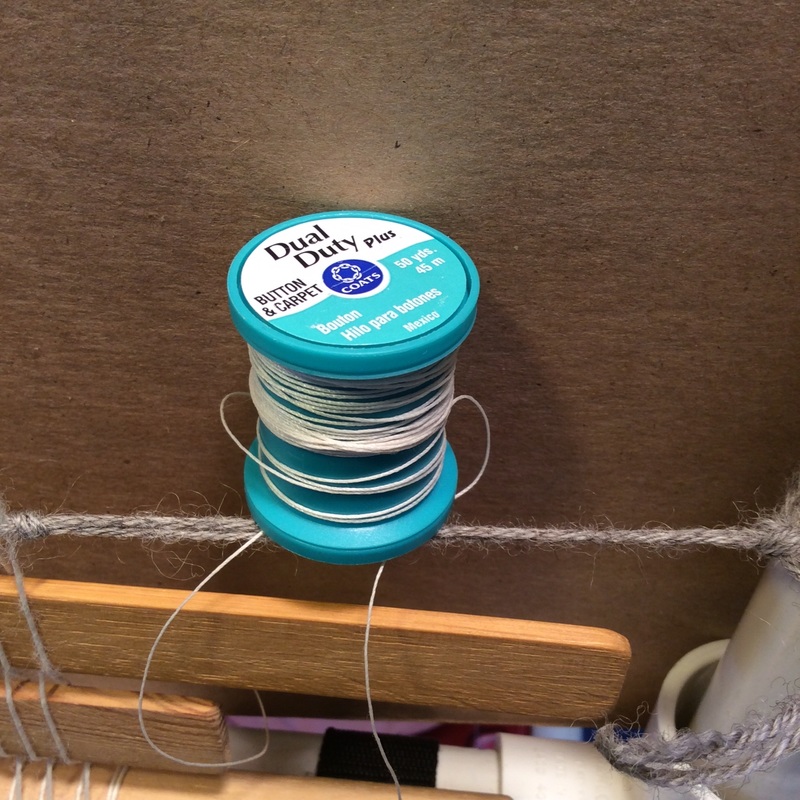
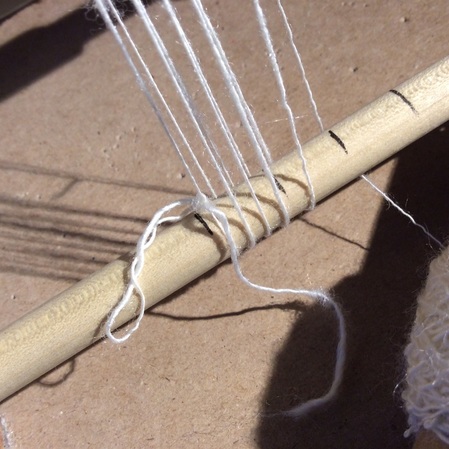
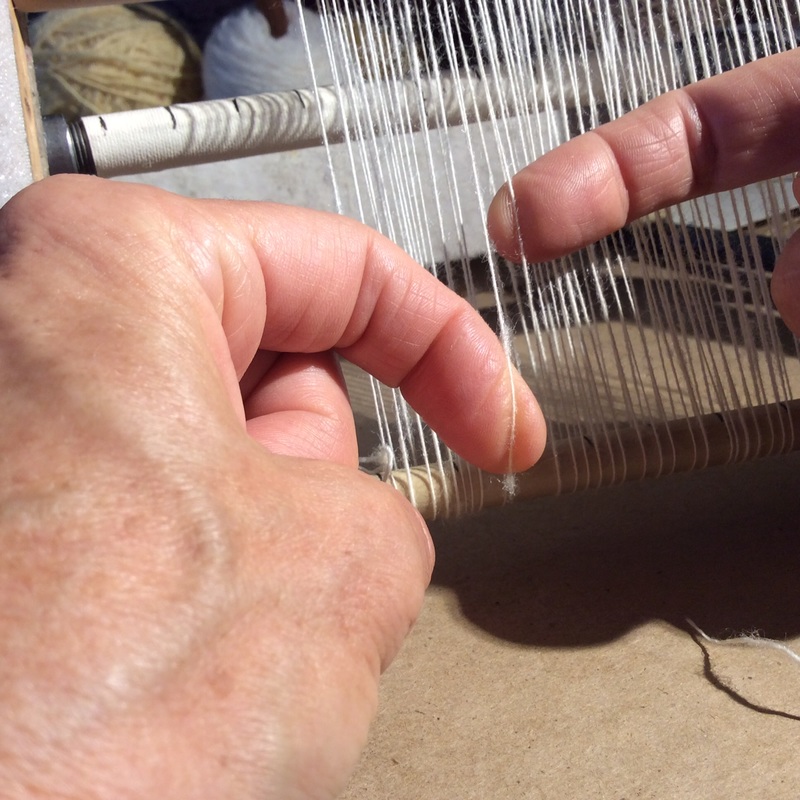
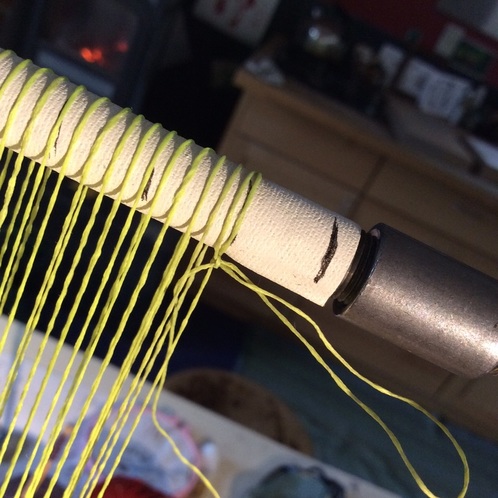
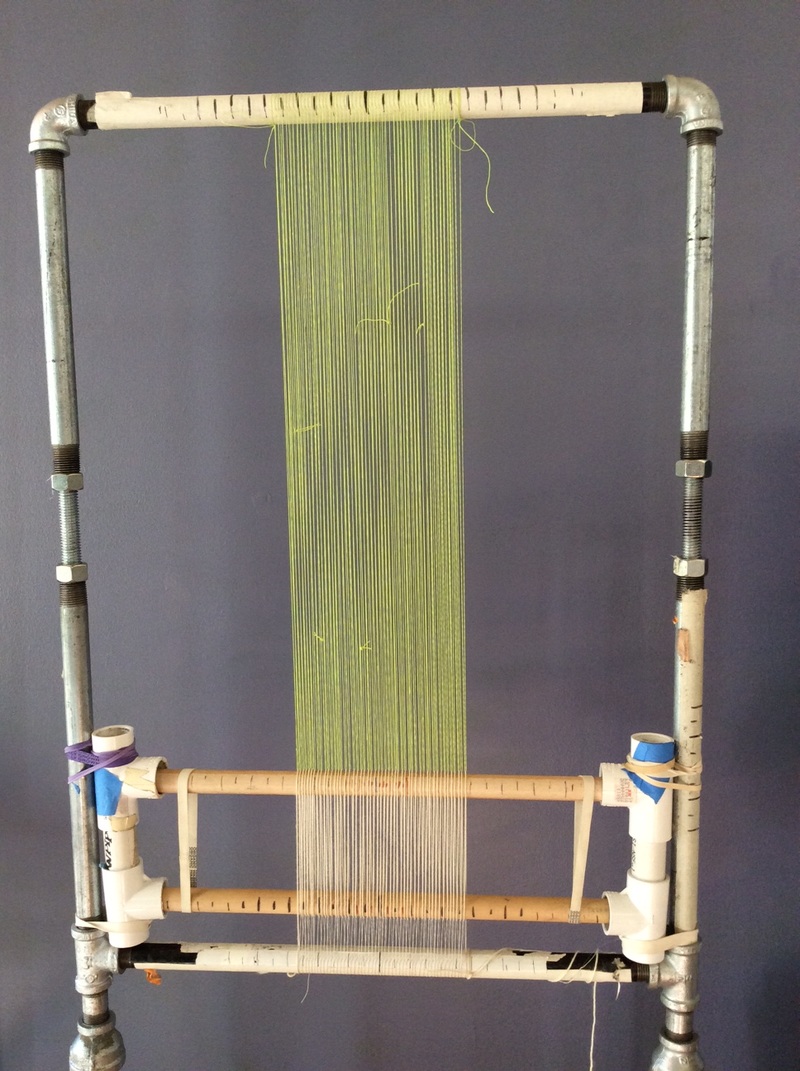
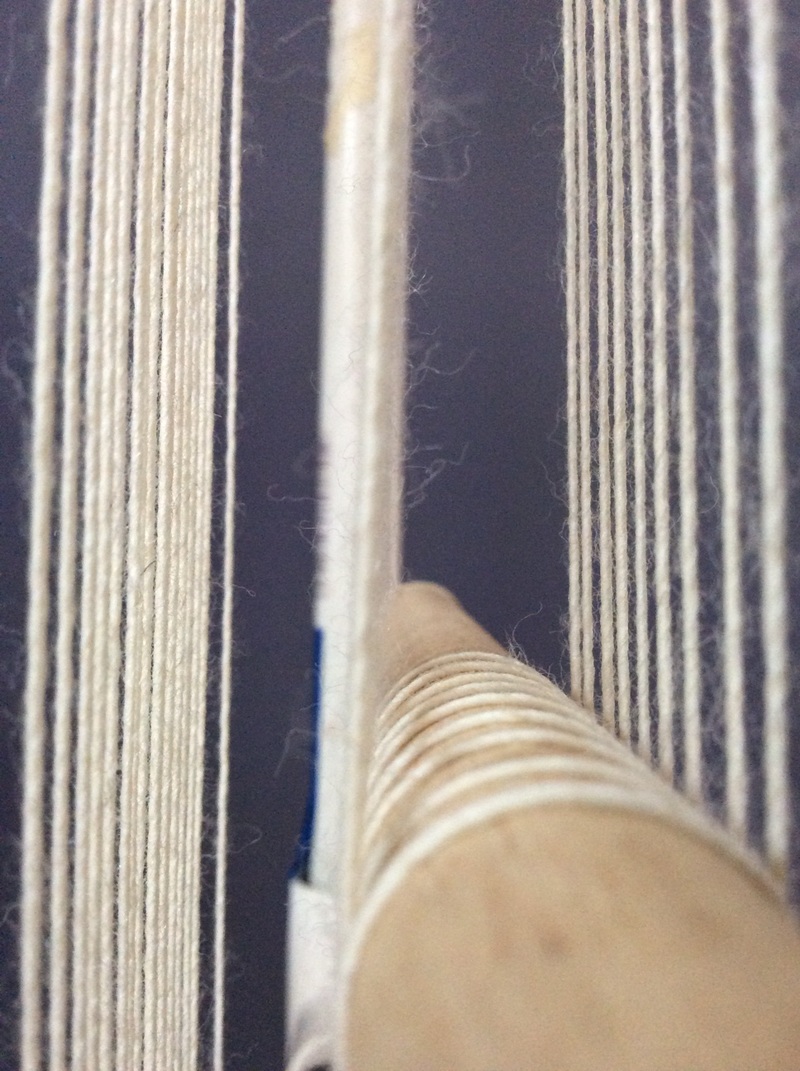
ps. And in case you care about such specifics
the warp is that merino/silk,
I wrote about back in May.
As you may recall
it didn't race my motor
in the cloth samples I was weaving then,
but it does make a glorious warp
as I had hoped (3 ply for this tapestry),
and I'm delighted that I have plenty more.
I can soon put on another warp
for apparently
my beloved PVC pipe loom
loves a good continuous one
as much as it loves four selvedge--
and there are so so many more
weirdly wonderful prickles
to investigate,
a letter at a time.
ps. And in case you care about such specifics
the warp is that merino/silk,
I wrote about back in May.
As you may recall
it didn't race my motor
in the cloth samples I was weaving then,
but it does make a glorious warp
as I had hoped (3 ply for this tapestry),
and I'm delighted that I have plenty more.